How To - Mac


Review

Anker Prime Power Bank 20000mAh 200W USB-C Review

Anker 537 Power Bank Review: Ultimate MacBook...

Best Portable Power Banks Featuring Built-in Type...
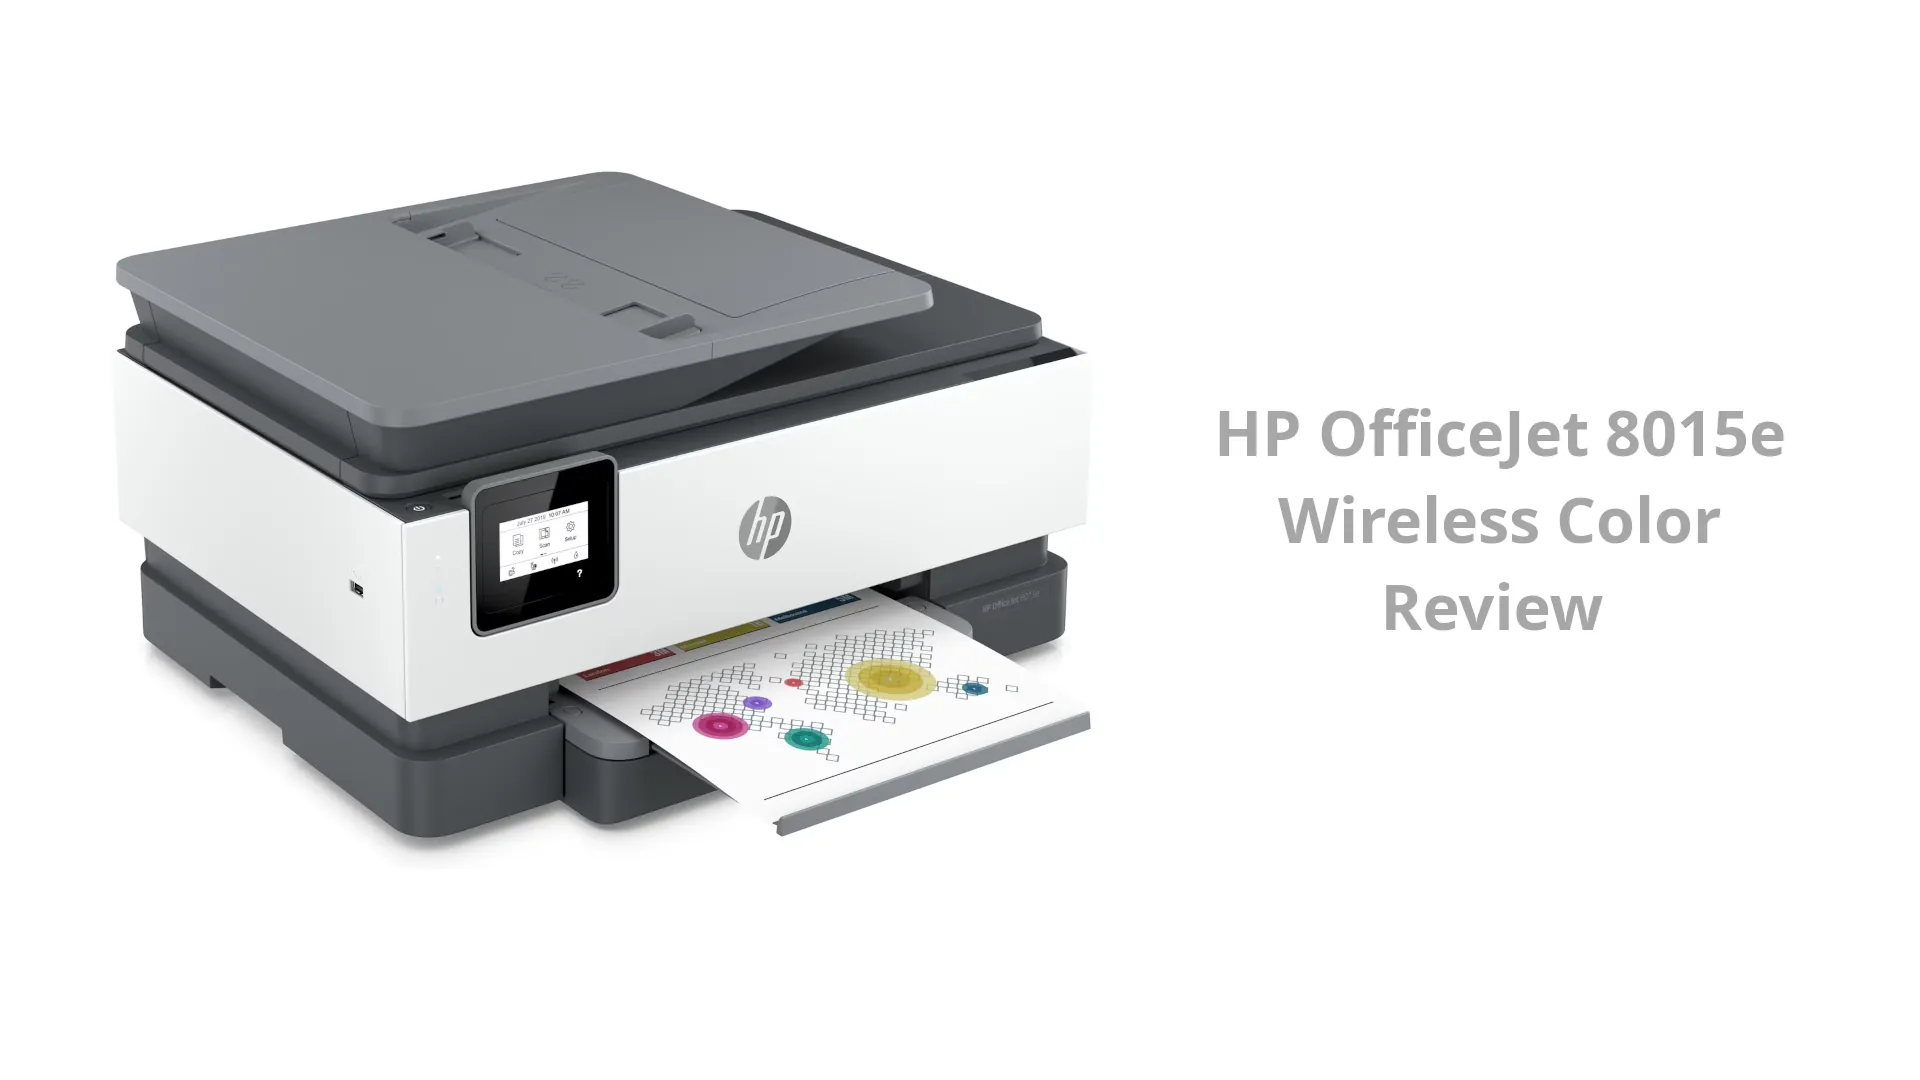
HP OfficeJet 8015e Review
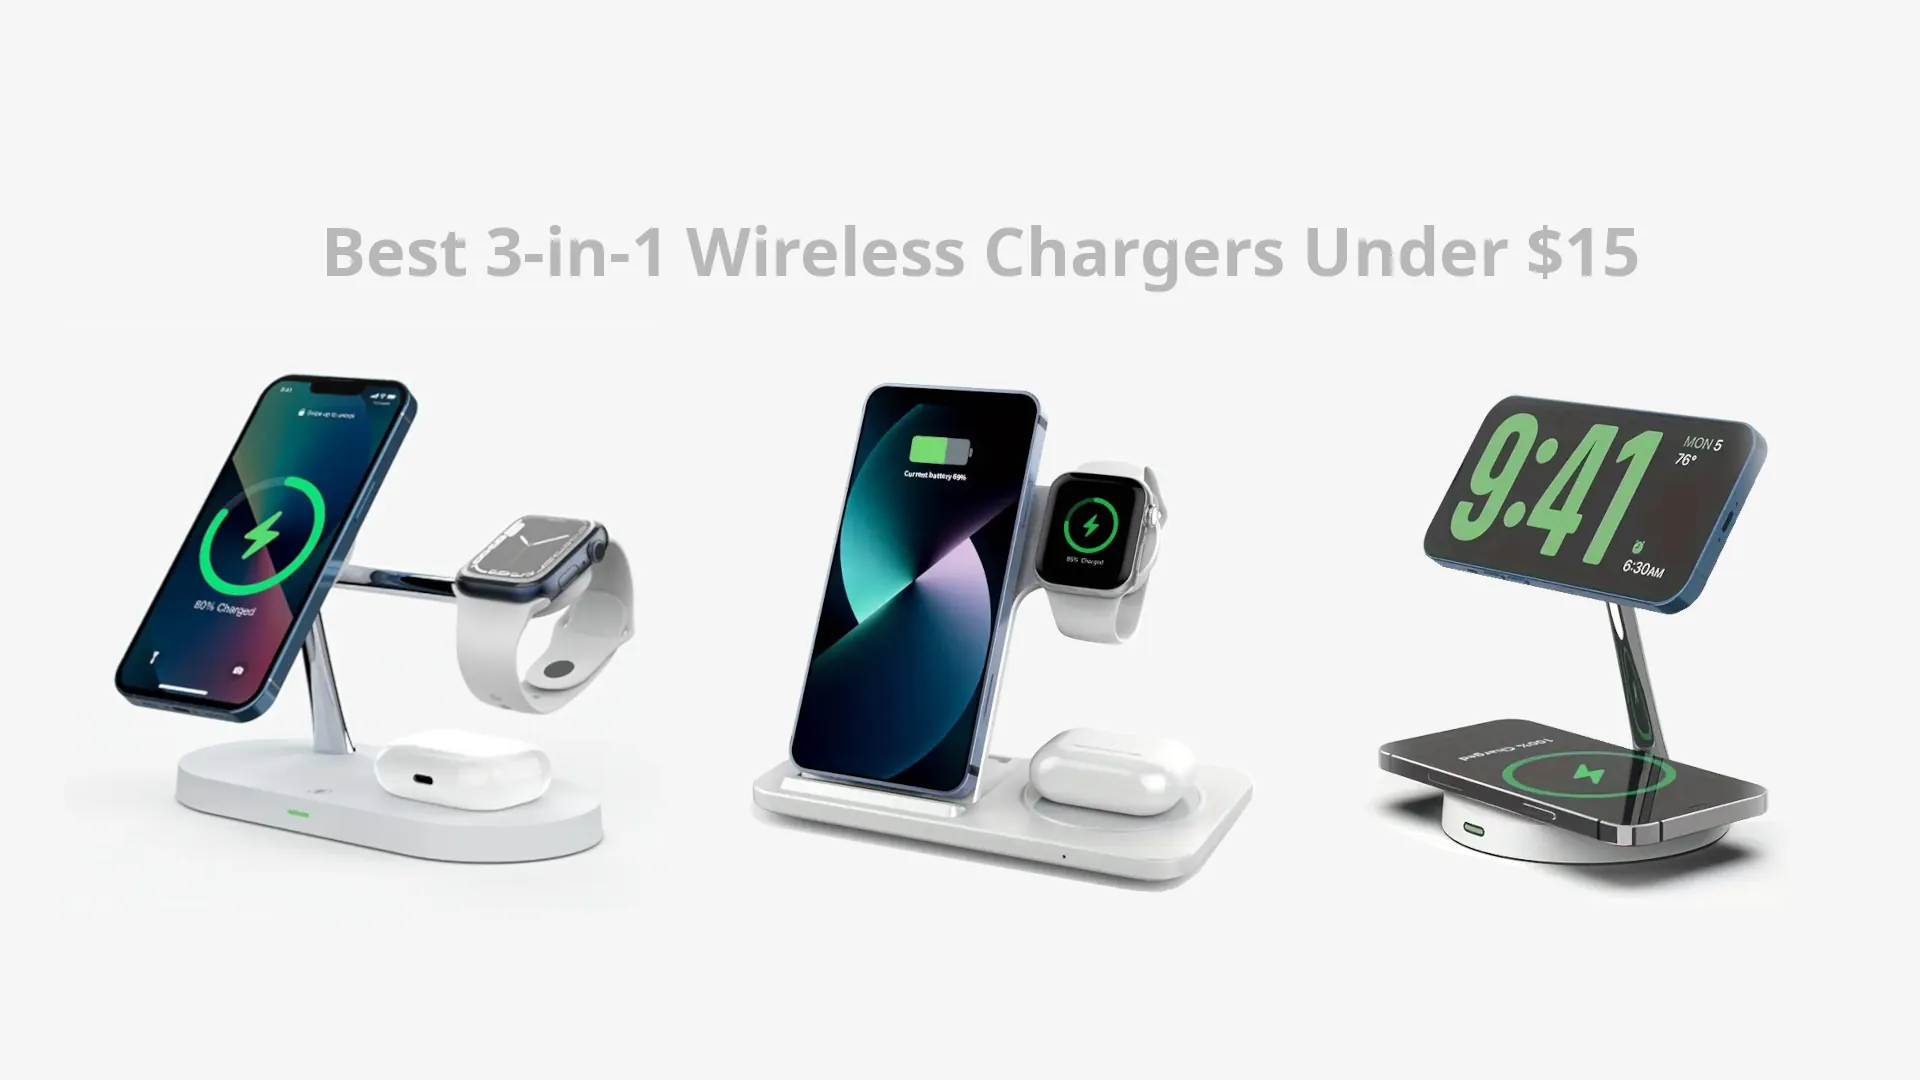
Best 3-in-1 Wireless Chargers Under $15