Apple recently introduced macOS Sonoma at the WWDC23 event as a replacement for macOS Ventura. macOS Sonoma brings numerous new improvements, including the ability for users to place widgets on the desktop screen and enhanced support in Safari for running multiple background applications. macOS enthusiasts are eager to explore and experience the exciting new features of macOS Sonoma. However, it's important to note that macOS Sonoma is currently only available as a beta version, which may have some bugs. Therefore, the most sensible choice is to install macOS Sonoma on virtual machine software.
There are various methods available for installing macOS Sonoma on VMware, such as using the Sonoma ISO Image, Virtual Disk Images like VMDK or VDI images that come pre-installed with Sonoma, or installing Sonoma from the Basesystem file. Each method has its own set of advantages and disadvantages.
In this guide, we will provide step-by-step instructions for installing macOS Sonoma on VMware, starting with the basic essentials. This way, you'll be able to learn the installation process for future versions of macOS Sonoma at any time. Whether you're using a Windows PC, Mac, Linux, or even Ubuntu, let's get started with installing macOS Sonoma on VMware.
How to Install macOS Sonoma on VMware
1. Download macOS Sonoma
To begin, we need to download macOS Sonoma. There are various methods available for downloading macOS Sonoma, but the easiest approach for different operating systems like Windows, Linux, and Mac is to obtain the InstallAssistant file. This file is directly sourced from Apple's server, ensuring the authenticity of the macOS Sonoma installation package, unlike pre-installed files in vmdk or vdi formats.
Download macOS Sonoma Final:
2. Install VMware Workstation Player and Patch Tool
There are various versions of VMware available, but for this guide, it is advisable to use VMware Workstation Player. This version is free and offers all the essential features required to run macOS Sonoma on Windows PC or Linux. Mac users can opt for the free VMware Fusion Player designed specifically for Mac systems.
Next, Windows users should install the Patch Tool to enable the required features for macOS. Right-click and select "Run as administrator" to complete the Patch Tool installation.

3. Create macOS Sonoma ISO
To create a macOS Sonoma installation in the form of an ISO image, we require either a Mac or a Virtual Mac. Any Virtual Mac version ranging from Sierra to Ventura can be used to assist in creating the ISO image. In this guide, we will use macOS Monterey on VMware, which is a straightforward process. Please follow the instructions provided below.
Once you have the Virtual Mac running, open the Sonoma InstallAssistant.pkg file and follow the instructions to extract the macOS Sonoma installation package.

After extracting the pkg file, you will find the macOS Sonoma installation package named "Install macOS 14 beta.app" in the Applications folder. The next step involves creating an ISO file from this installation package.

To create the ISO file, we need to utilize the Terminal application. You can open Terminal either through the Spotlight search or by navigating to Applications > Utilities folder. Then, execute the following commands to generate the Sonoma.iso image.

Use the following command to create the Sonoma ISO image:
hdiutil create -o /tmp/Sonoma -size 15179m -volname Sonomaiso -layout SPUD -fs HFS+J -type UDTO -attach
sudo /Applications/Install\ macOS\ Sonoma.app/Contents/Resources/createinstallmedia --volume /Volumes/Sonomaiso --nointeraction
hdiutil detach -force /Volumes/Install\ macOS\ Sonoma
mv /tmp/Sonoma.cdr ~/Desktop/Sonoma.iso
4. Create a New Virtual Machine for macOS Sonoma
Next, let's open VMware and proceed to create a Virtual Machine specifically for macOS Sonoma. Click on the "Create a new virtual machine" button, then select "I will install the operating system later" and click Next. In the next section, choose "Apple Mac OS X" as the Guest OS, and select macOS 14 as the version before clicking Next.

Next, provide a name for the Virtual Machine, and take note of the folder where macOS Sonoma will be stored, as it will be required for a later step. In the following section, opt for "Store virtual disk as a single file" if you prefer the Virtual Disk to be stored as a single file. Then, click Next to proceed with creating the Virtual Machine.

Next, select the Sonoma Virtual Machine and click the "Edit" button to adjust the allocated RAM and CPU. Ensure that you allocate a minimum of 4GB for Sonoma and at least 2 CPU cores.

Now, an essential step is to initiate the boot process using the Sonoma.iso installation file. Under the CD/DVD section, choose the Sonoma.iso file that contains the macOS Sonoma installation and remember to select "Connect at Power on." This step establishes the connection between the Sonoma.iso installation file and the Virtual Machine.

5. Edit Sonoma VMX file
In certain situations, macOS Sonoma might encounter SMC (System Management Controller) errors. To prevent such issues, it is necessary to modify the SMC settings on the Virtual Machine. Before proceeding, locate the folder containing the files associated with your Sonoma Virtual Machine.
Look for the file with the type "VMware Virtual Machine Configuration (VMX)". This file contains hardware emulation information for the Virtual Machine. Right-click on it, select "Open With," and choose Notepad.

Within Notepad, add the following command at the end of the file: "smc.version = "0"". This step will configure the SMC on the Mac with a value of 0.

6. Install macOS Sonoma on VMware
Now you're ready to install macOS Sonoma. Start up your Virtual Machine and wait for a moment until you reach the welcome screen. Then, open Disk Utility to create a partition for installing macOS Sonoma.iso.

In Disk Utility, select the VMware Virtual Disk and click on the "Erase" button to create a new partition. Remember that macOS Sonoma only supports the new Apple file system, APFS. Click "Erase" to complete the creation of a new partition for Sonoma.iso.

Once done, exit Disk Utility and choose "Install macOS 14 beta" to initiate the installation process of macOS Sonoma on VMware. The installation may take approximately 10 to 30 minutes, depending on your computer.

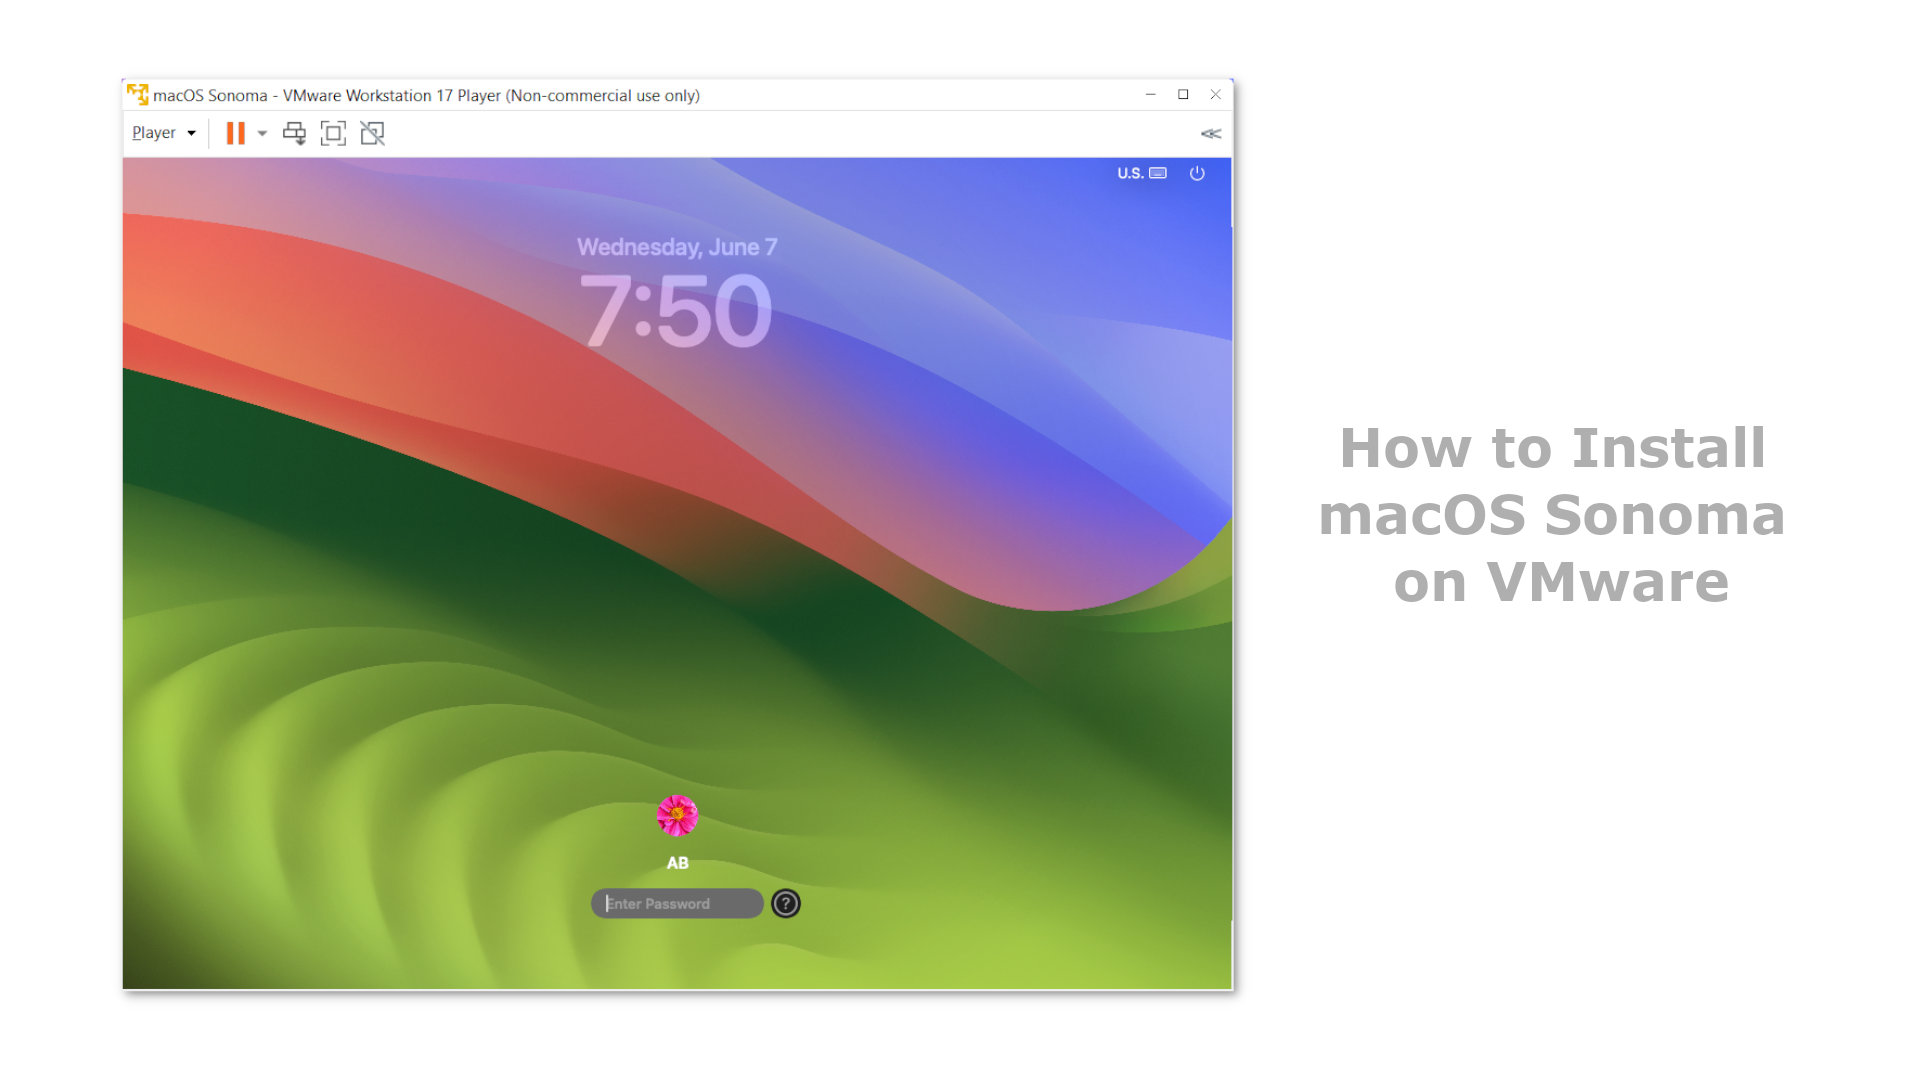
After the installation is complete, proceed to create a new account for macOS, and you will be greeted with the user interface as shown in the image below.

To enable Full Screen mode and features like drag and drop files between Windows and Mac, you need to install VMware Tools for macOS Sonoma. You can follow the instructions below to complete this step.

This comprehensive guide provides you with detailed instructions on how to install macOS Sonoma on VMware. With this installation method, you can install any new version of Sonoma without relying on pre-installed Sonoma files in vmdk or vdi format. If you encounter any issues during the installation process, feel free to leave a comment below, and we will assist you as quickly as possible.


I got it to work, Sonoma is on VMware Workstation 17 Player, but it runs incredibly slow. Any ideas on how to remedy this?
Install VMware Tool to speed up your Virtual Machine.
no background in Sonoma, Safari not visible/blank, FireFox works fine
Thank you for this guide! I have a problem: after correctly creating the Mac OS 14 VM, I have selected the ISO as the dvd as stated in the tutorial. However, the VM cannot start from there, it bring me to the boot menu of the “PC” .
What can I do?
In VMware Settings, go to CD/DVD tab then select “Connect at Power on” to fix this problem. Another option: in EFI Shell type this command: “exit” and press enter then your virtual machine will boot to Boot Menu, in Boot Menu select “Boot” and select your Sonoma or ISO Installer disk.