There are many ways to install macOS on a Windows PC, such as using a virtual machine or installing macOS directly on a PC using OpenCore. Each method has its advantages and disadvantages. Recently, we haven't been able to use newer versions of macOS like Ventura and Sonoma on VirtualBox, partly because the kernels on VirtualBox no longer support these newer versions of macOS. Therefore, in this guide, we will explore how to install macOS on QEMU, a popular Linux application, directly on a Windows PC. To install macOS on QEMU on Windows, we need the following requirements:
- QEMU-KVM (OSX-KVM Project)
- Windows Subsystem for Linux on Windows (WLS)
QEMU is a virtualization application widely chosen by Linux and Ubuntu users. Notably, QEMU also supports VMware-svga, an application that improves macOS performance on virtual machines. However, since QEMU doesn't inherently support macOS, we need to use tools like KVM or uml-utilities (utility programs) to utilize another Linux Kernel like OpenCore. By combining these tools with QEMU, we can easily use newer macOS versions like Ventura and Sonoma on QEMU.
WLS (Windows Subsystem for Linux) is a Microsoft feature that directly integrates Linux or Ubuntu onto Windows. Users can utilize Ubuntu tools directly on Windows without the need for additional virtualization tools. Additionally, when using QEMU on WLS, we can create and use virtual machines directly on Windows, including running macOS on WSL.
Once you have familiarized yourself with the basic concepts of QEMU and WLS, you can begin installing macOS on a Windows PC using the following basic commands. Please ensure that your Windows system has been installed with WSL following the provided instructions below.
How to Install macOS on QEMU on Windows
Step 1: Install WSL for Windows
Firstly, we need to install Windows Subsystem for Linux (WSL) on Windows. The installation process is relatively straightforward, and you can follow the detailed instructions below:
Step 2: Verify and Update WSL
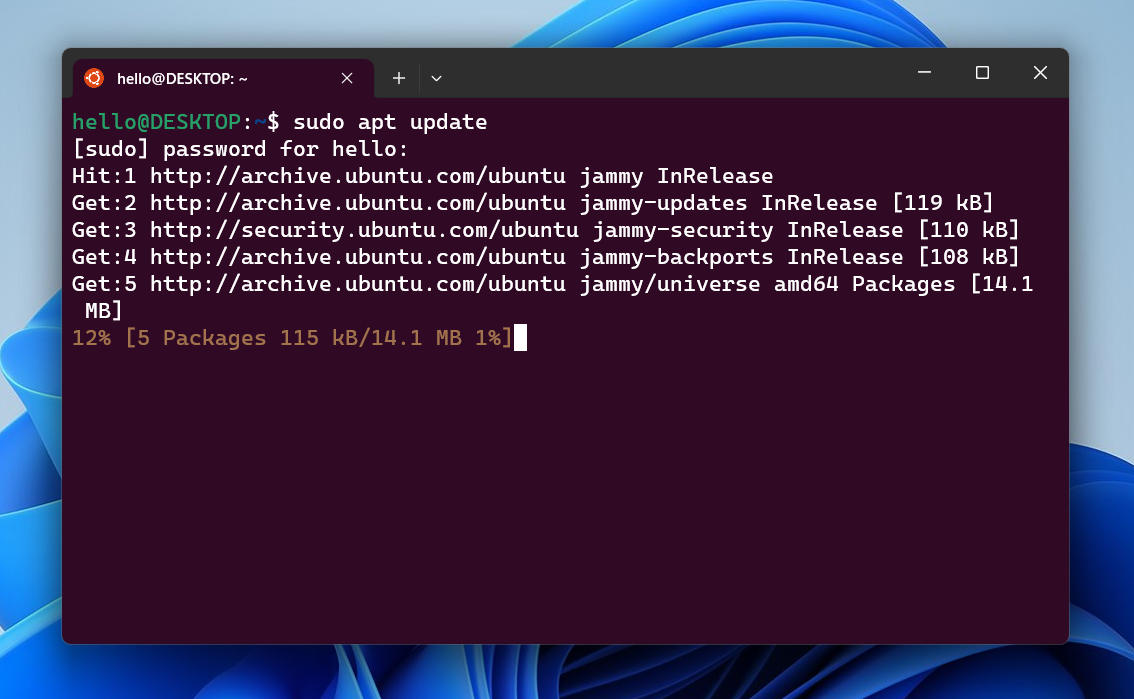
Next, let's check Ubuntu and ensure it is updated by using the following command:
sudo apt update
Step 3: Install QEMU KVM and Virtual Machine Tools
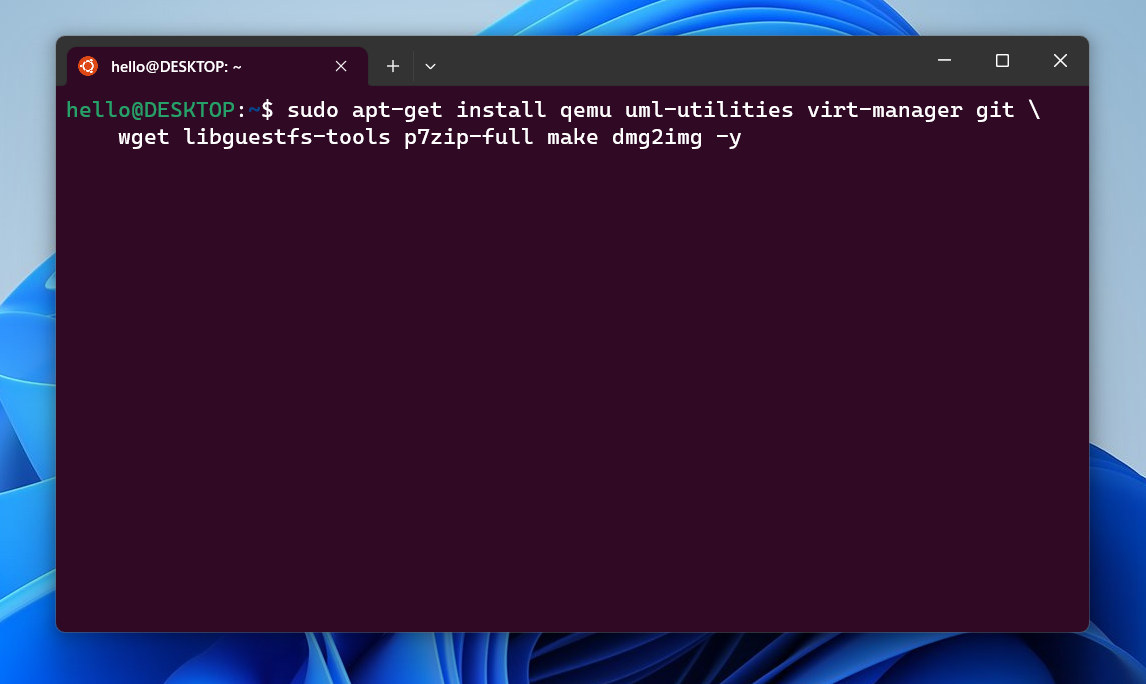
Next, we will use the following command to install QEMU. Uml-utilities for utilizing different linux kernels. Libguestfs-tools and dmg2img for managing and converting Virtual Disks, execute the following command:
sudo apt-get install qemu uml-utilities virt-manager git \
wget libguestfs-tools p7zip-full make dmg2img -y
Step 4: Clone QEMU-KVM Project on Github
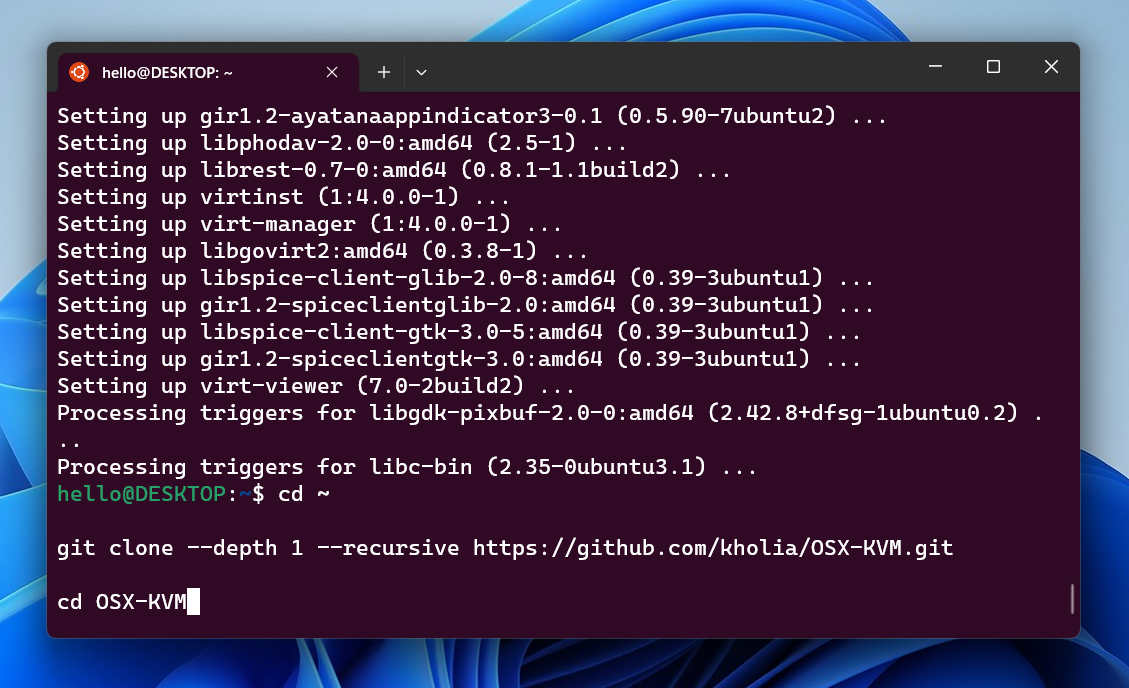
To download the complete QEMU-KVM project to your WSL, simply run the provided commands below:
cd ~
git clone --depth 1 --recursive https://github.com/kholia/OSX-KVM.git
cd OSX-KVM
Step 5: Edit Virtual RAM, CPU
After successfully installing QEMU and downloading the necessary files, we need to modify the Virtual Machine's RAM and CPU settings. To access Ubuntu WSL files on Windows, you can navigate to Finder > Linux in the left corner, or use the following link: \\wsl.localhost\Ubuntu\home. This will provide you with access to all the files associated with the OSX-KVM project.
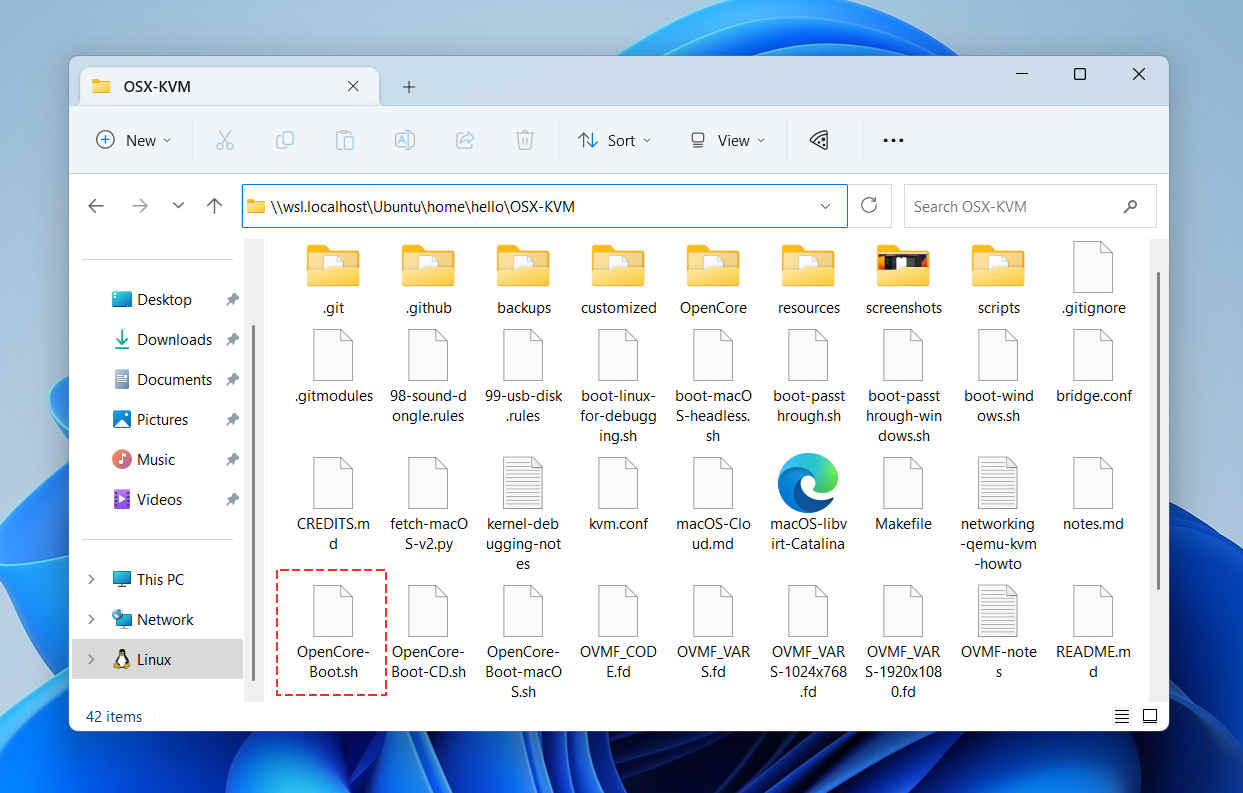
Next, right-click on the "OpenCore-Boot.sh" file and open it using Notepad on Windows. In the initial section of the file, you will find the settings for configuring the RAM and CPU. Adjust these values according to the specifications of your machine. As WSL typically utilizes around 50% of your computer's RAM, setting approximately 35% of the available RAM for macOS on QEMU will help optimize the performance of your Windows PC.
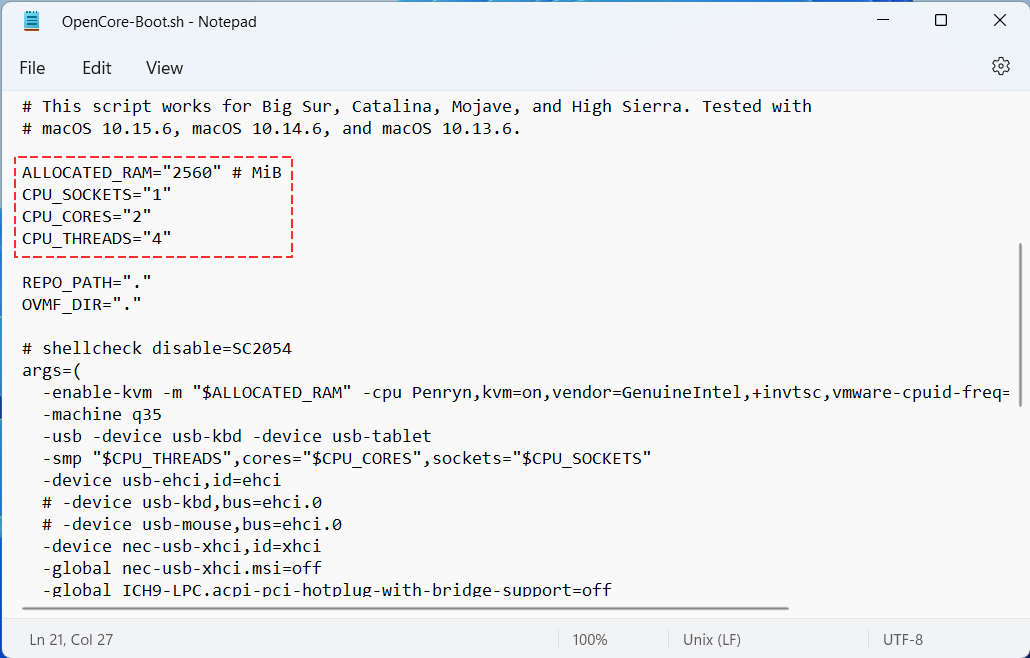
Step 6: Install macOS Ventura on QEMU
In this tutorial, we will utilize the basesystem.dmg file to enter Recovery mode and initiate the macOS installation. It is essential to have an active internet connection as macOS will automatically download the macOS installation package during the process. Please note that this method may take more time compared to using an ISO or Virtual Machine Disk. If you prefer to use an ISO or Virtual Disk, you can follow the steps outlined below.
To initiate the process, use the provided command to run fetch-macOS-v2.py, a tool developed by OpenCore specifically designed for downloading the necessary basesystem files.
./fetch-macOS-v2.py
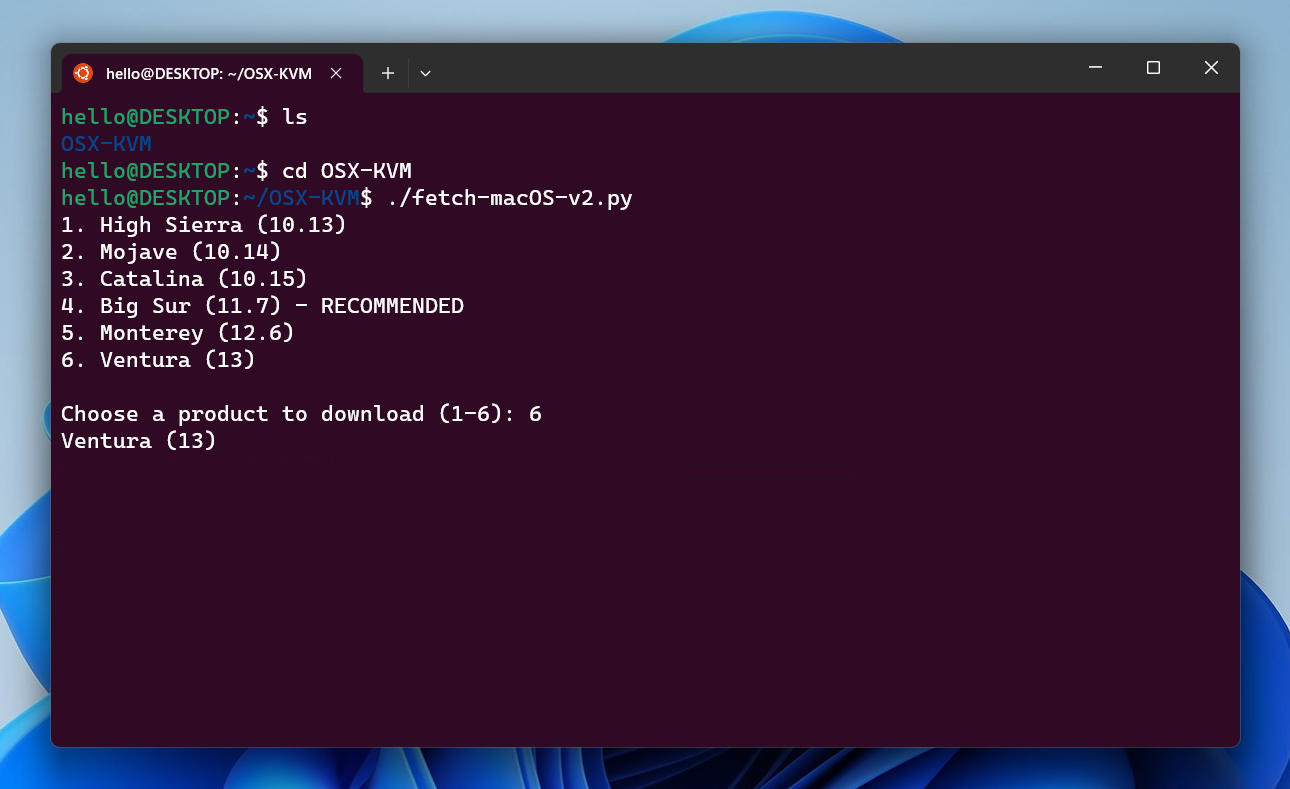
As QEMU does not support for reading DMG files, we will utilize dmg2img (which is already installed) to convert the DMG file into IMG format.
dmg2img -i BaseSystem.dmg BaseSystem.img
Moving forward, we will proceed to generate a Virtual Machine disk for installing macOS Ventura or any other preferred version. It is important to keep in mind that this disk is virtual, and the initial allocated storage will be around 25GB.
qemu-img create -f qcow2 mac_hdd_ng.img 100G
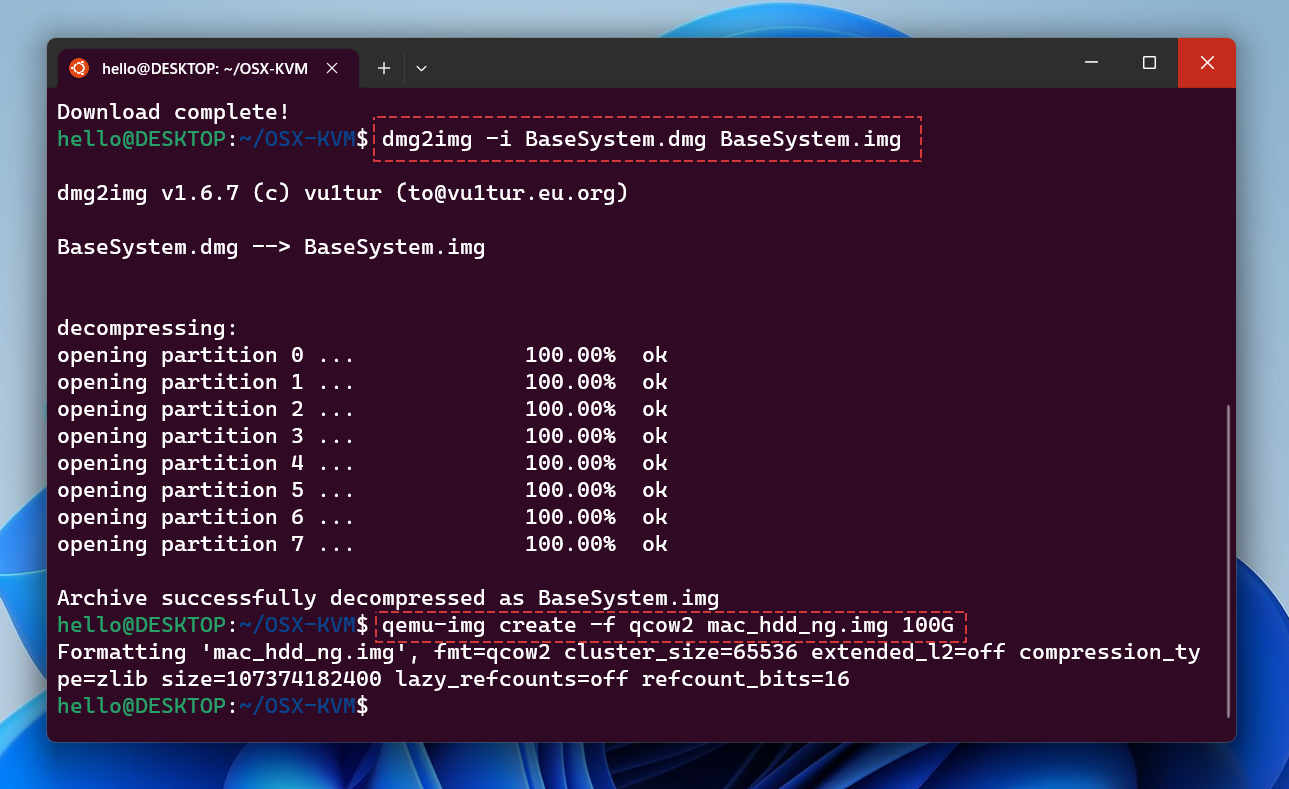
To start the installation process, execute the provided command, making sure to use the modified OpenCore-Boot.sh file that we adjusted in step 5.
sudo ./OpenCore-Boot.sh
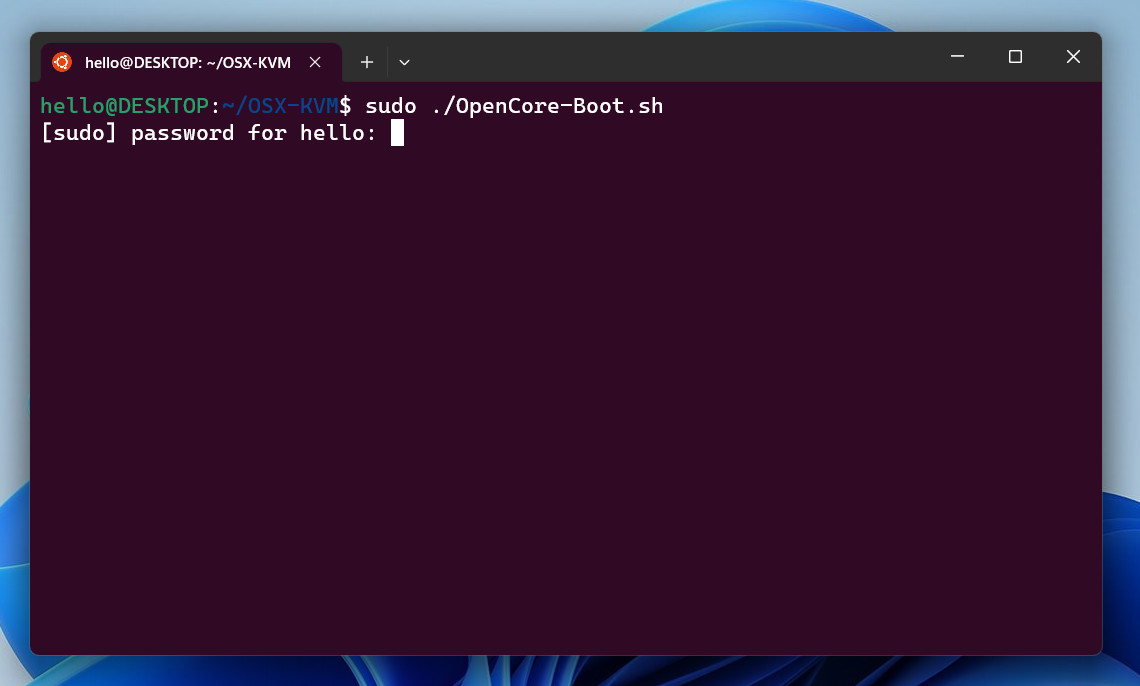
QEMU will be launched alongside the OpenCore Boot. You will need to choose the macOS Base System option to commence the installation process.
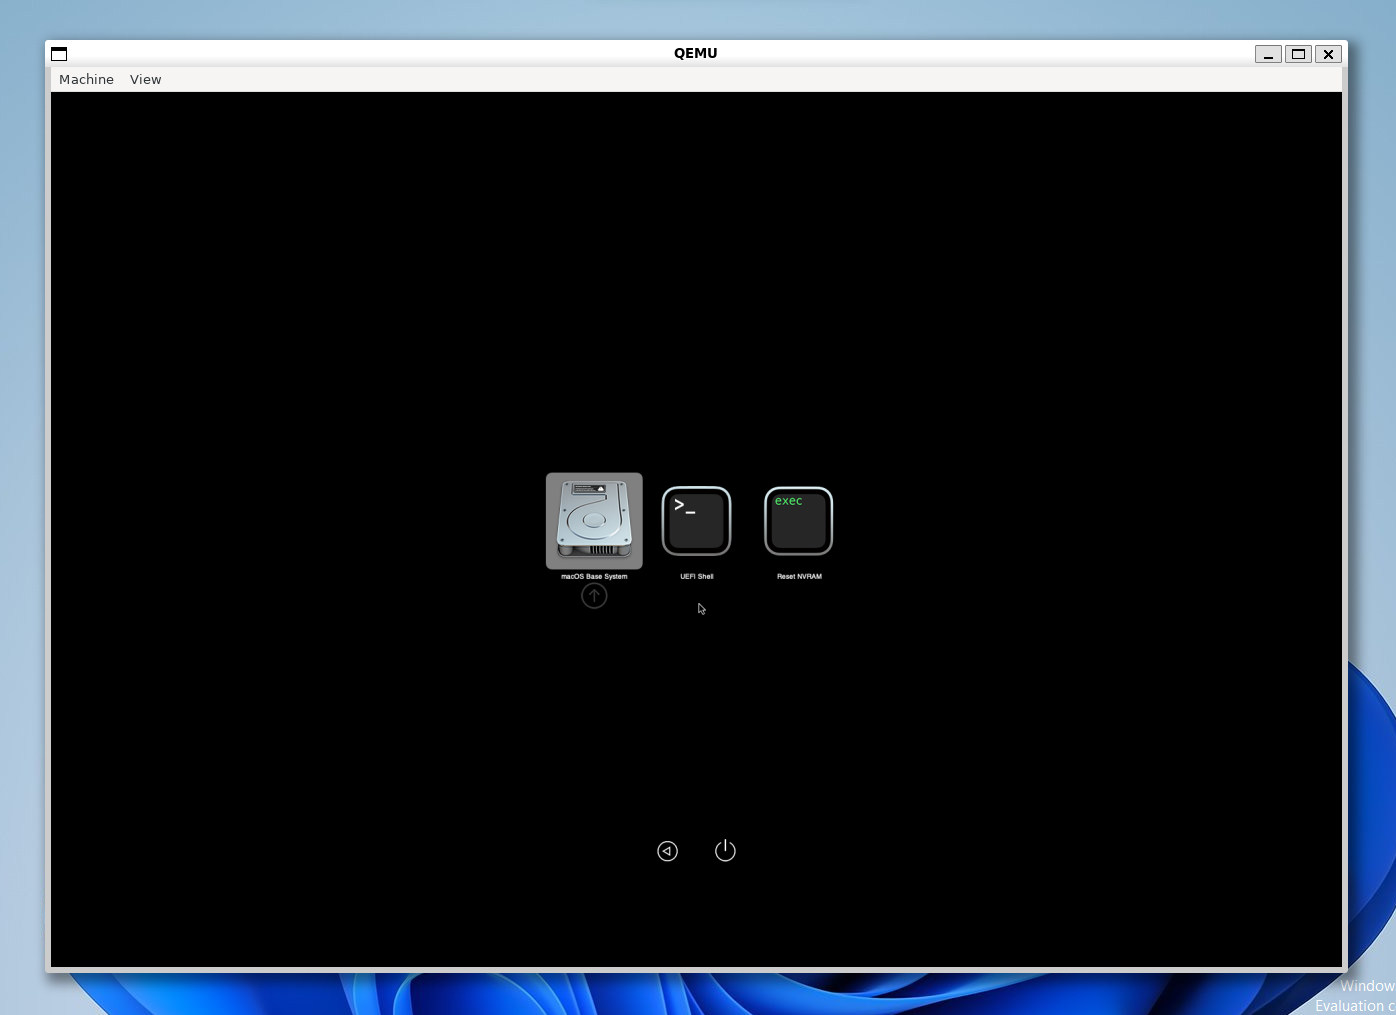
Continuing with the process, navigate to Disk Utility and select the QEMU HARDDISK MEDIA, which should have a storage capacity of approximately 100GB. Click on the "Erase" button to format the disk using the APFS format and the GUID Partition Map scheme.
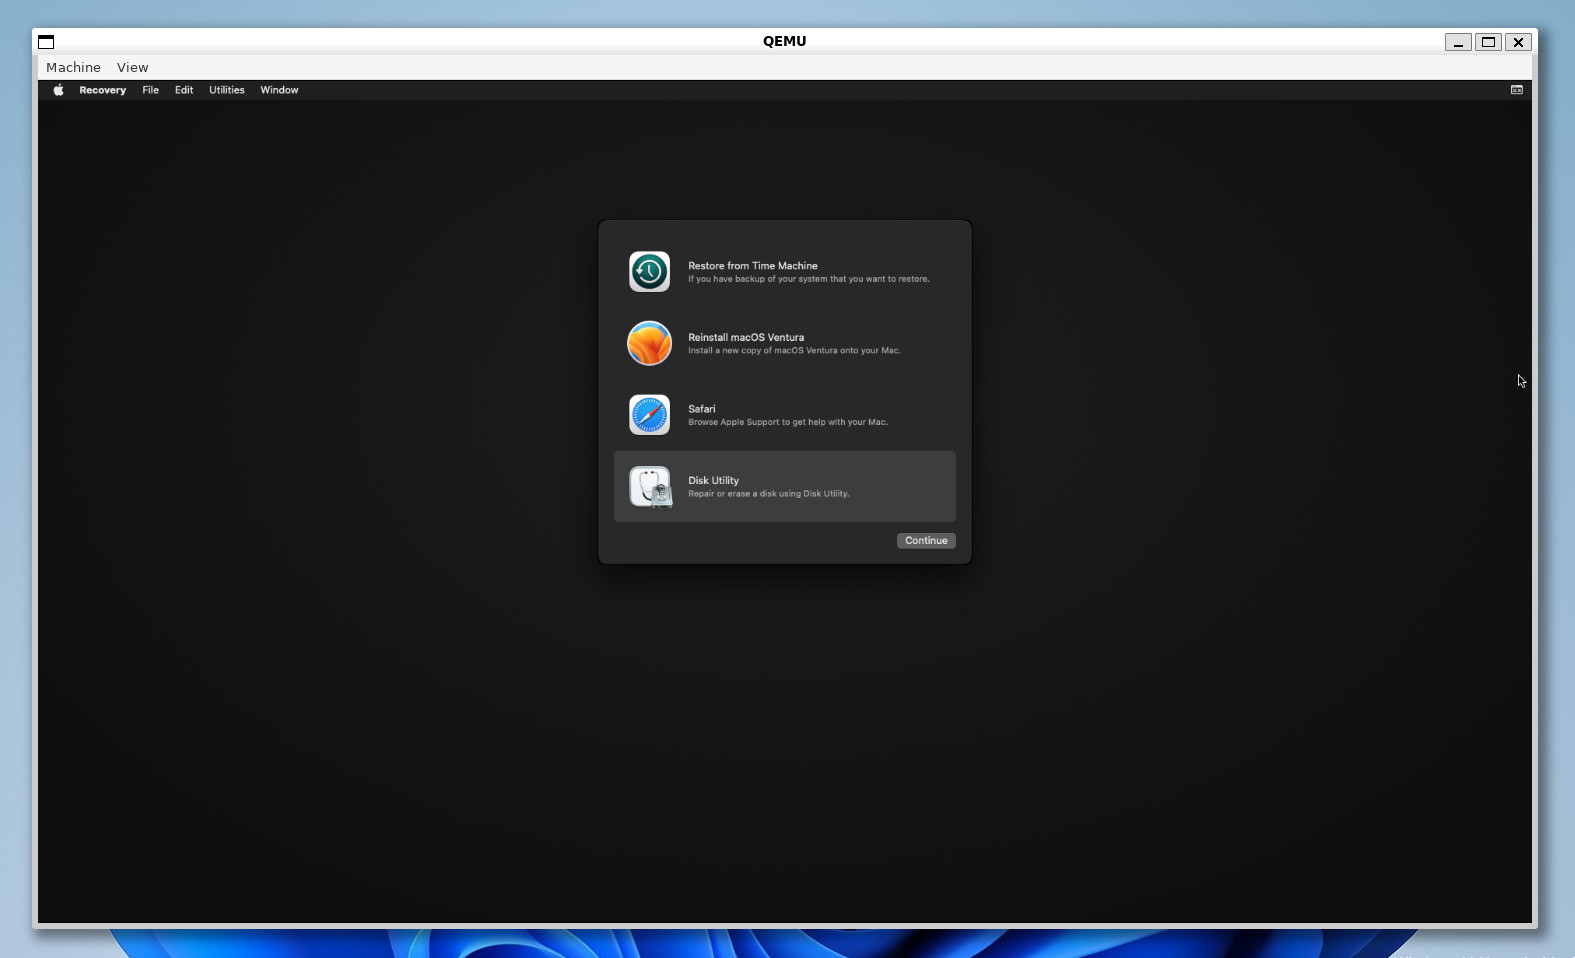
Next, exit Disk Utility and proceed with the installation of macOS Ventura. Please keep in mind that you may need to wait and restart your virtual machine multiple times until macOS finishes the installation process.
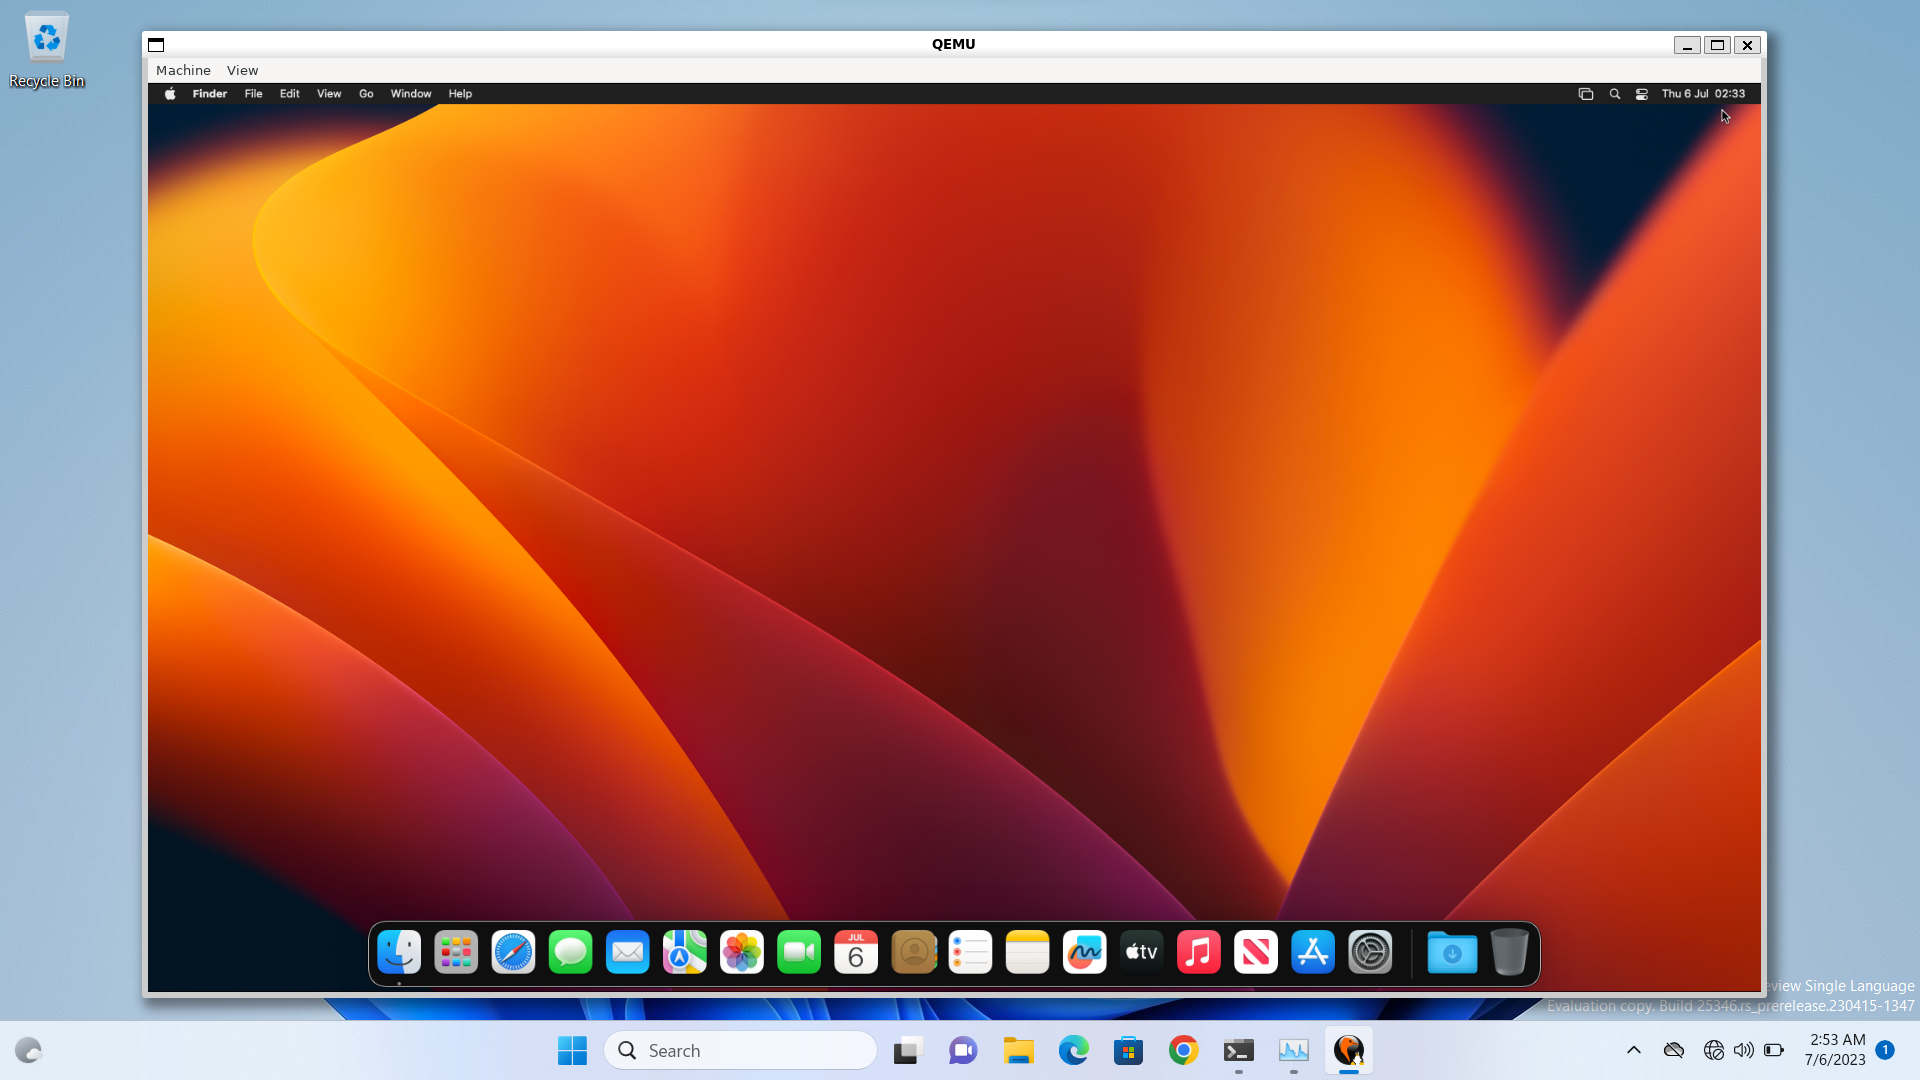
Once the installation is completed, proceed to create a new user account on macOS Ventura. Afterward, you can utilize Ventura seamlessly on Windows. It is worth noting that improper configuration of RAM and CPU settings can result in sluggish performance in macOS Ventura. Therefore, it is essential to configure these settings correctly to ensure optimal performance across the Virtual Machine, WSL, and Windows operating system.
Install macOS Sonoma on QEMU
To install macOS Sonoma using an ISO image or Virtual Disk, you can follow these steps. Firstly, open Finder on your Windows machine and move the ISO image or Virtual Disk installer to the OSX-KVM folder located at: \\wsl.localhost\Ubuntu\home. Next, open the OpenCore-Boot.sh file using Notepad and adjust the following commands to match your setup.
-drive ide-hd,bus=sate.3,drive=InstallMedia
-drive id=InstallMedia,if=none,file="sonoma.iso",format=raw
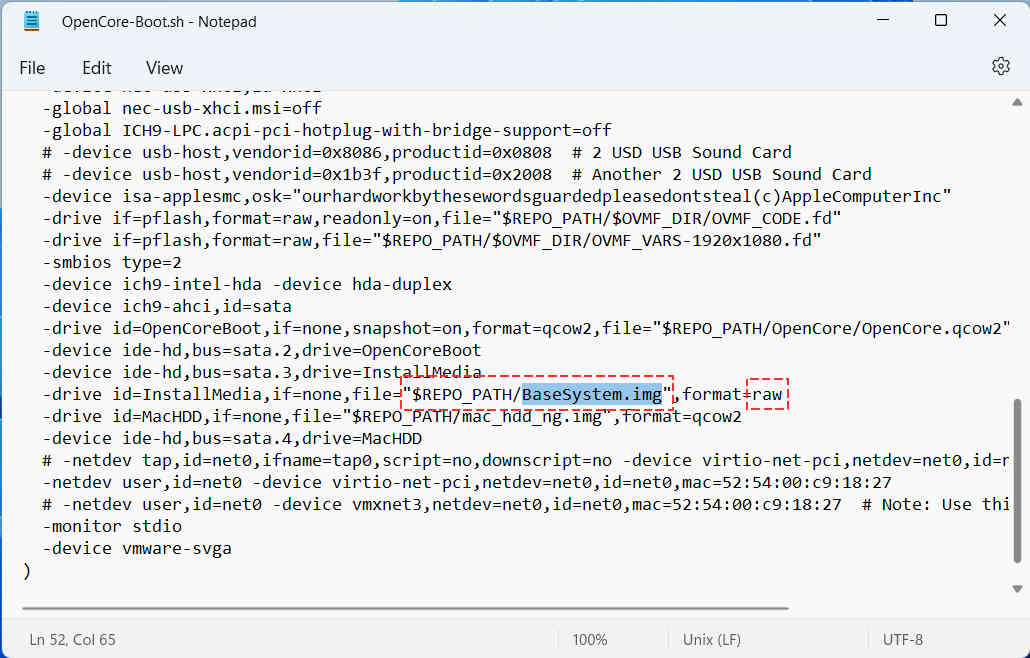
Once you have completed the installation of macOS on QEMU within the Windows environment, you can optionally install VMware Tools to further improve the performance and functionality of your Virtual Machine.



Thanks! Your guide worked flawlessly on Ubuntu 22.04.