Windows Subsystem for Linux (WSL) is a recent feature introduced in Windows that enables users to run Linux or Linux distributions, such as Ubuntu or Debian, directly on their Windows operating system. This feature allows Windows users to access and utilize Ubuntu tools like Terminal and run software that is specifically supported by Ubuntu. While WSL, developed by Microsoft, differs from traditional virtual machine software like VirtualBox or VMware, it shares many similarities with them and offers several advantages over virtual machines.
The Advantages and Disadvantages of WSL
- Efficient CPU and RAM management:
WSL utilizes Microsoft's Hyper-V virtualization tool to efficiently run Linux libraries and files. During usage, WSL typically uses around 50% of Windows' RAM. When not in use, RAM and CPU resources are immediately returned to normal levels. This is a major advantage of WSL, as it eliminates the need for fixed RAM and CPU allocations seen in Virtual Machines. - Seamless integration of Windows and Linux:
With WSL, you can directly access and use Linux software and files as if they were native to Windows. You don't need to manage a separate Guest OS, which is required in Virtual Machines. - Lack of GUI support in WSL:
One notable aspect is that WSL does not provide a graphical user interface (GUI). However, this can be seen as an advantage, as it allows you to use Windows as the primary GUI and leverage the Linux Terminal for advanced tools. Although Linux GUI cannot be used directly in WSL, you can easily launch Linux software using Windows' search tool.
Here are the steps to install WSL:
1. In the Windows Search, type "CMD" and select "Command Prompt." On Windows 11, choose "Run as Admin" from the search results. On Windows 10, you can right-click and choose "Run as admin."

2. Use the following command to install WSL: wsl --install

3. The installation process will download and install the latest version of Ubuntu on your Windows system. Once the installation is complete, you can find Ubuntu by searching in the Windows Search. This allows you to start using WSL. If you want to install additional Linux distributions, you can use the command: wsl -l -o. To proceed with the installation, use the command: wsl --install -d Linuxversion.

4. After the installation, it is crucial to restart your Windows system to ensure a successful setup. Failure to restart may result in errors, such as "WlsregisterDistribution failed," preventing the use of WSL.
5. Once Windows restarts, you can use the Windows Search to find Ubuntu, Windows Subsystem for Linux, or the Terminal. This allows you to access and use the Linux environment within Windows.

6. When using WSL, it is necessary to create an account for your Ubuntu instance or remember the password you set. This account will be used when executing commands within Ubuntu. With WSL successfully installed, you can utilize various Linux software applications

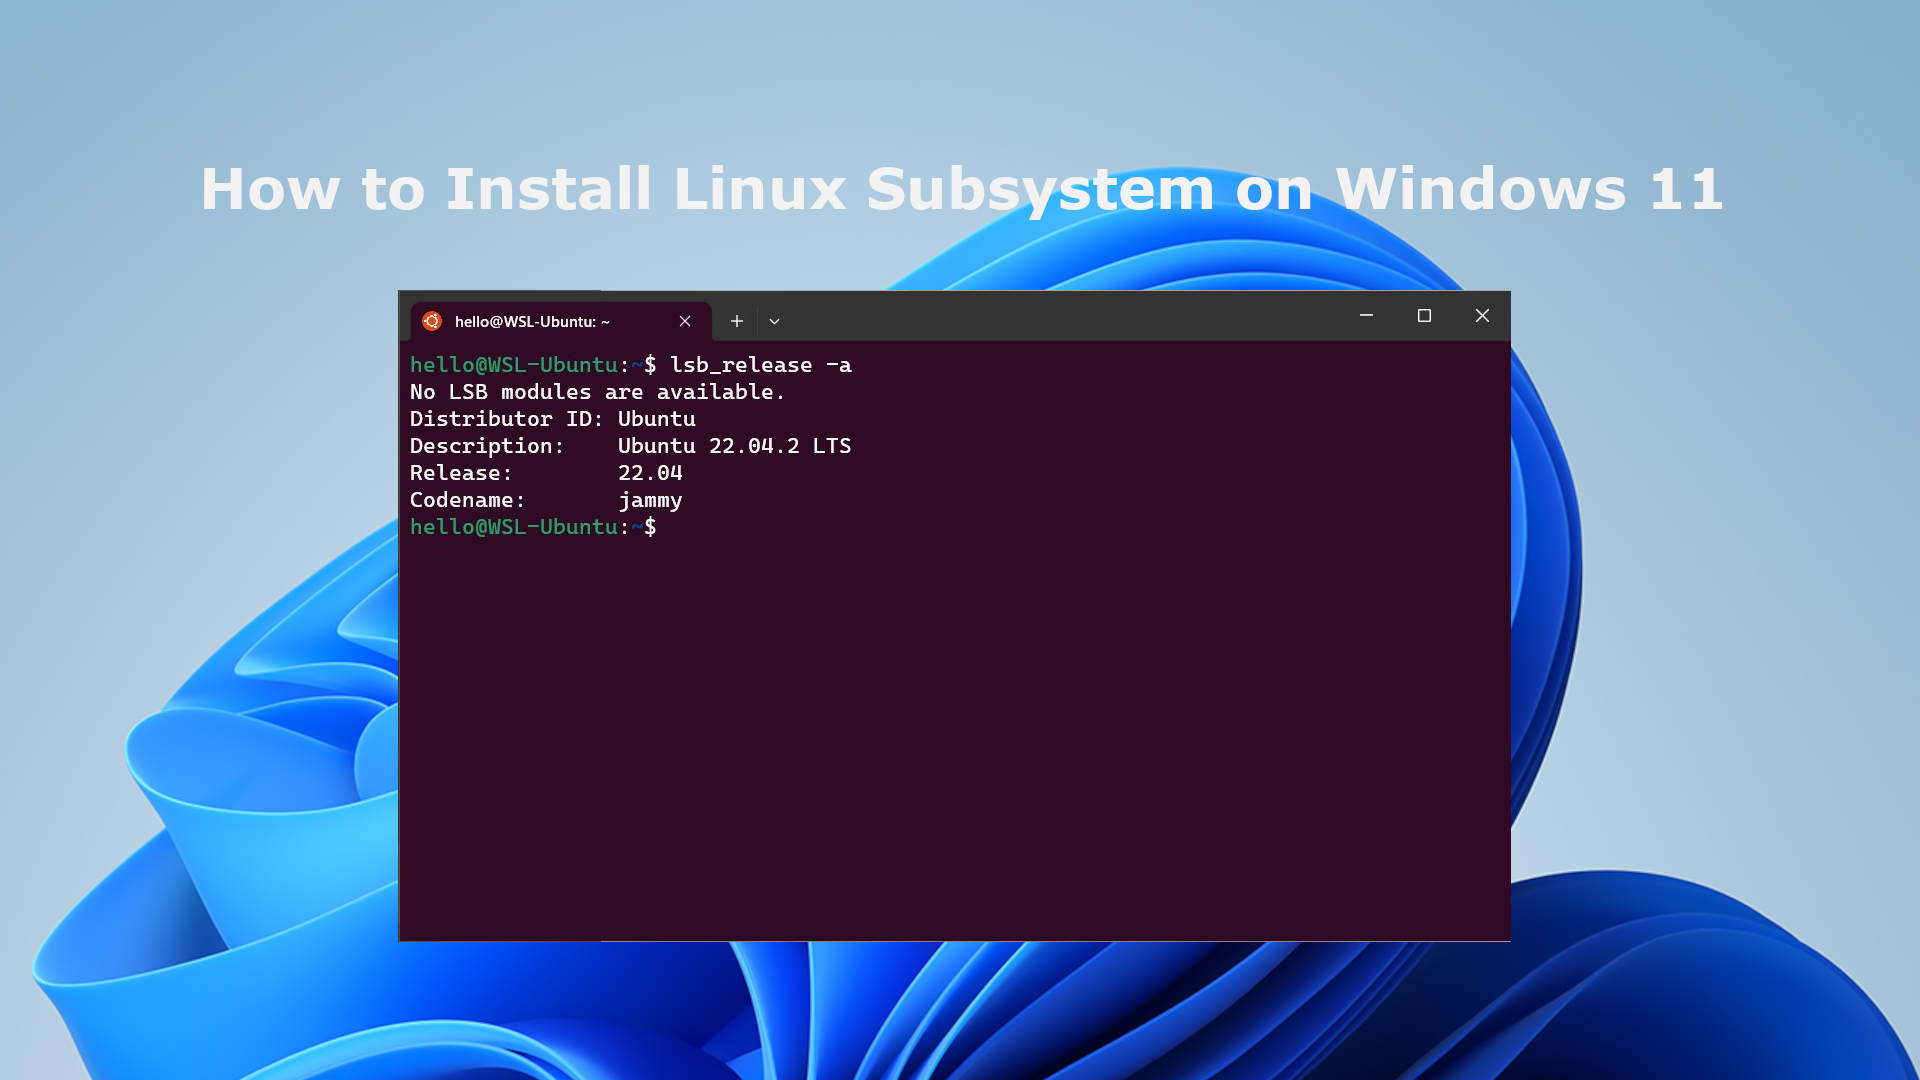
After creating an account, WSL is successfully installed, providing you with the Ubuntu Terminal interface. To access and use other Linux software, simply search for them in the Windows Search feature. To manage files and folders within WSL, navigate to the \\wsl$ directory using the File Explorer in Windows. This directory establishes a network connection, allowing you to seamlessly use files between Windows and Linux.

The installation process for WSL is straightforward. Terminal on Linux is an essential tool for programmers that cannot be replaced. Additionally, enthusiasts of Ubuntu can take advantage of numerous free and useful software options on Windows, thanks to the support provided by WSL.


Leave a Comment