Microsoft Publisher is a renowned software that helps users design stunning newsletters, brochures, flyers, and business cards with ease. What makes it stand out is the plethora of pre-built templates that are not available in any other similar software. Additionally, it offers image editing tools that make it effortless to add visual elements to designs, making them even more visually appealing.
However, if you're a Mac user, finding Microsoft Publisher on the Office installation package can be like searching for a needle in a haystack. Especially for those with the latest M1 and M2 Mac models, as they no longer support Bootcamp. But don't worry, we've got you covered with this guide that explains how to run Microsoft Publisher on Mac for free!
One excellent solution is to use Virtual Machine software, and among the many options available, VMware Fusion stands out as one of the best. It's not only free for personal use but also works exceptionally well with M1 and M2 Macs. With our step-by-step instructions, you'll be creating professional-looking designs in no time!
So, if you're a Mac user and want to experience the wonders of Microsoft Publisher, join us on this exciting journey and discover the world of possibilities waiting for you!
How to Run Microsoft Publisher on Mac for free
1. Install free VMware Fusion Player
Let's get started by downloading and installing VMware Fusion, a powerful software that lets you run Windows applications on your Mac with ease. The process is simple and straightforward. First, create a VMware account if you don't have one already. Then, download VMware Fusion Player, the universal version that supports both Intel Mac and Apple Silicon Mac, including the latest M1 and M2 models. Don't forget to keep the free license key to activate VMware Fusion Player after installation!

Once you have downloaded the installer, the exciting part begins! Open the installer, and you'll find the VMware Fusion application in the Applications folder, ready for you to launch. From here, you can install and run Windows-based software like Microsoft Publisher seamlessly on your Mac, without the need for a separate Windows machine. With VMware Fusion, you can easily switch between your Mac and Windows applications without restarting your computer.
2. Download Windows 11 ARM Virtual Machine
With just a few clicks, you can download Windows 11 ARM through Microsoft's Windows Insider program. But hold on, after the download, you'll find the Windows 11 ARM file in .VHDX format, designed specifically for Microsoft's virtualization tool, Hyper-V. No worries, we've got you covered with a step-by-step guide to convert the VHDX file to a VMDK virtual disk. Check out the link below and get ready to explore all the exciting features of Windows 11 ARM on your virtual machine!

3. Run Windows 11 ARM on Mac M1/M2 with VMware Fusion
After downloading Windows 11 ARM for Virtual Machine via Microsoft's Windows Insider program, you're almost ready to run it on VMware Fusion. The Windows 11 ARM package is already pre-installed, so you won't need to wait for the installation process.

To get started, activate your VMware Fusion software with a free license key, then click on "Create a custom Virtual Machine" to set up your VM. Choose "Microsoft Windows" as your Guest OS, then select "Windows 11 64-bit Arm" from the adjacent drop-down menu, and hit "Continue" to proceed.

Next, choose the option to use an existing virtual disk and navigate to the location where you saved your Windows 11 ARM.vmdk file in step 2. Click "Continue" to create a virtual machine.

Now, open your Virtual Machine and you'll be greeted with the Windows 11 language selection screen. You can use Windows 11 without creating an account at this point.
To bypass the account creation process, open the CMD in Windows 11 by pressing Commands + Shift + F10 within the Virtual Machine. Then, use the following command: "oobe\bypassnro".

Once you've rebooted your Virtual Machine, you'll be able to quickly access Windows 11 ARM without having to create an account. Enjoy exploring all the exciting features of Windows 11 on your Virtual Machine!

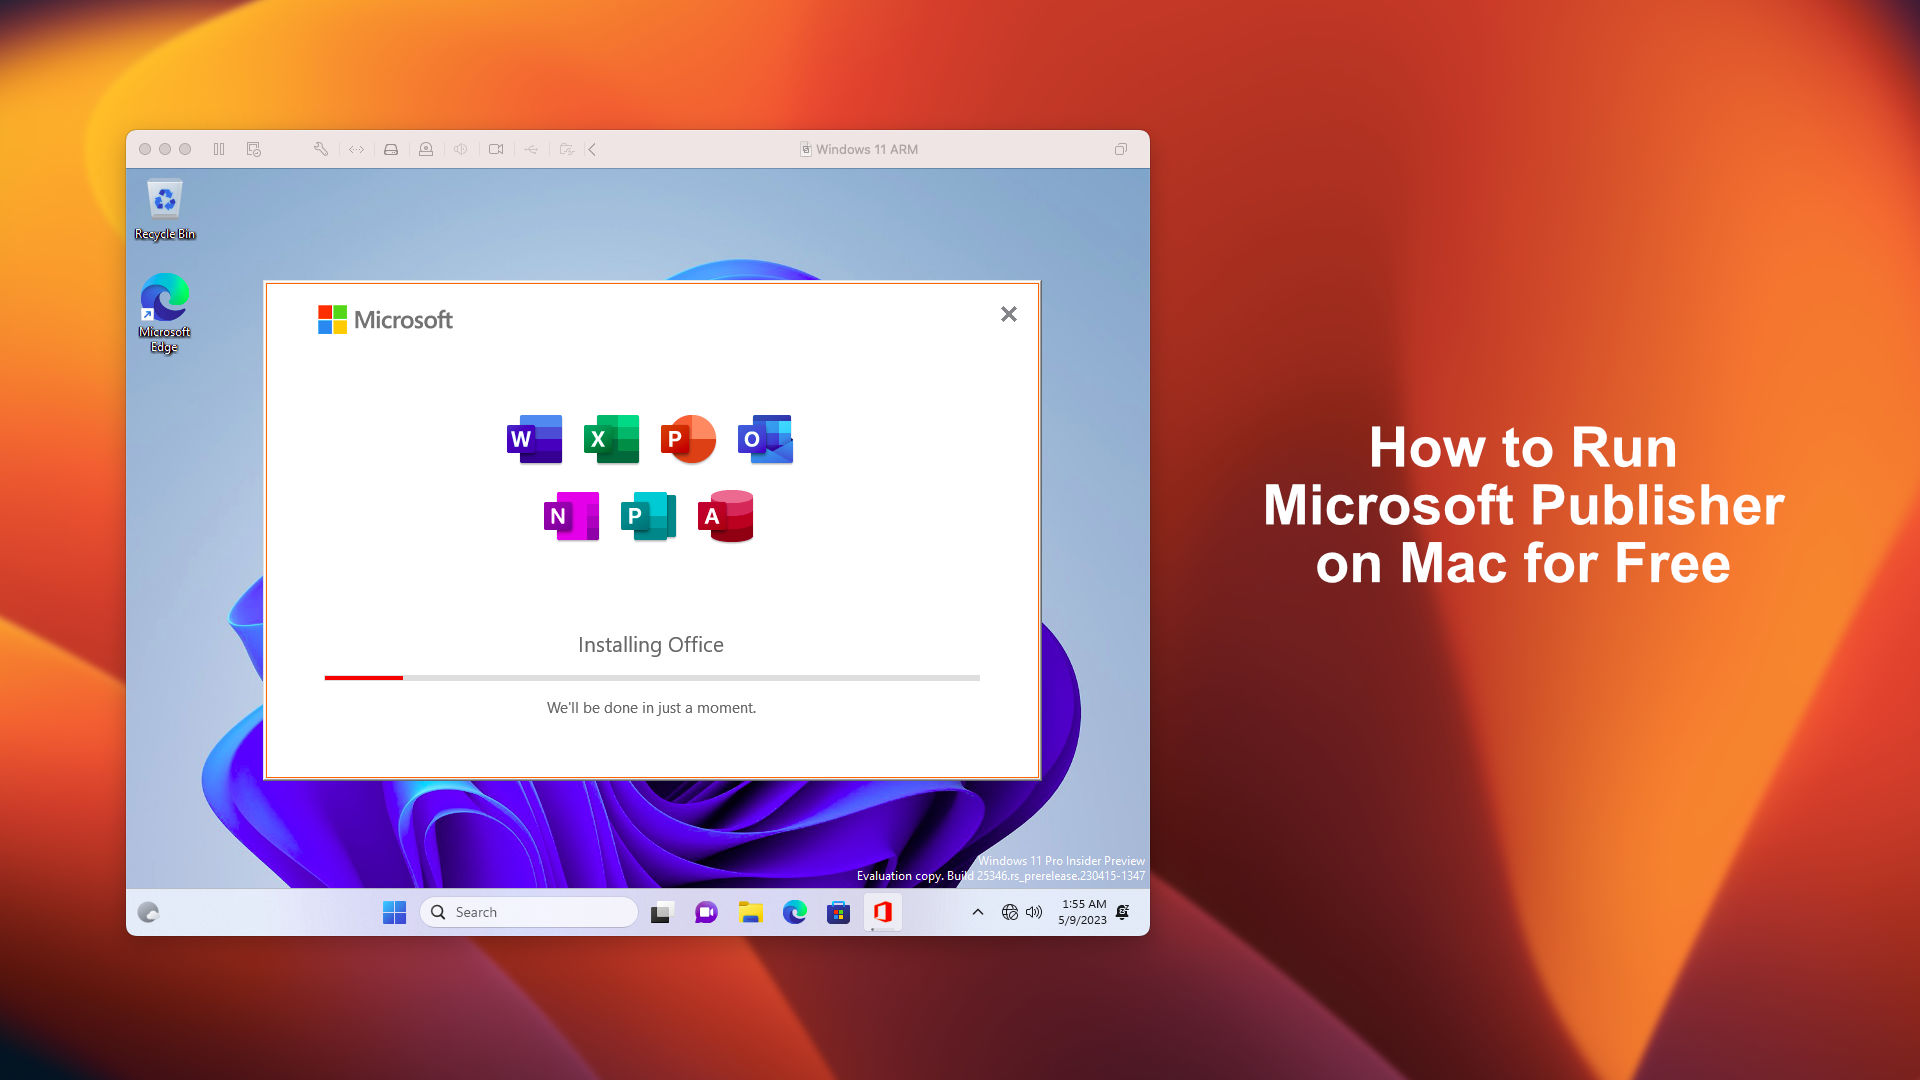
4. Install Microsoft Publisher on Mac M1 and M2
With the help of Windows 11 ARM on VMware Fusion, you can now easily install and run your favorite software, including even x64 bit applications, with no restrictions. Microsoft Publisher is one such example, and once you have installed it, you can use it on VMware Fusion. However, to use Publisher as an application on your Mac, you need to use Unity mode in VMware Fusion.

To activate Unity mode, simply go to the View option on VMware Fusion and select "Install VMware Tool". You will then see the VMware Tool installer on the Windows 11 ARM virtual machine. Proceed with the installation, and once complete, navigate to View > Unity mode to begin using Microsoft Publisher right on your macOS Ventura screen.

This functionality of Unity mode allows Microsoft Publisher to work like any other application on your Mac. For Macs equipped with M1 and M2 chips, there is plenty of power to run Windows 11 ARM alongside macOS, and VMware Fusion has been fine-tuned for excellent performance while using minimal RAM or CPU resources to maximize battery life on newer Macs. The free version of VMware Fusion for basic users is a great option to use Windows applications on your Mac without any additional cost.


Leave a Comment