When you install Windows OS on Mac, you cannot expect everything to work seamlessly without problems instantly. You may have to troubleshoot a few issues and fix them to get the best Windows experience. While Boot Camp on Mac had solutions for many of the common troubles when installing Windows on Mac, it does not support the installation of the latest Windows operating system — Windows 11.
However, when you’re installing Windows on Mac with a bootable USB drive, you’ll notice the need for hardware troubleshooting. Without the necessary Mac drivers, you won’t be able to use the mouse and keyboard when using Windows on Mac. There may also be network connectivity issues due to missing drivers.
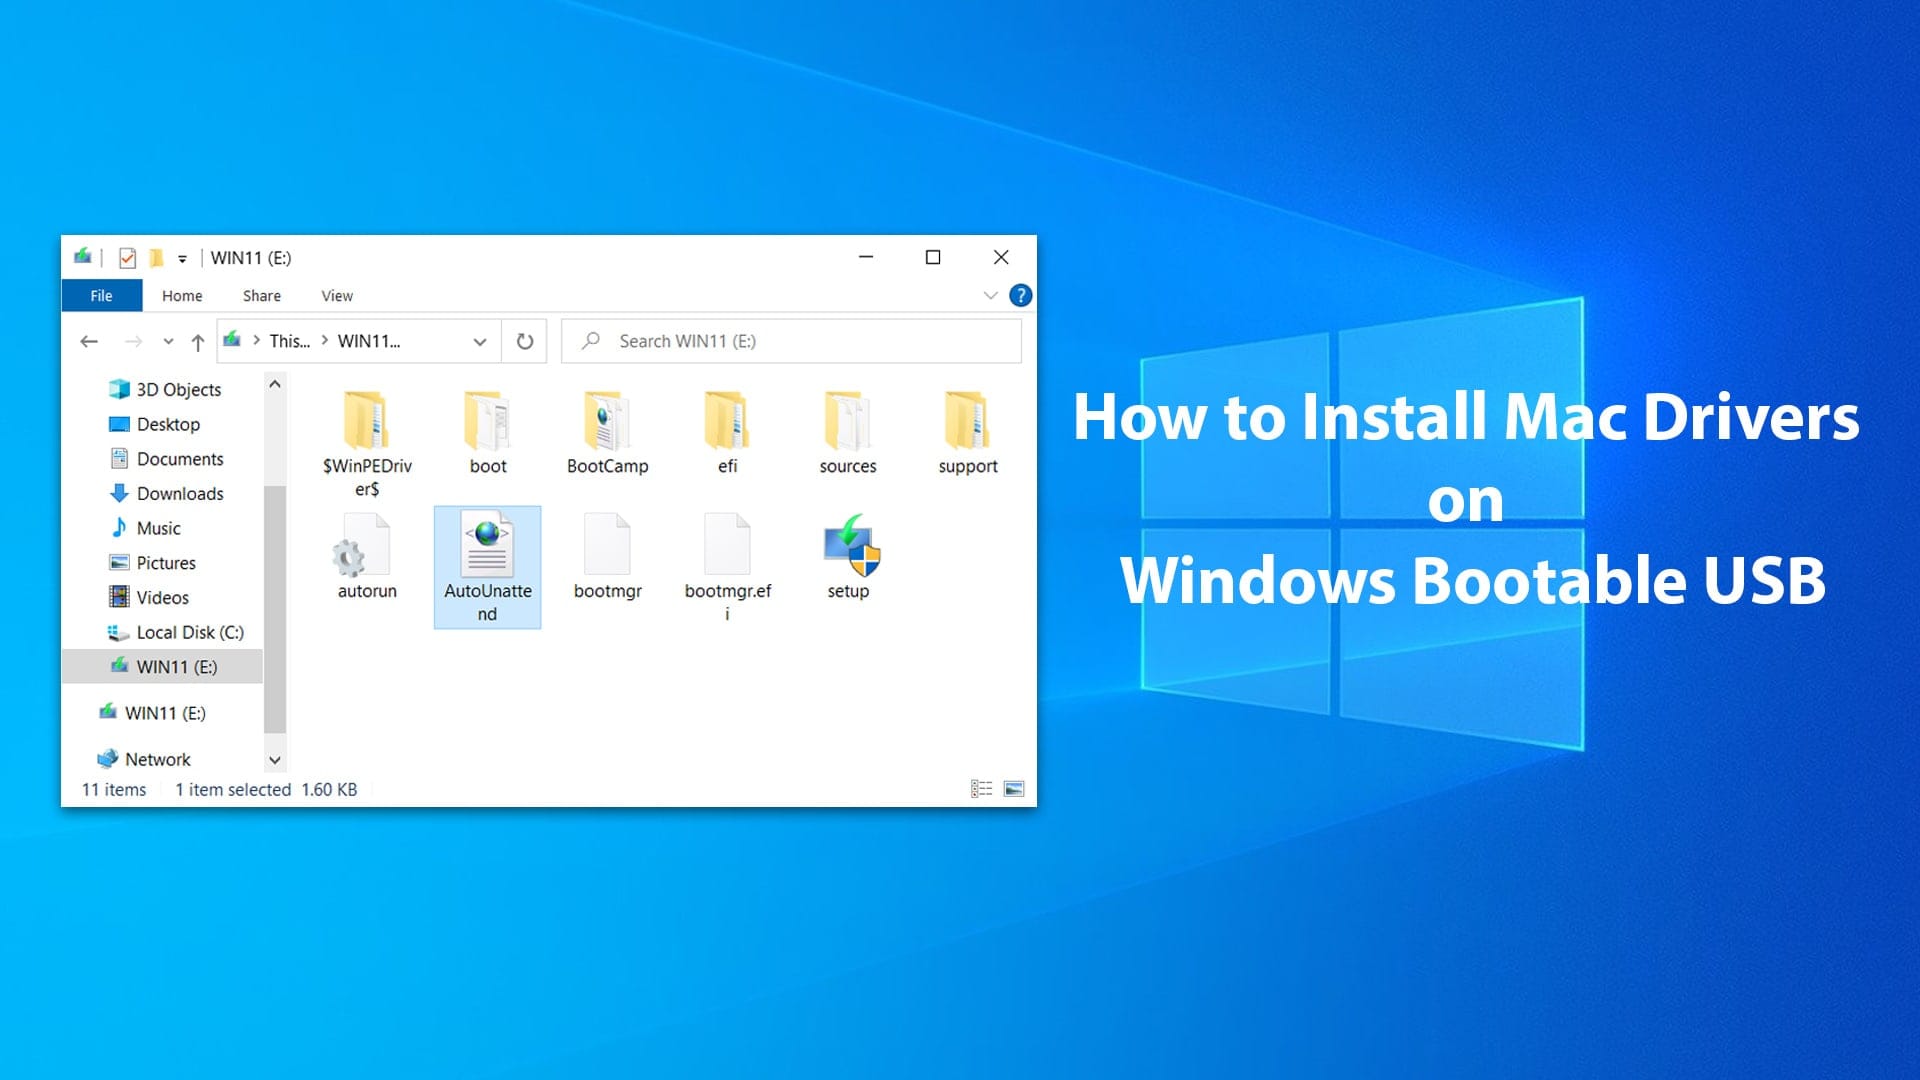
For installing Mac drivers along with Windows from the bootable USB, you create an Autounattend XML file into the Windows 11 Bootable USB.
What Does boot.wim and install.wim Do?
A WIM (Windows Image Format) file, represented by .wim is a disk image format with a set of files and associated filesystem metadata. WIM is a file-based format, unlike ISO or VHD that are sector-based formats.
The boot.wim is a boot image that can be booted into a clean system for beginning the installation process of Windows on the system. Meanwhile, install.wim is an install image that is the captured image of the installed Windows operating system that can be applied to the system.
We need both boot.wim and install.wim in Windows 11 ISO Image to create a Autounattend XML file.
What is Unattended XML?
Unattended XML is an answer file used to modify Windows settings in the disk image during setup. You can also create settings to trigger scripts that run after the first user creates their account and chooses their default language.
During the setup, Windows will automatically look for answer files in certain locations. You can also specify an answer file by using the /unattend: option when running the Windows setup.
How Do I Create an AutoUnattend XML File?
You can install Mac drivers automatically through an Autounattend XML file. Follow the steps below to create an Autounattend XML file.
Step 1: Open your Windows 11.iso and go to Sources folder. Copy boot.wim and install.wim files to the desktop.

Step 2: Download Windows ADK Installer here, and open adksetup.exe file to install Windows System Image Manager. Only choose to install Deployment Tools from the list of features you want to install.

Step 3: Once the installation is complete, click on Windows button and search “Windows System Image Manager”.

Step 4: Click File > Select Windows Image. Select boot.wim from the desktop and click on open. Then select "Microsoft Windows PE". You will see Components and Packages under the loaded Windows Image

Step 5: Click File > New Answer File

Step 6: Under the Components folder in the Windows Image, navigate to amd64_Microsoft-Windows-PnpCustomizationsWinPE\DriverPaths\ NewPathAndCredentials, right-click on NewPathAndCredentials and select Add. Choose the key as 1 and for the Path, choose the drivers folder in $WinPEDriver$.

Step 7. Now, close the Windows Image by Right Click on “Microsoft Windows PE” and select “Close Windows Image”.

Step 8: Go to File > Select Windows Image and choose install.wim. Under the Components folder of the Windows you’re installing, go to the amd64-Microsoft-Windows-Setup folder and right-click on DiskConfiguration, ImageInstall, and UserData and click on Add Setting to Pass 1 windowsPE.

Step 9: In the Answer File section, click on DiskConfiguration and choose Always as the value for WillShowUI.

Step 10: In the Answer File section, click on OSImage and choose the value True for InstallToAvailablePartition. Chose the value as Always for WillShowUI.

Step 11: In the Answer File section, click and expand UserData. Click on the ProductKey folder under it. In the ProductKey Properties section, assign the value of Always for WillShowUI.

Step 12: Go to File > Save Answer File As. Name the file as Autounattend.xml and save it at the root of the Windows bootable USB drive.

Now, you have a file that will install Mac drivers along with the Windows installation. You don’t need to manually hunt for drivers to install on your Mac. With Autounattend.xml, you can have your drivers set up along with the Windows installation for a seamless user experience.
After you install Mac Drivers for Windows 11 USB Installer, you can follow this tutorial to install Windows 11 on Mac:
How to Install Windows 11 on Mac without Boot Camp


Leave a Comment