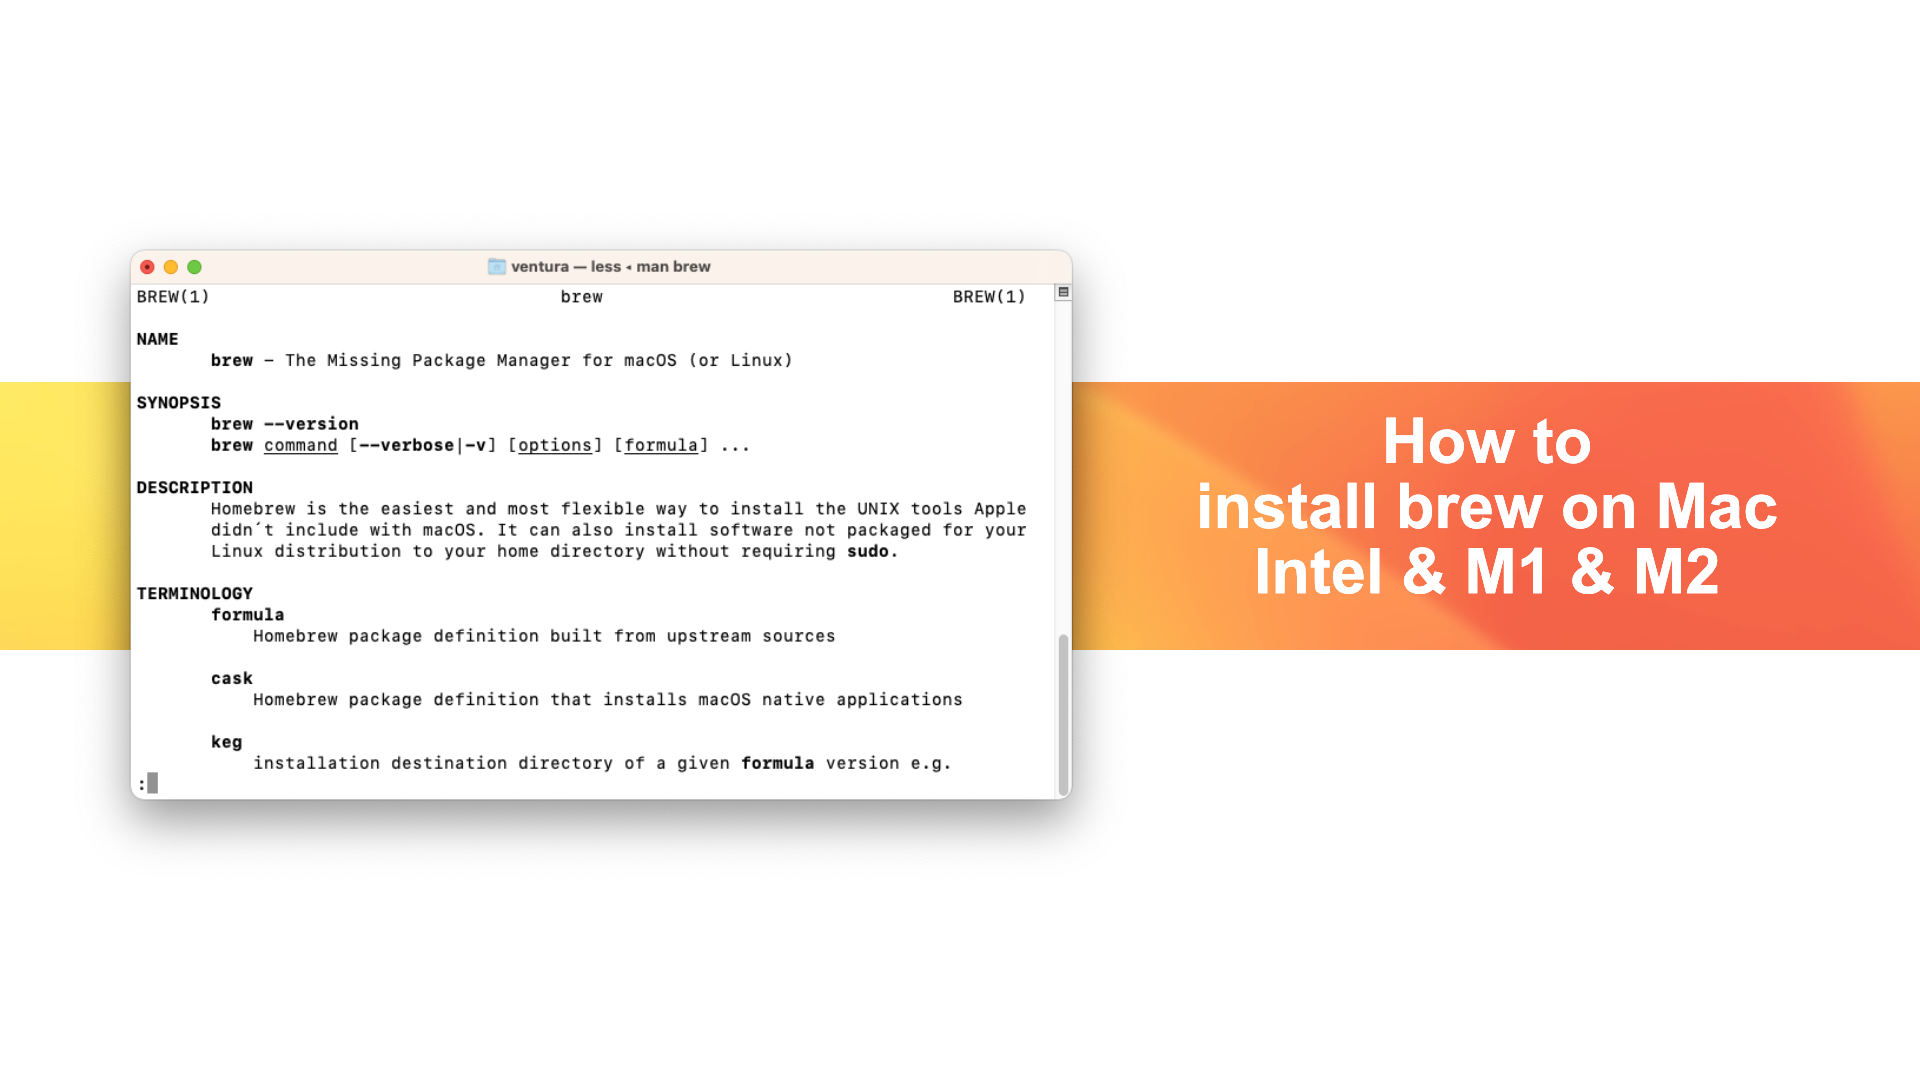
While there are many new applications in macOS Ventura, some advanced tools can only be accessed through using the macOS Terminal application. The programs that run in Terminal with command lines and call Packages for Mac. All packages are free and from many different sources so we need to use Brew in order manage and install them!
To get started with installing brew on an Intel Mac or M1/M2 Apple Silicon Mac, you will need to make some changes in the Terminal application. The problem is that Brew and Packages are installed in '/usr/local/bin' with Intel Macs, but for M1 or M2 Macs this will lead to errors when trying launch Brew in terminal because it uses the path '/opt/homebrew/bin'. This process can be difficult for beginners but does not require too much technical knowledge.
In this article, we will show you how to install Brew on your Intel Mac or M1/M2 Apple Silicon Mac. We'll also cover what a command line is and why it's important for installing software like Brew so that everything goes smoothly!
How to Install Brew on Mac
Step 1: Open Terminal
The most important app on macOS is still Terminal. The Terminal Application can be found in the Application>Utilities folder or you could open it with Spotlight search.
Step 2: Install XCode Command Line Tools
To install Brew, we don't need to install XCode Command Line Tools but when installing the Packages or Application it will ask you install XCode Command Lines. The XCode Command Line Package makes it easy to do command line development in new macOS. The XCode command line tools are a must-have for any developer. With this tools, you’ll be able to install any Packages on your Mac.
Use the following terminal command to download and install XCode Command Line Tools. This requires 3GB of space on your disk!
xcode-select --install

Step 3: Install Brew on Mac
To install Home Brew on Mac, you'll need to use the following terminal command:
/bin/bash -c "$(curl -fsSL https://raw.githubusercontent.com/Homebrew/install/HEAD/install.sh)"

Step 4: Edit Configuration file for Apple Silicon M1/M2 Mac
If you are using Intel Macs then skip this step, go to next one. But if your Mac is Apple Silicon make sure replace PATH in configuration file before running Brew. The installation of brew will happen in two different locations depending on your Mac. If you're installing it onto an Intel Mac, then the program is installed at '/usr/local/bin' while for ARM-based devices like Mac Studio or MacBook Air M2 there's a separate folder called '/opt/homebrew/bin' with all Homebrew related tools located inside of it! and when you try to run brew, the terminal should give an error 'zsh: command not found: brew'

We will edit the PATH in configuration file to fix this, and when using any command with terminal it should be found in this PATH. Apple updated the default Terminal to zsh, so now all of our configuration files must be renamed and edited accordingly. The old name for '.bash_profile' is no longer relevant - it's called '.zprofile' instead!
In this tutorial, we'll edit the .zprofile file. The default doesn't exist on macOS so you need to create it before editing! You can use Touch command to create a '.zprofile' in root folder. To make changes to the configuration file, use this terminal command:
cd ~/
touch .zprofile
echo 'eval "$(/opt/homebrew/bin/brew shellenv)"' >> $HOME/.zprofile
eval "$(/opt/homebrew/bin/brew shellenv)"

Step 5: Install and Manage Packages
The following commands will help you install and manage Package with Brew. There are a lot of free packages available, so make sure to check out their website here.
brew install package_name
brew uninstall package_name
brew list
The commands are easy to use and after installing a package, you just need enter the name or command of your choice in terminal for it run. You can also learn more about functionality by using brew info package_name
Step 6: Install Applications
Brew is a package manager that can be used to install or remove applications. Some people like to use brew for installing most popular programming languages or applications. The following commands allow you to do this with ease!
brew install application_name
brew uninstall application_name
Step 7: Disable Analytic
Brew analytics data will be sent to the dev team so that they can make improvements on their application. However, if you do not want this feature enabled then use follows command:
brew analytics off
Uninstall Brew on Mac
Mac users need to use the following command in Terminal for complete removal of Brew. The uninstall process should be quite simple once you know where to look! deleting Homebrew will also delete all of its packages
/bin/bash -c "$(curl -fsSL https://raw.githubusercontent.com/Homebrew/install/HEAD/uninstall.sh)"
This complete guide will help you install brew on your Intel or Apple silicon M1/M2 mac. There are some packages that might errors when install on M1/M2 Mac, if there are errors when installing it then just replace the PATH in configuration files to fix these problems! We're always here to help! If you have any questions or concerns, please let us know by commenting on this post. We'll get back with as soon as possible.


Leave a Comment