Are you running out of storage space on your iPhone and need to backup your precious photos and videos to free up some space? Don't worry, we've got you covered! No need to use paid services or worry about your MacBook or Windows computer's storage capacity. With newer iPhones like the iPhone 14 boasting 512GB or 1TB of storage, it's easy to transfer your data to an external disk and keep your phone clutter-free.
We understand that finding a quick and free solution is crucial, so we've got just the thing for you! In this guide, we'll show you how to transfer your photos and videos from your iPhone to an external disk, such as a USB drive or SSD, using the latest and most efficient methods on both Windows and macOS. Say goodbye to low storage space and hello to more room for new memories on your iPhone!
Backup Your iPhone Photos and Videos on macOS
We often use the Photo app on macOS to import photos and videos from our iPhone to our Mac, and then export them to an external disk. However, this process takes up a lot of storage space on your Mac and can be time-consuming, especially for newer MacBook Air or Pro models with only 256GB or 512GB of storage. Trying to backup a 512GB iPhone 14 with this setup would be nearly impossible!
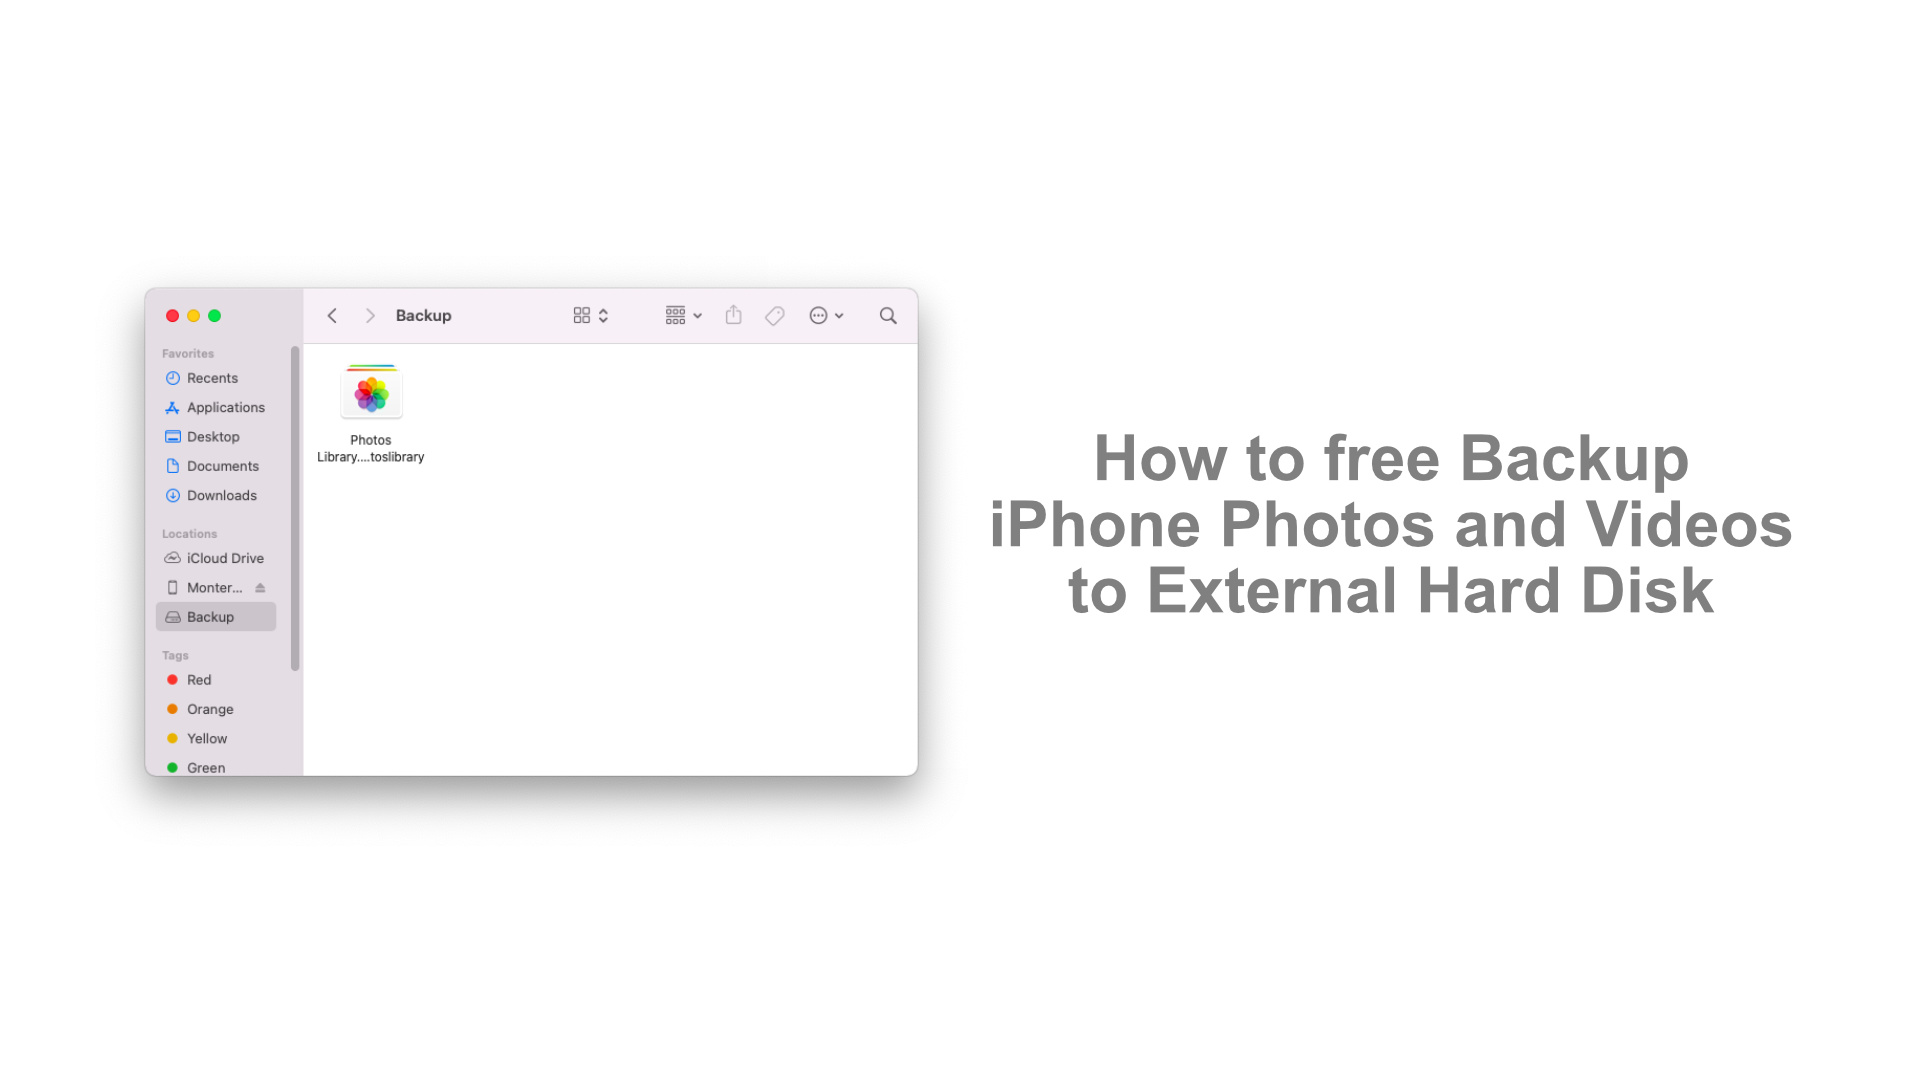
That's why we have a solution for you: creating a Photo Library directly on your external disk, allowing you to quickly and efficiently backup your data without using up your Mac's storage space. The best part? Whenever you have new photos or videos on your iPhone, simply open the Photo Library on your external disk and select "Import all new Items" The Photo app will automatically detect and backup any new media on your iPhone, saving you valuable time.
Are you interested in this method? Follow our easy-to-follow steps to create a Photo Library on your external disk and streamline your backup process!
Step 1: To create a new Photo Library on macOS, start by pressing the "Option" key and opening the Photo App. This will prompt a window to pop up, which is titled "Choose Library". From there, simply select "Create New" and you're on your way!

Step 2: After that, navigate to your External Disk and select a suitable location to save the newly created Photo Library. It's worth noting that macOS can only read and write to exFat, HFS, and APFS standards, so ensure that your External Disk is formatted accordingly.

Step 3: Once you've connected your iPhone to your macOS device, hit the "Trust" button on your iPhone screen. Then, fire up the Photo app on your macOS device and choose "Import All New Items." From there, sit back and relax while the process of backing up all of your treasured photos and videos from your iPhone. Depending on the size of your Photos and the speed of your External Disk, you may have to wait a bit for the process to wrap up, but it's well worth the wait!

Step 4: To browse through your pictures saved on the External Disk, just launch the Photo Library located on the disk, and voila! All your precious moments will be displayed in the Photo app for your convenience. Done!

Transforming your photos into high-quality JPG files has never been easier! With Photo apps, you can export your favorite pictures to various image qualities by simply navigating to File > Export.

Once you've chosen your desired location and image quality, you can visualize the conversion process with ease. Plus, this technique allows you to free your photos from the constraints of the Photo Library at any time! Why not give it a try and see the stunning results for yourself?

Backup Your iPhone Photos and Videos on Windows PC
Our guide is here to show you a simple and stress-free way to access your iPhone storage and transfer your media files with ease. However, we want to warn you about a pesky little error message that may pop up - "The Device is Unreachable." This error occurs because your iPhone converts HEIC image files to JPG format before your computer can copy them, which can cause issues when trying to transfer large amounts of media files. But fear not, as we have the perfect solution for you! Our guide will take you step-by-step through the process of quickly and efficiently transferring your photos and videos to an external disk, without any risk of encountering errors. Say goodbye to the headache of iTunes and hello to hassle-free backups!
Step 1: First, head to your iPhone's Settings > Photos. In the "Transfer to Mac or PC" option, make sure to choose "Keep Originals" to ensure that your images retain their original quality and won't be compressed during the transfer process. And don't worry about those pesky HEIC files - Windows can read them with ease now!

Step 2: Connect your iPhone to your Windows PC and make sure to click the "Trust" button when prompted. Then, open up "File Explorer" on your computer and select "Apple iPhone." You'll see the option to choose "Internal Storage," which will give you access to the "DCIM" folder where all your photos and videos are stored. Now, simply copy the contents of the folder to your External Disk, and you're all set! No more worrying about lost or corrupted files - just seamless transfers and peace of mind.

Don't panic if you run into any issues - just follow these simple steps! If you're having trouble copying your photos and videos, double-check Step 1 (disconnecting your iPhone) and then move on to Step 2. And if you can't find the "DCIM" folder, don't fret - it may take a few minutes for Windows to detect all your images and videos.
Here's a quick and simple guide to help you backup your precious photos and videos from your iPhone. Our comprehensive and detailed guide breaks away from the outdated tutorials found elsewhere on the internet, helping you quickly free up valuable space on your iPhone.


Leave a Comment