macOS is one of the smoothest and fastest operating systems developed by Apple. It has many advanced yet handier features that support a high level of multitasking. However, one issue we consistently face with macOS is the high CPU usage, especially in macOS Ventura and Monterey. Many macOS users reported high CPU issues after Ventura Update.
Notably, this mainly happens when you upgrade your macOS from one version to another. There could be several reasons for the high CPU resource usage issue. Fortunately, we have found some workarounds to fix the issue. This article discusses how to fix the macOS Ventura high CPU usage problem.
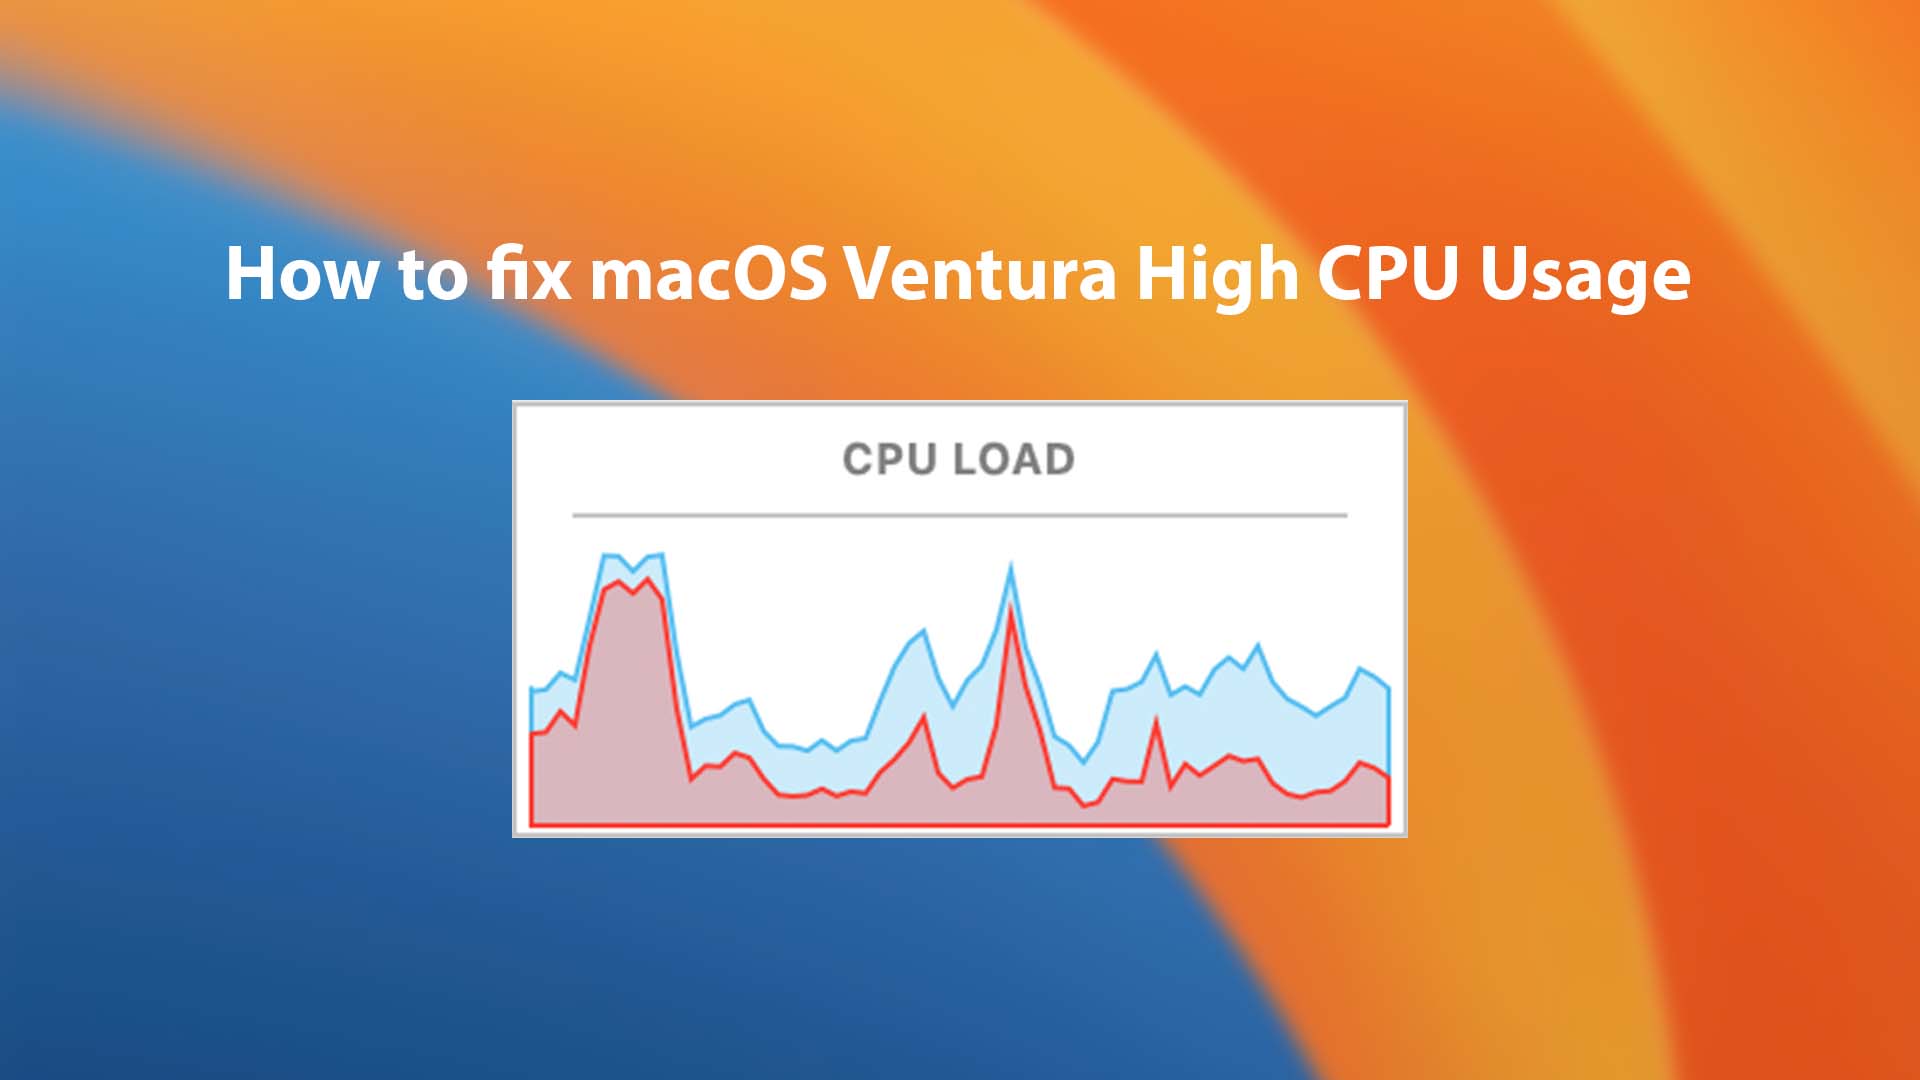
How To Fix macOS Ventura High CPU Usage
Fix mds and mds_stores High CPU Usage
Spotlight Search is one of the most useful features of the Mac. It lets you search for things quickly on your computer in seconds. The Spotlight feature is known for its lightning-fast searching speed. And interestingly, the mds_stores process helps Spotlight Search on macOS Ventura work faster. Yes, it is related to the Spotlight feature. It’s a process that automatically starts indexing all the files and applications present on your SSD or external storage.

When you restart your Mac or update it to the newer version, it starts to index all the files and other data on your Mac automatically. In addition, it keeps indexing the data in the background, which sometimes slows your Mac. Due to this, the mds_stores process could be the culprit for Mac’s high CPU. Here are some ways to fix the issue.
1. Delete Junk files for a faster Spotlight Indexing
When you use your Mac for a long time, it can become very cluttered with Junk files and folders. The junk files on your Mac can be a result of many different things, including logging and caching activities. When you have a lot of junk files on your Mac, it can slow down the Spotlight Indexing and make high CPU usage.
When we found many junk and unused files with Cleanup Software, it made us realize just how many minutes worth! The more file and folder you have in your system, the longer it will take for Spotlight indexing.

The indexing process can take time, so it's always best to remove any unneeded files before beginning. There are many cleaning software for macOS, we recommend CleanMyMac because it's quick and simple to use. Just one click will clean all your junk files - automatically! The app is free to download and try, but if you want the full experience of cleaning your computer with ease then purchase a subscription.
2. Reduce Spotlight Indexing Data
One of the first ways to fix the macOS high CPU issue is to reduce directories from the Spotlight Index. Deleting some files from the Spotlight index can resolve the issue. Follow the steps to reduce your Spotlight indexing data.

Step 1. Click on the Apple logo and move to the System Settings section.
Step 2. Click on the Siri & Spotlight option.
Step 3. There you will find two sections: Search Results and Privacy. First, head to the Search Results section and uncheck the boxes whose search results you don’t want to see in Spotlight.
Step 4. Now, head to the Privacy section, and click on the Plus (+) icon to add locations you don’t want Spotlight to search from.
3. Disable Spotlight Search
One of the easiest ways to get rid of this issue is to disable the Spotlight feature from the roots. You can disable the Spotlight feature entirely with the Terminal app. You can follow the steps to disable the Spotlight feature.

Step 1. Open the Terminal app.
Step 2. Execute the mentioned command in the Terminal app: sudo mdutil – a -i off
Step 3. You may now see a prompt asking for your Admin Password. Enter your password to let the Terminal app disable the Spotlight feature.
4. Update Your macOS 13 Ventura
Another way to fix mds_stores high CPU issue on Mac is to update your macOS. It is possible that you are facing this issue because of a bug in your current Mac version. So, search for new updates and update your macOS.
To update your macOS, click on the Apple icon and head to the About This System Tab. Now, move to the Overview section, and click on Software Update. Your PC will now restart to search for new updates. After updating the PC, you can check whether the issue is fixed.
Fix kernel_task
One process you will always find running in the Activity Monitor app is the ‘kernel_task.’ You will also observe that it consumes significant CPU resources. The kernel_task task is an integral part of the Mac operating system that helps it run smoothly and faster. It is a group of small functions responsible for performing various tasks, from reading and writing to sharing, sending, and receiving data over the network.
Suppose you see this task consuming a lot of your CPU resources. There is a possibility that the ‘kernel_task’ task is causing the issue. Notably, we can’t stop the ‘kernel_task’ task. Yet, we can perform some other steps to reduce CPU usage.
1. Check kernel_task with Activity Monitor
First, you need to check CPU usage with the help of the Activity Monitor app. You can follow the mentioned steps to check CPU usage with the Activity Monitor app.
Step 1. Open Spotlight and type Activity Monitor. Click on the Activity Monitor.
Step 2. On the Activity Monitor app, click on the %CPU to sort processes based on CPU usage resources. You will see kernel_task on the top along with mds_stores.
Step 3. Click on the kernel_task; below you will see a graph with additional information. You can see the process associated with the kernel_task process and CPU usage.
2. Reset SMC on Mac
Resetting System Management Controller (SMC) is also one of the ways to fix the kernel_task high CPU usage on Mac. You can easily reset SCM in a few clicks but not on M1 Macs. This is because M1 Macs don't come with an SMC. Besides M1 Macs, you can easily reset SMC on Intel Macs. Follow the steps to reset SMC on Intel Macs, Mac Pro, or Mac Mini.
Reset SMC iMac, Mac Mini:
Step 1. First of all, Shut Down your Mac.
Step 2. Then, Remove the power cord from your Mac.
Step 3. Wait for at least 15 seconds, then Attach the power cord again.
Step 4. Now, wait for at least 5 seconds, then turn on the computer.
Reset SMC MacBook Air, Macbook Pro:
Step 1. Shut Down your MacBook.
Step 2. Then, Unplug the power.
Step 3. Press and hold the Right Shift, left
Ctrl and Option (Alt) keys.
Step 4. Keep all Key then press Power button (10 seconds).
3. Check Your Mac CPU Temperature
Sometimes kernel_task help manage the CPU temperature. You need to check your CPU temperature to prevent the kernel_task process from using high resources. This way, you can ensure that your CPU isn’t causing the issue. Follow the steps to check your CPU temperature with the Terminal app.

Step 1. Open the Terminal app.
Step 2. Copy and paste the mentioned command in the Terminal app: sudo powermetrics --samplers smc |grep -i "CPU die temperature"
Step 3. You will now see your CPU temperature
And these are the three ways to fix macOS Ventura high CPU usage issue. High CPU usage problem are common in macOS Ventura and macOS Monterey. Some users faced the issue due to background applications. Some encountered the problem due to the Spotlight feature. However, the reason could be different in your case. But we assure you these above-mentioned methods can really fix Mac's high CPU usage.


Leave a Comment