The EFI System Partition (ESP) plays a crucial role in both Windows and macOS systems. It contains essential folders and files necessary for booting into Windows, Ubuntu, or macOS. Due to its importance, all operating systems can encounter problems if the files within this partition are not correctly set up. To prevent issues, Windows and macOS often hide the EFI partition, and modifying it requires administrative privileges.
There are two types of EFI System Partitions: one for Windows and another for External Disks, such as a USB Installer for Ubuntu or macOS. Creating and editing these EFI partitions is relatively straightforward using different commands, with the help of CMD (Command Prompt), a familiar tool in the Windows environment.
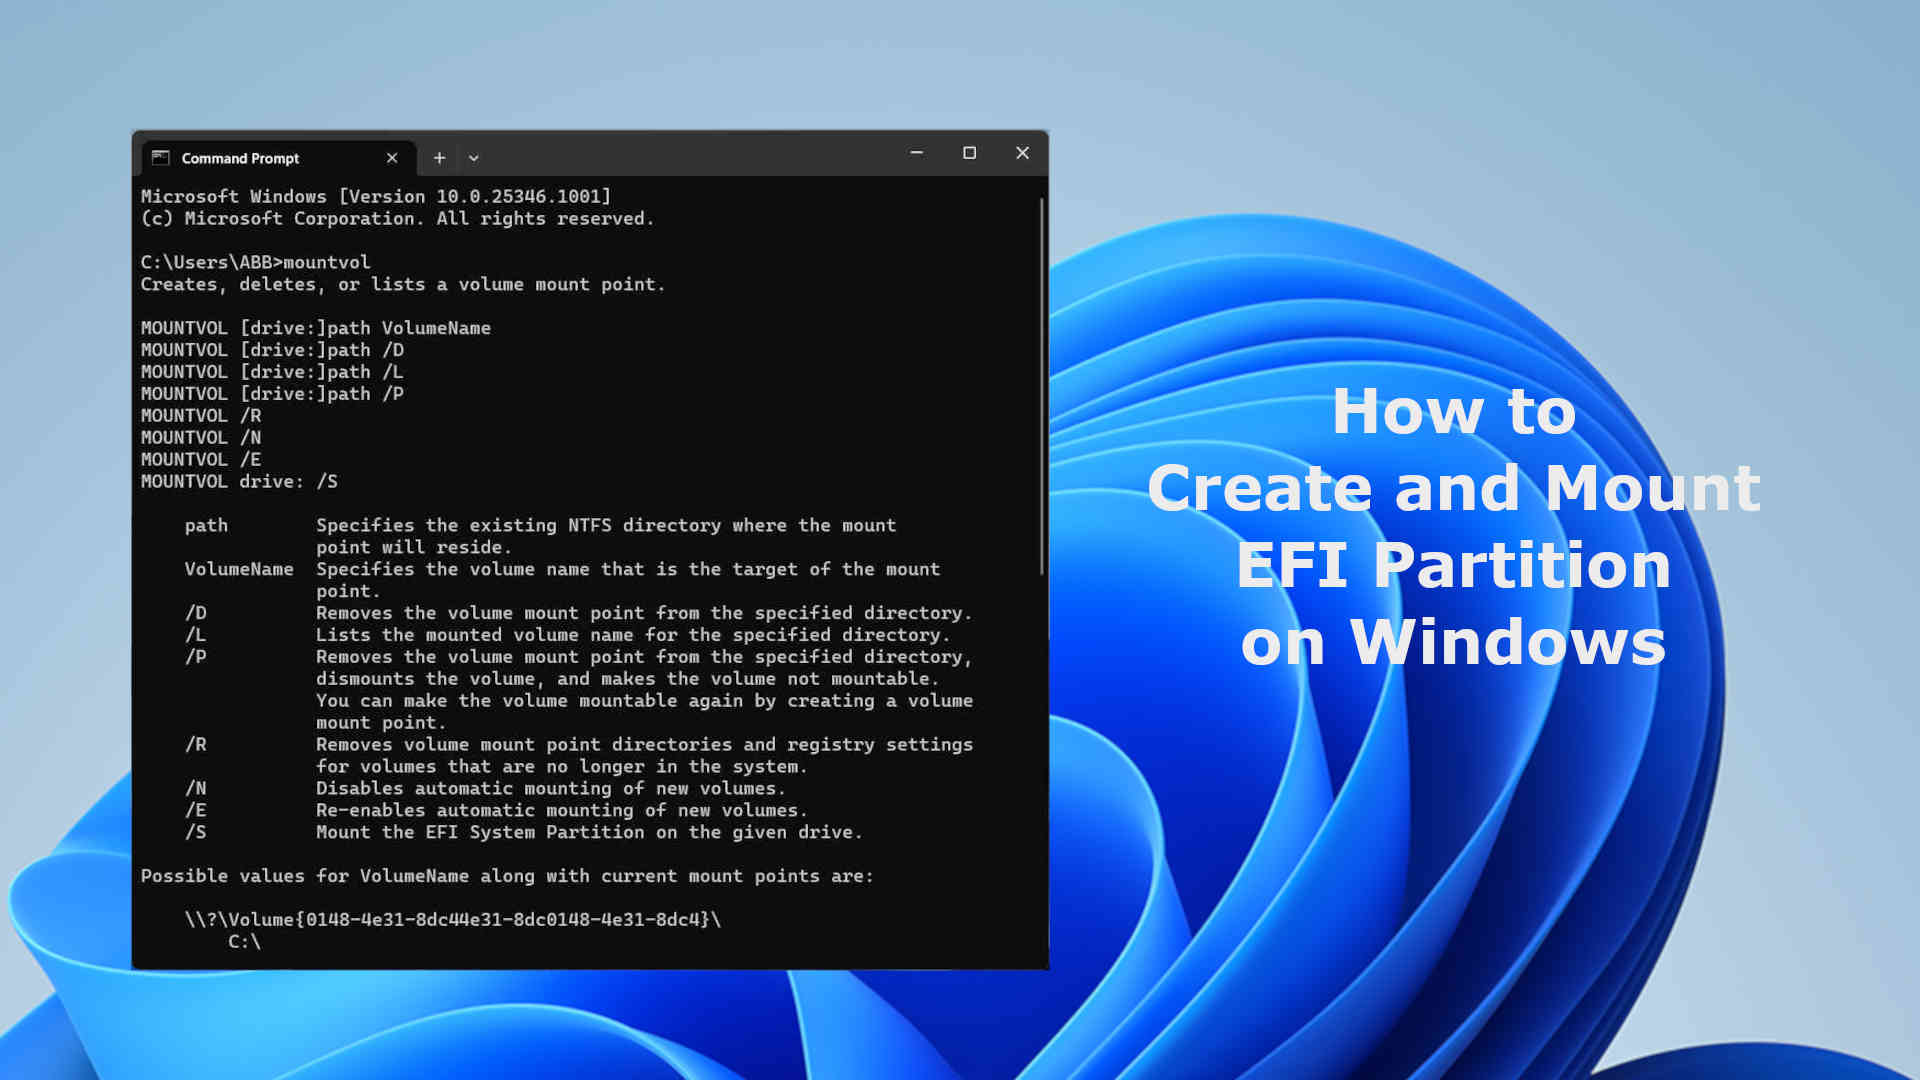
How to Create and Mount EFI Partition on Windows
To begin, we must open the Command Prompt with administrative privileges. On Windows, you can find the Command Prompt by searching for "CMD" in the Windows Search bar. Then, right-click on it and select "Run as administrator" from the options. Once you have done this, you are ready to proceed with creating or modifying the EFI partition.

1. Create and Mount EFI Partition for External USB Installer
1.1 Create EFI Partition on USB Installer
To create an EFI partition on Windows, we can use the Diskpart tool, which provides more advanced functionalities compared to the Disk Manager. Diskpart enables the creation of an EFI partition, which is not possible through the regular Disk Manager.
To access Diskpart, open the Command Prompt and enter the command "diskpart." After that, you can use specific commands to create the EFI partition.

Before proceeding, it is crucial to verify if your disk is currently using the GPT (GUID Partition Table) standard because EFI functionality is limited to GPT disks. In case your USB Drive is formatted with the MBR (Master Boot Record) standard, you need to follow the provided commands to Clean and Convert the disk to GPT. However, it's essential to be aware that converting to GPT will result in the complete loss of data on the USB Drive.
Microsoft DiskPart version 10.0.25346.1001
Copyright (C) Microsoft Corporation.
On computer: DESKTOP
DISKPART> list disk
Disk ### Status Size Free Dyn Gpt
-------- ------------- ------- ------- --- ---
Disk 0 Online 476 GB 131 MB *
Disk 1 Online 28 GB 28 GB
DISKPART> select disk 1
Disk 1 is now the selected disk.
DISKPART> clean
DiskPart succeeded in cleaning the disk.
DISKPART> convert gpt
DiskPart successfully converted the selected disk to GPT format.
DISKPART> create partition efi size=250
DiskPart succeeded in creating the specified partition.
DISKPART> list partition
Partition ### Type Size Offset
------------- ---------------- ------- -------
* Partition 1 System 250 MB 1024 KB
For illustration purposes, let's assume "Disk 1" represents the External USB Disk, and the desired size of the EFI partition is "250 MB."
1.2. Mount and Unmount USB EFI Partition
To Mount the EFI Partition of an external disk, such as a USB Installer, we'll use the 'mountvol' tool in CMD, but the command will have some variations.
Step 1: Display the complete list of partitions on Windows using the 'mountvol' command in CMD. Among the listed drives with the label 'Not Mount Point,' select any drive, and note down its ID.

Step 2: Use the following command to Mount the EFI partition: mountvol F: \\?\Volume{id}\
In this command, 'F:' is the drive letter that you want to assign to the EFI partition. You can choose any available letter that doesn't conflict with existing partitions on your Windows system. '{id}' represents the ID of the EFI partition found in the previous step. If the ID doesn't match the EFI partition, try different IDs until you find the correct one.
To Unmount the EFI Partition, use a similar command: mountvol F: /D
Here, 'F:' is the drive letter associated with your EFI partition, and '/D' is the unmount partition command."
2. Mount and Unmount Windows EFI Partition
The Windows EFI disk is typically in an Unmount state, preventing users from accessing or using it directly. To make the Windows EFI disk accessible, we can utilize a CMD tool called 'mountvol.'

To Mount the Windows EFI partition, use the following command: mountvol H: /S
In this command, 'H:' represents the desired drive letter for the EFI partition, and '/S' is the command to mount the partition. You can select any available drive letter that does not conflict with existing drives on your Windows system (e.g., F, G, M, K, etc.).

If you wish to stop using the Windows EFI partition, you can Unmount it using the following command: mountvol H: /D
Once again, 'H:' denotes the drive letter of the EFI partition you want to unmount, and '/D' is the command to unmount the partition."

3. Open EFI Partition
EFI partitions are typically not directly accessible on Windows without Admin privileges, and obtaining such rights can be time-consuming. In this guide, we present a quicker and simpler approach using the Task Manager.
To begin, open the Task Manager by right-clicking on the Start menu and selecting "Task Manager," or use the keyboard shortcut Ctrl+Alt+Del, then choose "Task Manager."
Once the Task Manager is open, select "Run new task," and click on "Browse" to navigate to the EFI partition.

Next, remember to choose "All Files" to display all the files within the EFI partition.

A crucial point to note is that if you created the EFI partition in Step 1, you might need to format it again. Opt for formatting it using the FAT or FAT32 standard for compatibility with various devices, from Mac to PC.
Keep in mind that EFI partitions will only function when the uEFI boot mode is set on your PC, and you must convert the drive to the GPT standard.
Following these steps will enable you to take full control of using the EFI partition on Windows. With this guide, editing or creating a new EFI partition will become a straightforward process for you.


Leave a Comment