In one of our previous tutorials, we showed how to Install Guest Tool on macOS on VirtualBox. We installed Guest Tool with the purpose of improving our macOS performance. With the help of the Guest Tool, you can also change the screen resolution of your macOS running on VirtualBox. You can smoothly change your macOS resolution to 1920x1080 or Higher Resolution.
This tutorial will show you how to change the screen resolution of macOS on VirtualBox. You can do this with the help of the Terminal and also by running automatic commands with Automator. We will discuss both methods to help you do this easily. This tutorial works for all versions, from new ones to old ones, such as Ventura, Monterey.
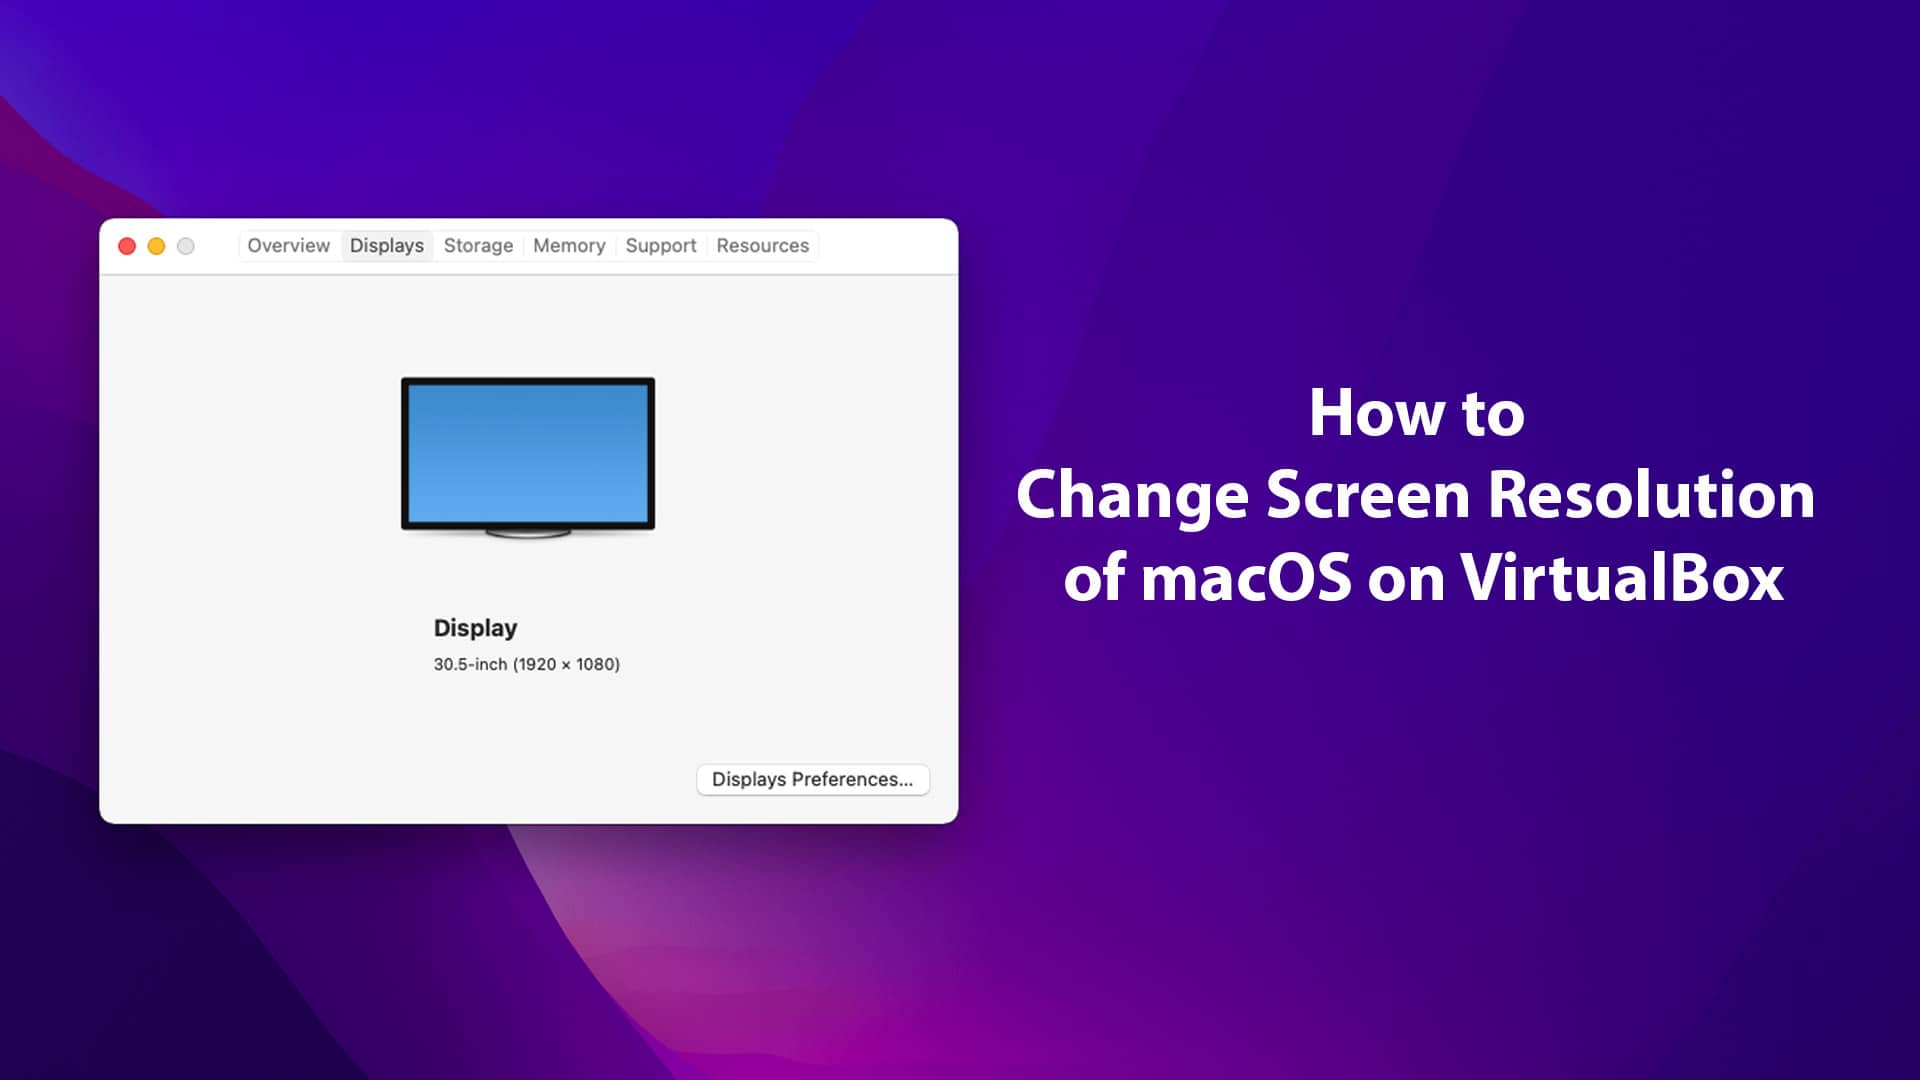
Change Screen Resolution of macOS on VirtualBox
In this tutorial, we will learn to change the screen resolution of our macOS on Virtual Box with the help of the VMsvga Kext. When we install the VMWare Tool on our macOS, it automatically creates two drivers (Kext) in our macOS: VMwareGfx and VMhgfs. Both drivers have different functions and roles in improving your macOS system’s performance.
The VMwareGFX driver is for video and helps accelerate the videography of your macOS system. And, the VMHGFS is better known as VMware Host-Guest File System. This feature allows guests to connect directly to host partitions without the need for a network. In simple terms, this provides shared folder support. And in this tutorial, we will use this driver to change the resolution by running some simple commands in Terminal.
As mentioned above, there are two different methods to change the screen resolution.
- Using the Terminal in macOS;
- Running automatic commands with Automator;
In the first part of this tutorial, we will show you how to change the screen resolution by executing some commands in the Terminal of your macOS. If you follow this method, you will need to change the resolution every time you reboot your system.
In the next part of the tutorial, we will show you a different way to do this automatically. We will change the screen resolution by using Automator to run commands automatically. So, you don’t need to run commands manually every time you reboot your system. It will automatically run specific commands and change the resolution.
Install Guest Tool on macOS on Virtual Box
First, you need to make sure that your Guest Tool is running on your macOS on Virtual Box. We can only change the resolution with Guest Tool installed and running properly on your Virtual Box.

There’s a simple process to check this. Click on the ‘Apple’ icon on the top left corner of your screen, then click on ‘About this Mac’. You will then see a popup window displaying your macOS system specifications and other sections.
After that, if you see your ‘Graphics Display’ working with 128 Ram, your VMware Tool is working perfectly. Now, jump to the next step of changing your macOS’s display resolution.
How To Change Screen Resolution of macOS on VirtualBox
Option 1: Change Resolution with Terminal
Changing resolution with Terminal is pretty easy, as you only need to run a simple command in your Terminal. So, check how to change resolution with the Terminal.
1. Open Terminal on Your macOS on Virtual Box
The first and foremost step is to open the Terminal.app on your macOS. Click on the ‘Spotlight search' icon in the menu bar, then type ‘Terminal.’ Then, click on the ‘Terminal’ when it appears in the results.

2. Change macOS Resolution
After launching the Terminal.app, you will run to enter the mentioned command with your resolution (1920x1080; 2560x1440; 1280x720; 1600x900; 3200x1800...).
After typing the mentioned command, press the ‘Enter key.’ Now, after pressing the ‘Enter’ key, you will see both the requested resolution and the current resolution.

3. Check the Resolution
Now, exit the Terminal app, and head back to the desktop screen. Again, click on the ‘Apple’ icon on the top left corner of your display. And, head to the ‘Displays’ section. There you will see that your current resolution is now ‘1920x1080.’

Option 2: Change Resolution by Running Automatic Commands With Automator
All versions of macOS come with a pre-installed tool called Automator that lets you automate frequently used commands so that you don’t need to execute them manually every time. In this method, we will use the Automator tool to change the resolution automatically.
1. Launch Automator
You need to first open the Automator tool. You can also use the ‘Spotlight Search’ to open the Automator. So, press ‘Command+Space’ to open the Spotlight Search, type ‘Automator’, and click on it.
2. Create a New Application
Hover your arrow on the ‘File’ option, search for the ‘New’ option in the submenu, and click on it. After that, select the ‘Application’ option in Choose a type for your document. Then, click on the ‘Choose’ button.

3. Run the Command in Shell Script
After performing the above step, search ‘Run Shell Script’ in the ‘Search Bar’ beside the ‘Variable’ option. Then, click on the ‘Run Shell Script’.

Paste the mentioned command in the box. Here is the command:
With 1920x1080 is your resolution. Now, save the file by clicking on the ‘File’ option, then ‘Save’. Give a name to your file and choose a location to store the file.

4. Automatically Change the Resolution When You Log In
Open your ‘System Preferences’ and open the ‘User & Groups’ settings. After that, head over to the ‘Login Items’, and select the document you created in the previous step, and click on the ‘Add’ button.

Then, exit the window. Now, whenever you reboot your system, this command will be executed automatically. And, your resolution will be changed automatically.
So, this is how you can easily change the screen resolution of your macOS running on VirtualBox. In this tutorial, we followed two different ways to change the resolution and achieved the desired results. We hope you also followed the steps properly, and successfully changed the resolution. If you love to run macOS in Virtual Machine, leave a comment on what you want to install next on your macOS. We will make a more detailed tutorial to help you. That’s all for this tutorial.


Leave a Comment