Do you own a brand-new Apple Mac model with the M1 or M2 chip? While these chips boast impressive ARM processor technology, they no longer support Windows x64 bit. Apple has even discontinued Bootcamp on the latest macOS, leaving many users feeling left out in the cold. But fear not, tech enthusiasts! There is a way to access Windows-exclusive features and programs on your Mac, and it's through a virtual machine.
Thankfully, there are plenty of virtual machine software options available for Mac users. Free options like VirtualBox and VMware Fusion Player, as well as paid ones like Parallel Desktop, all support the installation of Windows 11 ARM on your Mac. But here's the catch: they all require a Windows 11 ARM virtual disk.
Not to worry, though! The Windows 11 ARM virtual disk can be downloaded for free from Microsoft's website. However, it's provided as a VHDX file for Microsoft's Hyper-V virtualization application, which isn't compatible with other virtualization software. To use it with other virtualization applications, you'll need to convert the VHDX file to VMDK. Don't worry, we've got you covered. In this guide, we'll explore how to download and convert Windows 11 ARM on macOS Ventura, so you can access Windows on your Mac with ease. Say goodbye to Bootcamp and hello to seamless virtualization!
How Download and Convert Windows 11 ARM for Virtual Machine
1. Download Windows 11 ARM.VHDX
To access the pre-installed Windows 11 ARM Virtual Disk from Microsoft, the first step is to register for the Windows Insider program through the link provided and create your own account. The best part? You can use any email address, including Gmail, and it's not a requirement to create a Microsoft account. Once you've set up your account, hit the Register button to join the Windows Insider program, which grants you access to the latest versions of Windows 11 tailored for devices running ARM chips, such as Mac M1/M2, in no time.

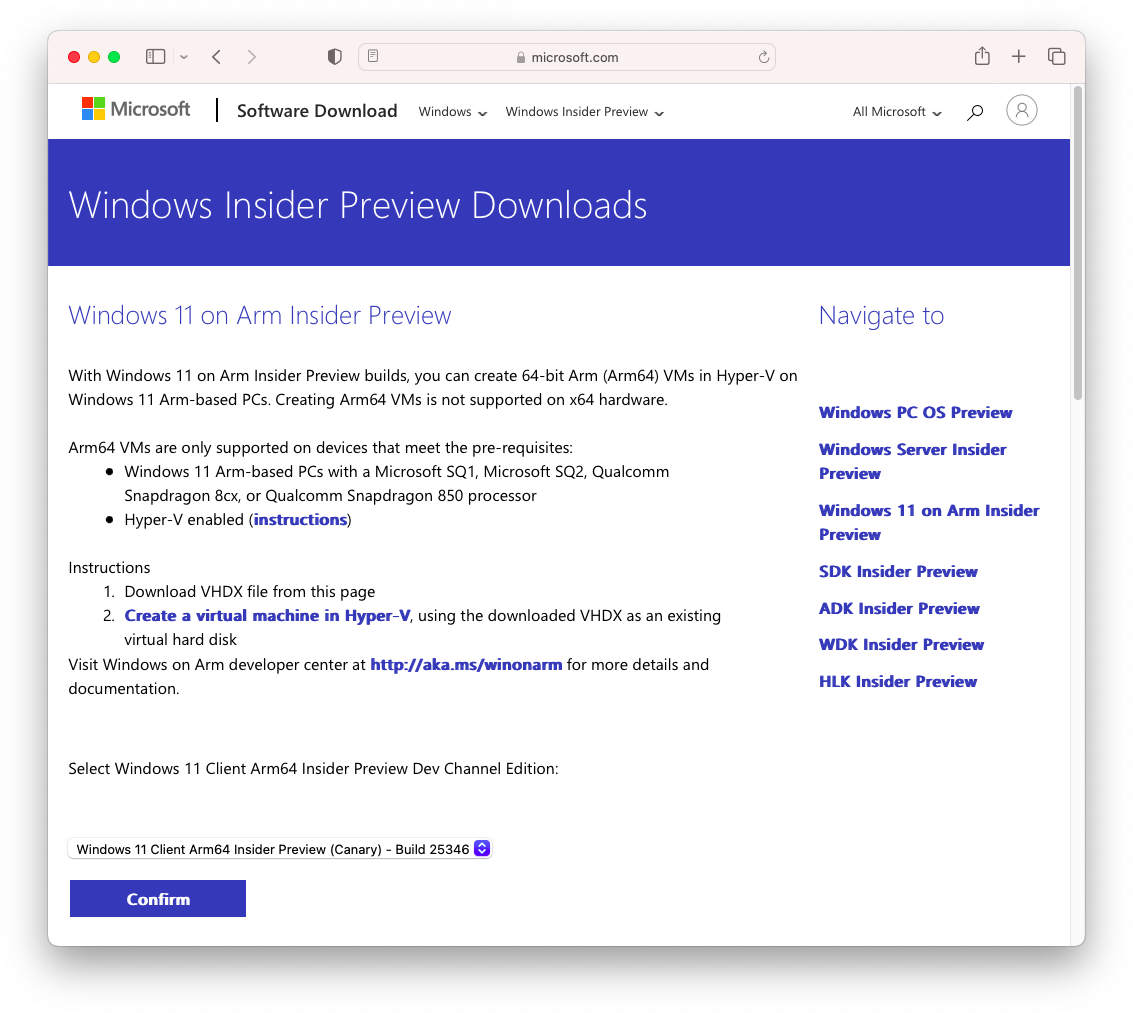
Next up, visit the link provided to download Windows 11 ARM. Take your pick of the version you want to use. In this guide, we recommend using the Windows 11 Client ARM64 Insider Preview Canary version with build 25346, but the choice is yours. From there, select your preferred language, and you're all set to download the Windows 11 ARM VHDX image and dive into all the exciting new features of the latest Windows operating system.

2. Convert Windows 11 ARM VHDX to VMDK
After downloading Windows 11 ARM as a VHDX file, we need to take one more step to convert it to the VMDK standard, which is the Virtual Machine Disk .VMDK standard used on almost all Virtual Machine Software today.
There are several ways to convert VHDX to VMDK on Mac, but in this guide, we will use Homebrew and QEMU. Homebrew is a Package manager software that manages other applications such as QEMU, and QEMU is a powerful virtualization software for Linux and works well on macOS.
First, we need to open Terminal in Spotlight search or go to Application> Utilities and execute the following commands to install Homebrew and QEMU. We have a more specific guide on how to install Homebrew on Mac here.
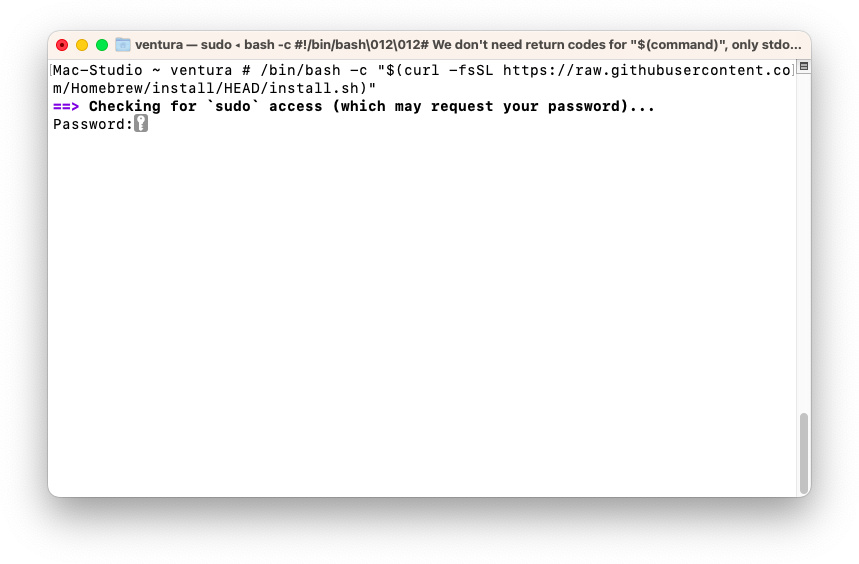
To install Home Brew on Mac, you'll need to use the following terminal command:
/bin/bash -c "$(curl -fsSL https://raw.githubusercontent.com/Homebrew/install/HEAD/install.sh)"

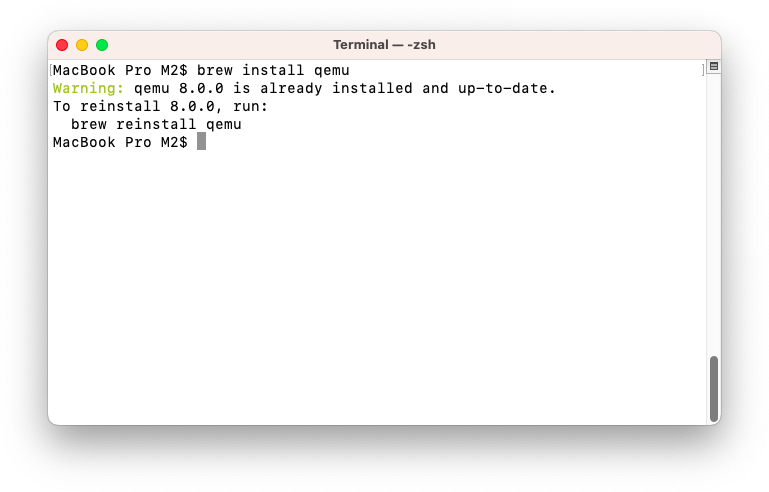
To install QEMU, use the following terminal command:
brew install qemu

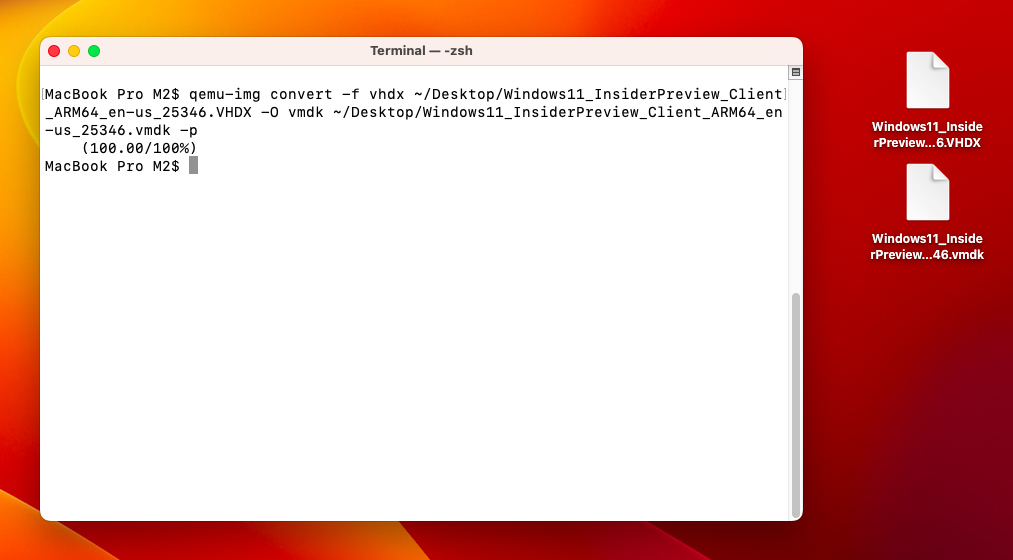
After installing QEMU, you can use the following commands to easily convert VHDX to the VMDK standard. With the Windows 11 ARM.VHDX file on the Desktop, use the following commands to convert it to VMDK.
qemu-img convert -f vhdx ~/Desktop/Windows11_InsiderPreview_Client_ARM64_en-us_25346.VHDX -O vmdk ~/Desktop/Windows11_InsiderPreview_Client_ARM64_en-us_25346.vmdk -p

- -f vhdx: to specify the location of the VHDX file.
- -O vmdk: to specify the output as a VMDK file with the desired location.
- -p: will display the conversion process.
Once you have the Windows 11 ARM.VMDK image file, you can easily use it with virtual machines like VirtualBox, VMware Fusion, QEMU, or Parallels Desktop. Once you've set up Windows 11 ARM on your Mac, you can run all Windows software, including 64-bit applications, on your Apple Silicon Chip with ease. If you encounter any issues during the installation process, feel free to leave a comment and we'll help you out as quickly as possible.


Leave a Comment