Brew is an amazing app that lets you download thousands of applications and packages. If you're not a fan of using Brew, there's an easy way to get rid of it. Deleting Brew and related applications is a simple process with Intel Macs, while Apple's Silicon M1/M2 need the Terminal Configuration File or zprofile deleted as well.
When deleting Brew, all Packages and Applications installed from brew will also be deleted. You may have to manually delete other files and folder related to Brew because these could be depended on other applications on your Mac.
Here's how to completely remove Brew from your Mac, whether it be an Intel-powered Mac or a M1/M2 Mac. If you're looking for a way to easily delete Brew, then this article will be perfect! Come find out how easy it is to delete Brew with this simple step-bystep guide.
How to Uninstall Brew on Mac
1. Uninstall Brew with Package and Application
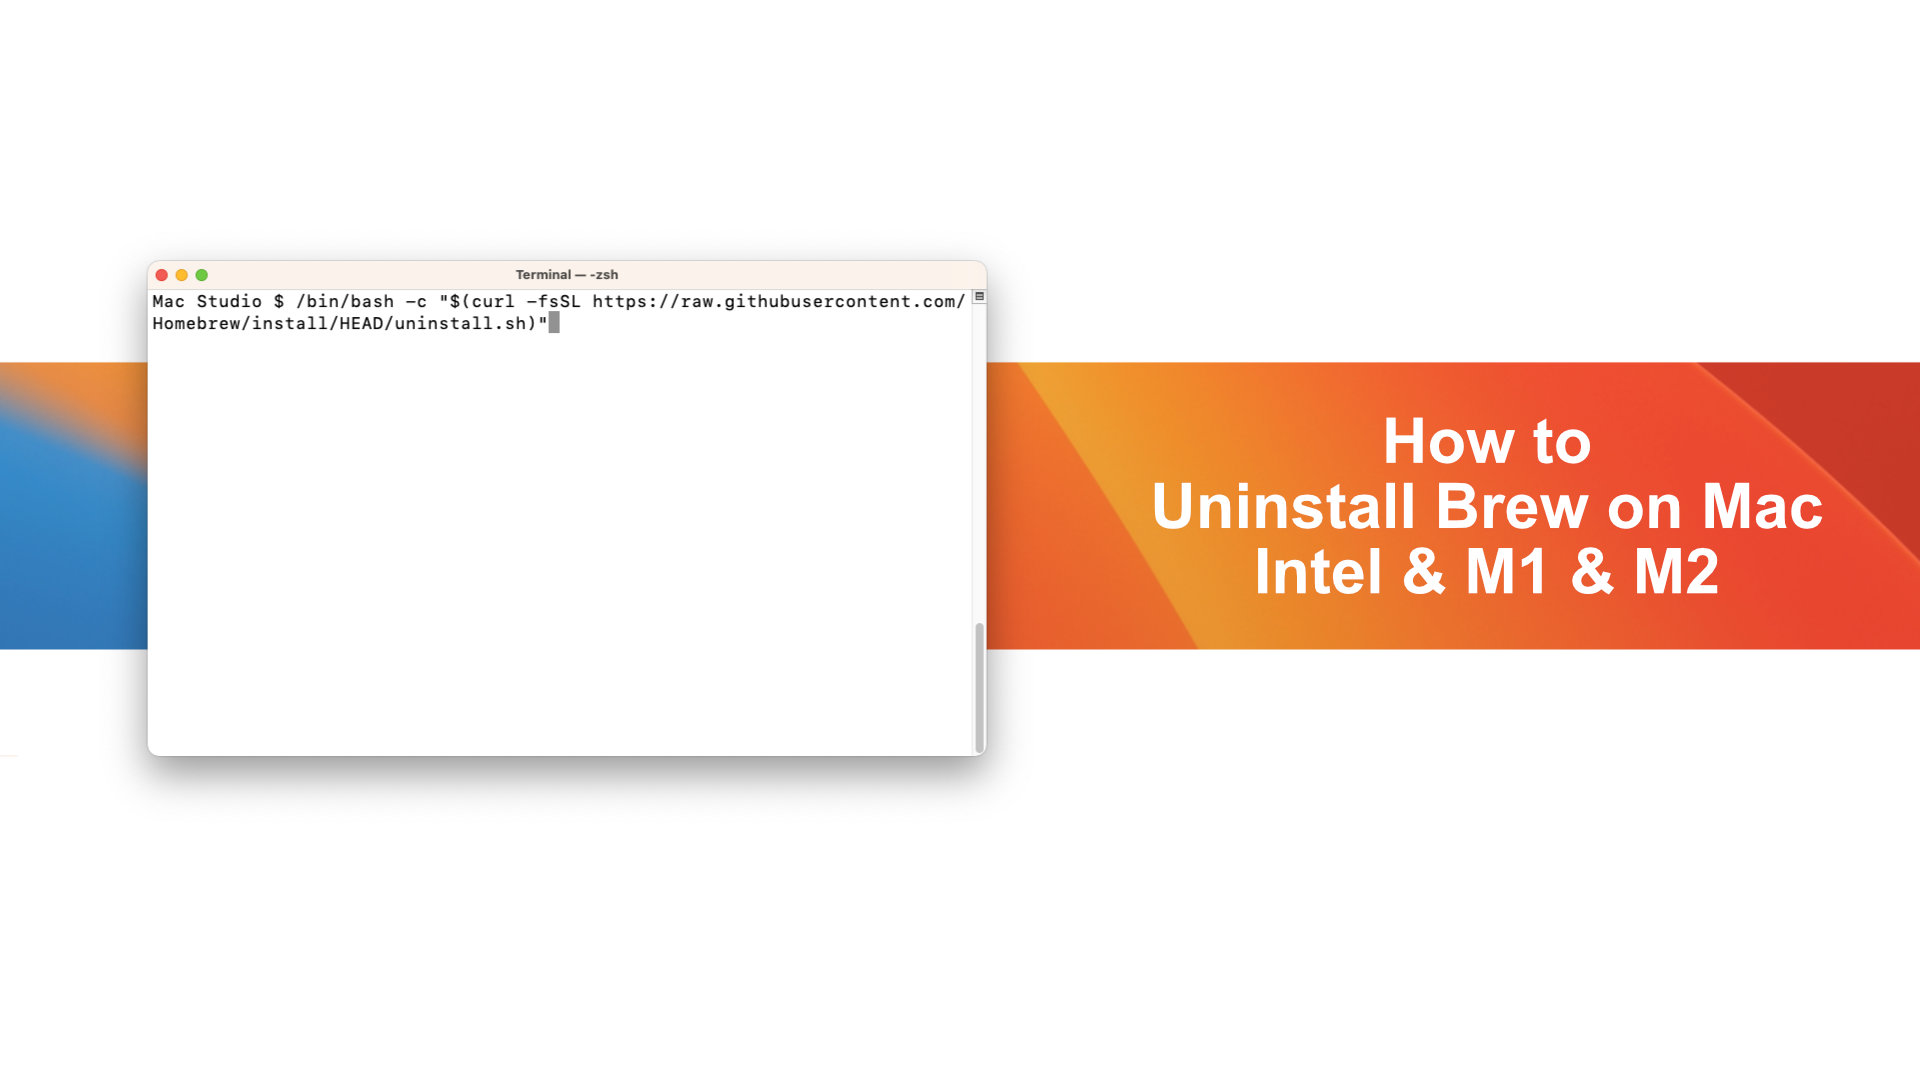
Brew will be installing all packages and applications in /usr/local/Cellar folder. When Brew is deleted, all the Packages and applicaiton will be deleted too! Uninstalling Homebrew is simple and done in the same way as installing it. The only difference between them are their script names, which have “install.sh” for installation methods replace to "uninstall.sh" if you want to remove this program from your Mac completely using our command below:
/bin/bash -c "$(curl -fsSL https://raw.githubusercontent.com/Homebrew/install/master/uninstall.sh)"

If you're using an older version of macOS like El Capitan, Sierra or High sierra then the following commands:
ruby -e "$(curl -fsSL https://raw.githubusercontent.com/Homebrew/install/master/uninstall)"
When you delete Brew, some of your folders will not be removed but require manual delete. We recommend that before deleting any files or folders in this situation you should check for other programs which could also use this folders.

Choose folder what you want from that list. In order to delete these folders, go into Finder in the macOS and select Go > Go to Folder then click on it. From there, select the folder you want deleted before doing anything else!
2. Uninstall Configuration File
When installing Brew for Macs, it's important to replace the path in Terminal Configuration File (.zprofile). This will ensure our applications are found and launch properly when trying them.
So we also learn how to delete Configuration files, and this is a really easy task. You can do it from the terminal using just one command: rm. macOS will recognize dot (.zprofile) files as hidden, If you already know where this is, then it's easier! But if you still don't know where this is, we have a guide for showing hidden files on macOS here.
First, we go back to our home directory with the command cd ~/ and then use rm .zprofile to delete this file.

3. Remove Xcode Command Line Tools
The installation of XCode Command Line Tools is required for installing Brew and Application. The tool has about 4.56GB and can be deleted if you don't need it, which will save space on your Mac!

We need to find out where Xcode command line tools is with xcode-select -p and then we use sudo rm for removing all these commands in Terminal.
xcode-select -p
sudo rm -rf /Library/Developer/CommandLineTools

The process of uninstalling Brew is simple, with just 3 steps. You'll know all folders and files related to brew that you can remove completely on macOS! During installation if there are any problems please leave us comment so we help out as soon as possible.


Leave a Comment