As the most widely used document creation and word processing software, Microsoft Word is used as a third-party app on Mac computers. Users benefit from the various familiar tools of MS Word and it is easy for them to share their documents with others.
However, one of the downsides to using MS Word on Mac computers is that it is harder to retrieve the documents if the user accidentally shuts down the application without saving the documents or mistakenly deletes them.
However, since MS Word is a third-party app, the retrieval of files is a little complicated. If you’re wondering how to recover word document on new Mac M1 and M2, worry not. There are a few reliable ways in which users can recover their word documents.
Ways to Recover Word Documents on Mac
There are three proven ways to recover word file on Mac:
- Using AutoRecovery.
- Recover Unsaved Word Document on Mac from macOS Temporary Folder
- Using Third-Party Software.
1. Using AutoRecovery
AutoRecover is a handy feature built into MS Word that enables users to recover unsaved word documents. Office documents are autosaved every 10 minutes or so. This makes it easy to recover documents with a save point.
With the AutoRecover saves, users can find a version of the file they are looking for. To recover unsaved word documents on Mac with AutoRecover, follow the below steps.
Step 1: On your Mac, open Finder.
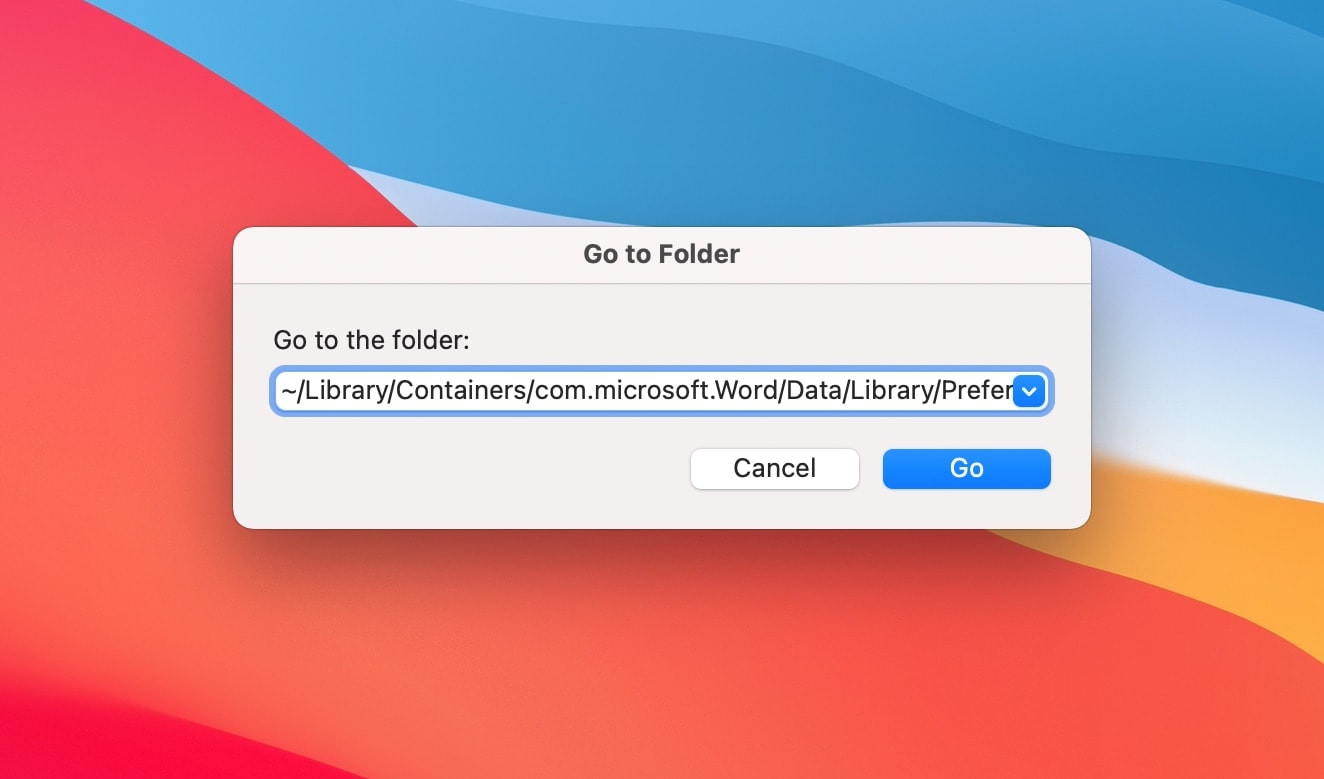
Step 2: Select ‘Go’ on the menu bar, then Select ‘Go To Folder’.

Step 4: Now, enter the following string:
~/Library/Containers/com.microsoft.Word/Data/Library/Preferences/AutoRecovery
This will redirect you to the “Containers” folder in your Library. Look for “com.microsoft.Word” folder and search for your document inside. Sometimes, your document may also be in another Microsoft folder, hence be patient in your search.
2. Recover Unsaved Word Document on macOS Temporary Folder
The macOS Big Sur temporary folder has the temporary items and your word document may be present there. You can access the temporary folder with the Mac terminal.
Follow the steps below to locate your word document.
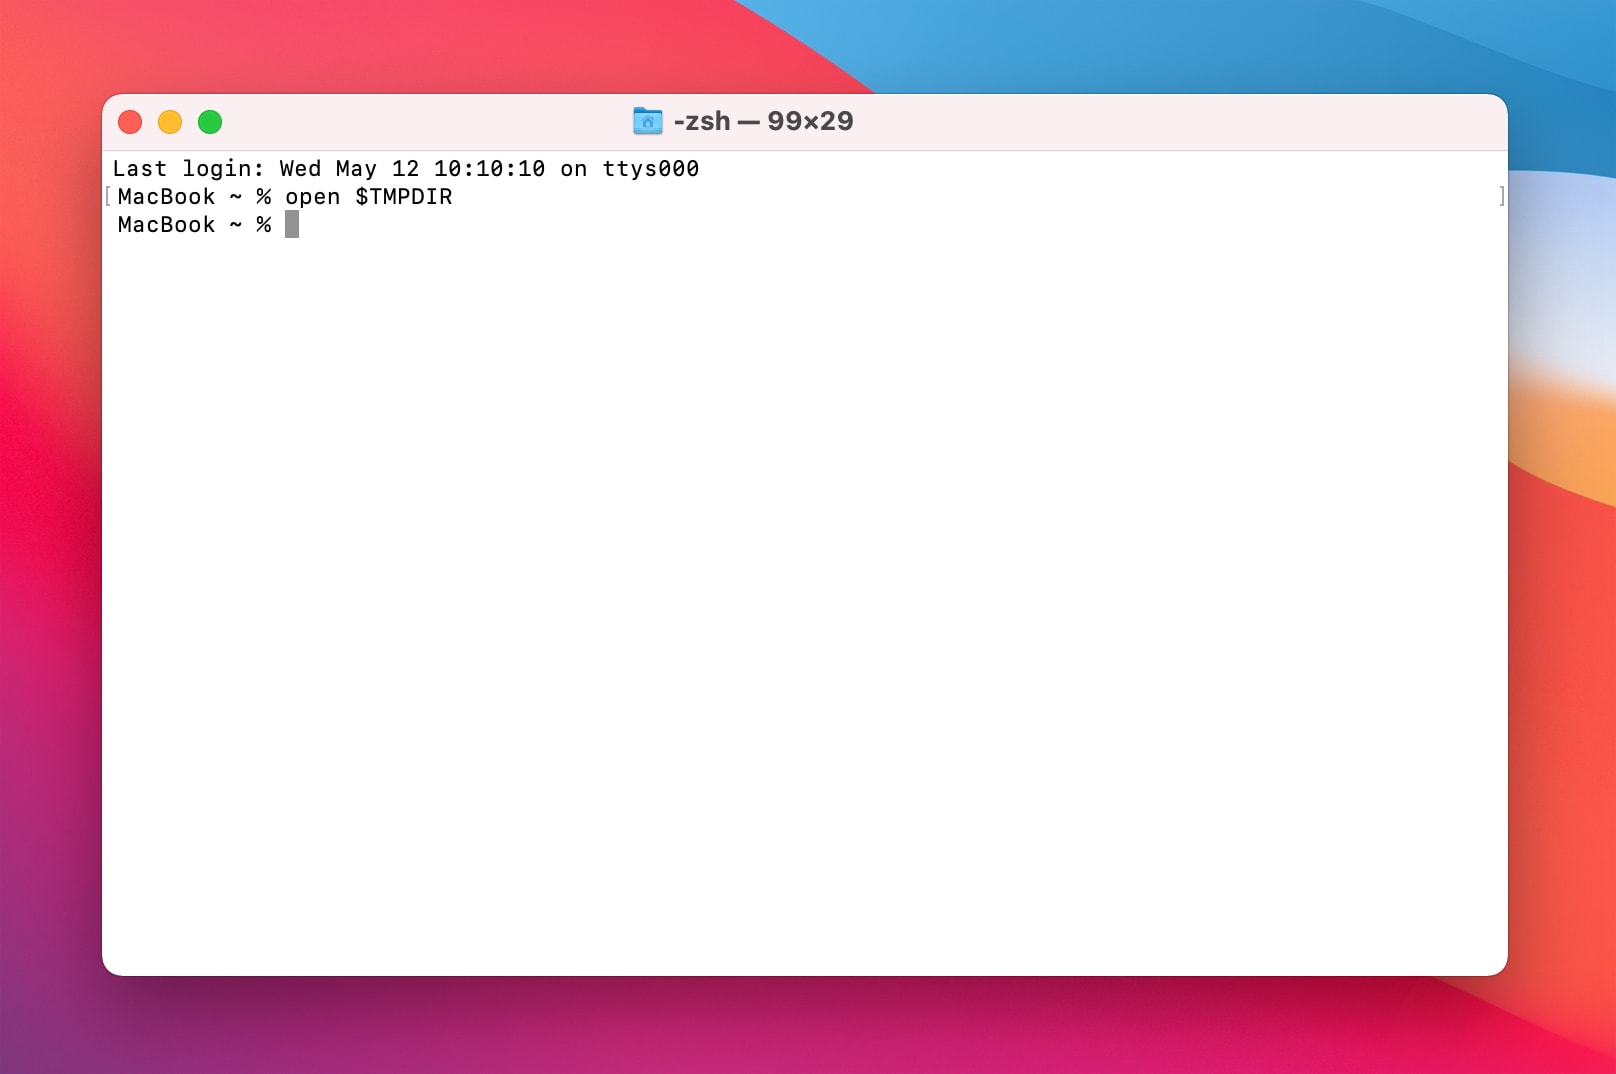
Step 1: Open the Terminal on your Mac M1.
Step 2: Type the command: open $TMPDIR
Step 3: Scroll down and find the “TemporaryItems” folder on the list.
Step 4: Locate your word document if it is inside the folder and drag it to another folder of your choice or to the desktop

3. Using Third-Party Software
The easiest way for you to find and recover a deleted or unsaved word document on Mac is to use third-party apps that entirely search your Mac.
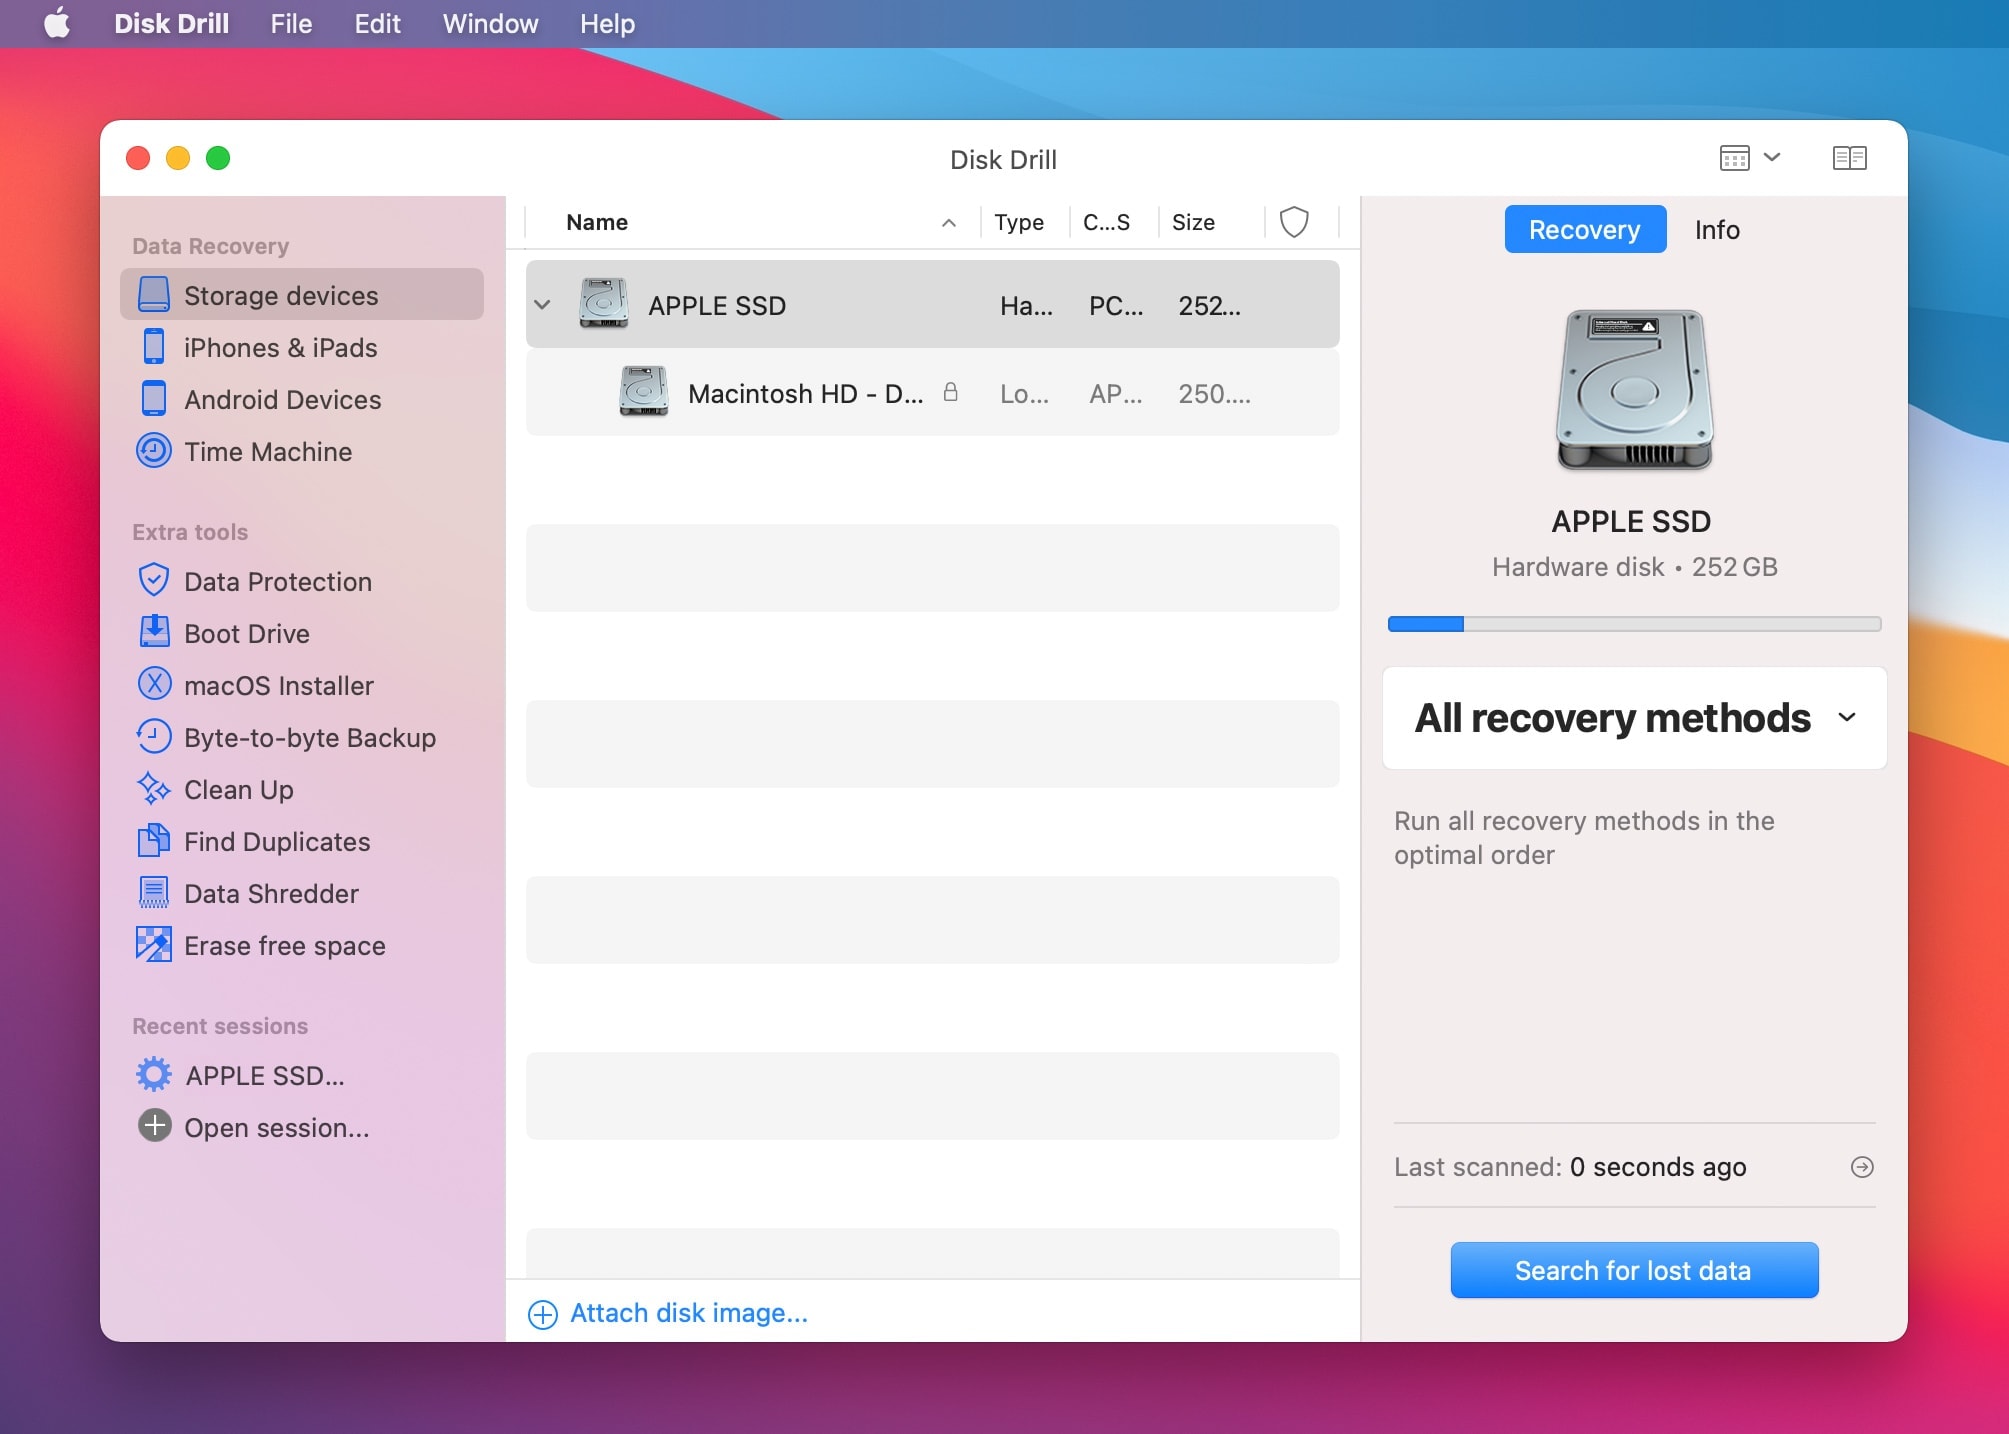
Disk Drill 4.3 is an excellent native support M1 Mac, that will help you find the word documents you have lost by searching for the documents everywhere inside your Mac M1. You can filter the search by file name or filetype and the app will begin its search to recover unsaved word documents on Mac.

Follow the steps below to recover lost word documents on Mac using Disk Drill.
Step 1: Open the Disk Drill app on your Mac M1.
Step 2: Click on the ‘Recover’ button on the top-right of the window.
Step 3: Enter filters to narrow your search.
Step 4: When the search finds your lost documents, select them and click on the ‘Recover’ button again.
By now you know that recovering word documents is not difficult on Mac M1. However, it can take some time and effort to find and recover unsaved and deleted word documents.
While all the three ways mentioned in the article work, we suggest using a third-party app like Disk Drill to make it easier for you to find your documents. Disk Drill is a far more effective and time-efficient way to find and recover word documents on your Mac.


Leave a Comment