Mac users would like to run their favorite Windows application alongside their Mac applications. They enjoy the convenience of seamlessly switching between Mac and Windows without pausing their work. Virtual machines make it possible to easily work with multiple operating systems.
For Mac users who are looking to install Windows on a free virtual machine, they can choose between VMware Fusion Player or VirtualBox. While VirtualBox is a freely available open-source software, VMware Fusion has both free and paid options. If you are a home user, open-source contributor, student, or anyone who needs a virtual machine for non-commercial activities, you can get a VMware Fusion Player with a personal use license available for free.
VMware Fusion Player makes it possible to install and run Windows, macOS, Linux, and other x86-based operating systems as virtual machines on your host computer. You can conveniently work on different applications that require different operating systems without rebooting your computer.
You need a valid VMware account to get a license key to use VMware Fusion Player for free. Visit the VMware Fusion Player registration page and fill the sign-up form to free install VMware Fusion Player. You can use the license key you receive to activate your personal use license.
How to Install Windows 11 on VMware Fusion Player
In this tutorial, we will install Windows 11 on VMware Fusion Player. You can follow the exact steps below to install Windows as a guest operating system on your computer.
1. Install VMware Fusion Player and Activate Free Account
You can download and install VMware Fusion Player and activate it with a free personal use license. You need to create a VMware account to download the VMware Fusion Player.

Follow the steps below to download and install VMware Fusion Player.
Step 1: Visit the VMware Fusion Player registration page
Step 2: Fill the Create an Account form to sign up
Step 3: Log in to your account after registration
Step 4: Get the license key needed to activate your VMware Fusion Player personal use license
Step 5: Download the .dmg installer
Step 6: Once you begin the installation process, you’ll be prompted to enter the license key. Enter the license key to use VMware Fusion Player for free

2. Install Windows 11 on VMware Fusion
Step 1: You have to download the installation ISO image of Windows 11 from the official Microsoft website. After you’ve downloaded the Windows 11 ISO, follow the steps below to install Windows 11 on VMware Fusion Player.
Step 2: Open VMware Fusion Player by launching it from the dock. Drag and drop the Windows 11 ISO image to the area in the VMware Fusion application window that says Install from disc or image.

Step 3: You’ll see the Create a New Virtual Machine wizard open with the Windows 11 ISO installation image selected. Choose Firmware type by either choosing BIOS or UEFI. We will choose UEFI for the Windows 11 VM we are creating and click Continue and then click Finish.

Step 4: To configure VM settings, Click on “Customize Settings”

Configure processor and memory by clicking on the Processors & Memory icon, Select 2 processor cores and 2560 MB memory for the new virtual machine to run Windows 11. You can now close the window.

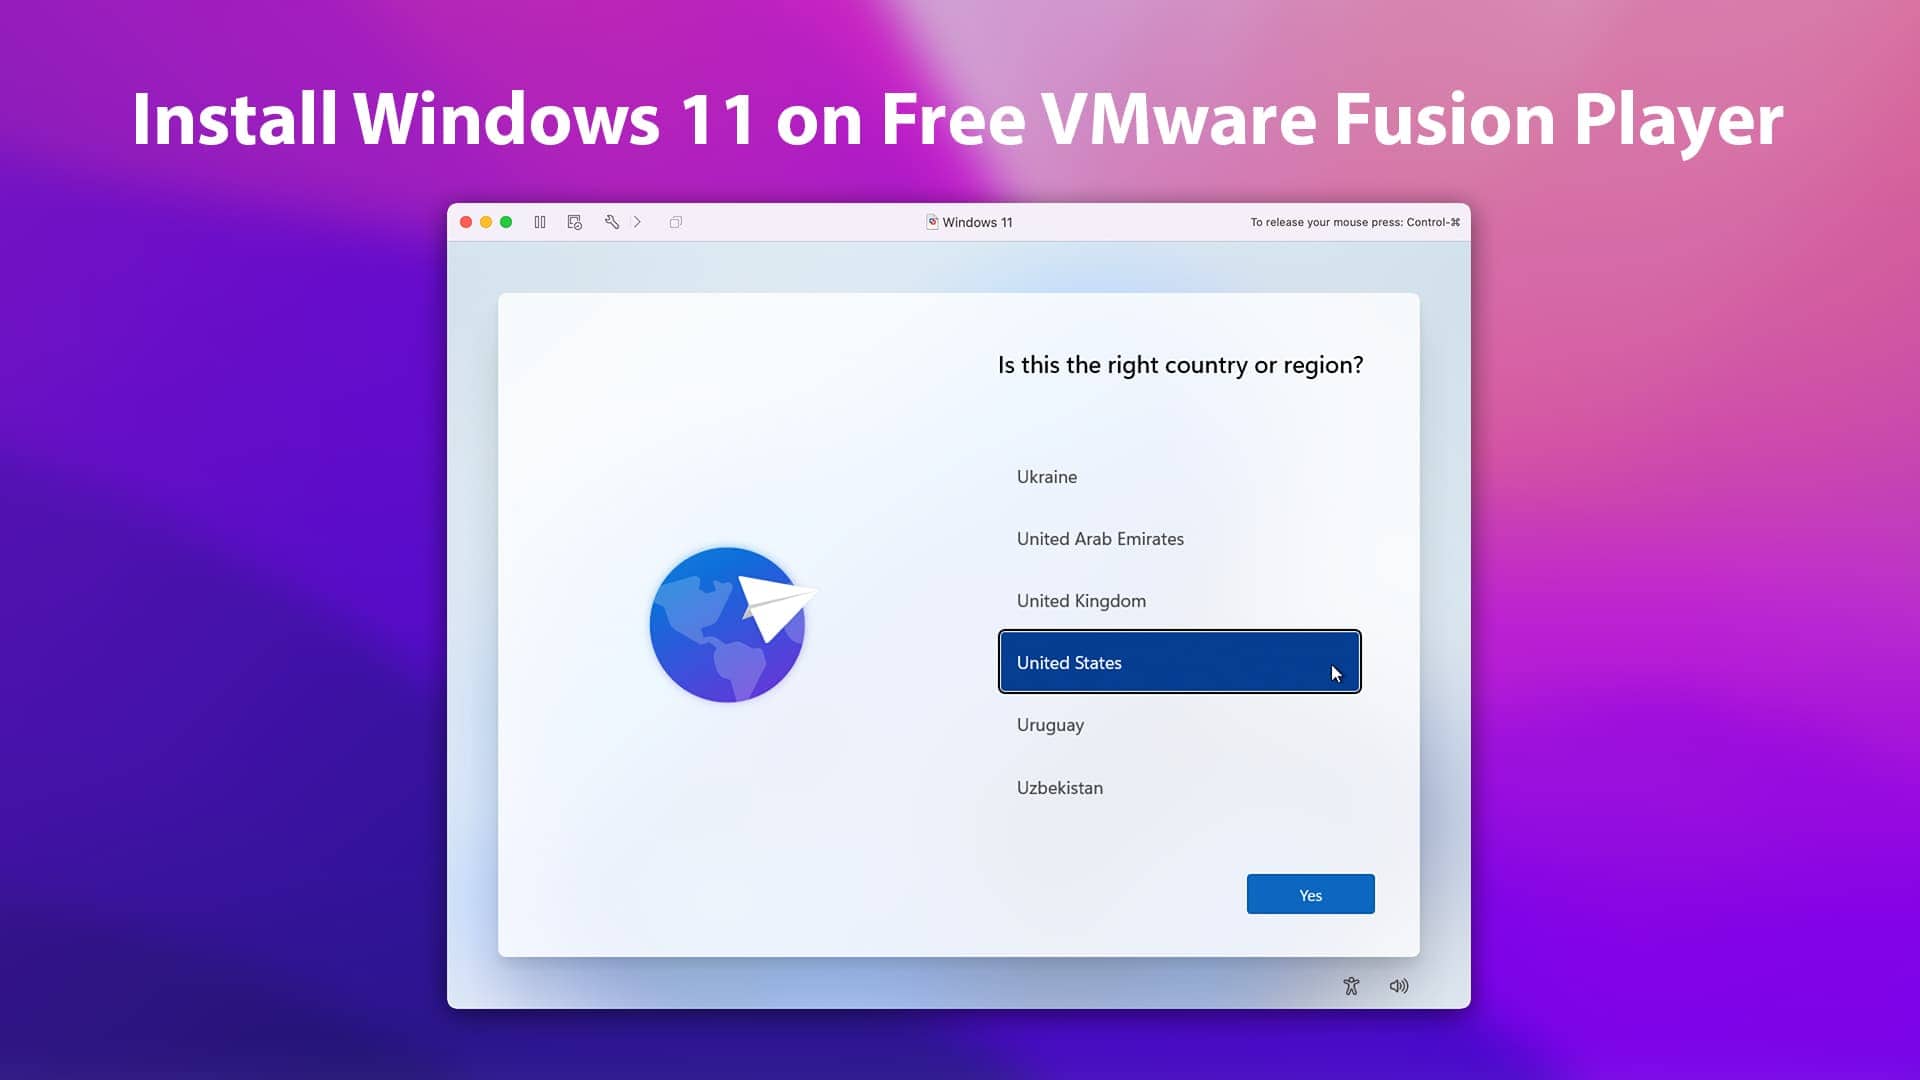
Step 5: Open Virtual Machine. When the virtual machine is booted from the Windows 11 ISO installation image, you’ll see the Windows setup screen.
Step 6: To Bypass TPM, Press "Shift + fn +F10" to open CMD in Windows Install Assistant. and Type "Notepad" to open Text Editor.

Create a regedit file with this:
[HKEY_LOCAL_MACHINE\SYSTEM\Setup\LabConfig]
"BypassTPMCheck"=dword:00000001
"BypassSecureBootCheck"=dword:00000001
"BypassRAMCheck"=dword:00000001
"BypassStorageCheck"=dword:00000001
"BypassCPUCheck"=dword:00000001

Click on "File" and "Save as". Choose Boot (X:) disk, in "Save as Type" choose "All Files" and "Name" is "bypass.reg".

Click on "File" and "Save as" again, Select "Save as type" as "All Files". Right click on "bypass.reg" and select "Merge".

Step 7: Install Windows 11 on Mac with VMware Fusion Player. Follow the installation steps and when you’re prompted to enter the product key, if you don’t have a product key, then click on I don’t have a product key option to continue the installation.

Step 8: After following the instructions, you’ll have a fresh installation of Windows 11. We recommend you install VMware tools to improve your VM performance and to have a better user experience. Click on "Virtual Machine" and "Install VMware Tool".

VMware tools improve the performance of your virtual machines and provide a better user experience. These tools can be installed once you’ve installed VMware Fusion Player. VMware tools give you 3D graphics support, network support, and the ability to configure shared folders to better integrate the host system and guest system.
Step 9: Unity Mode
Unity mode gives you more convenience as you can run guest OS applications directly on the host OS desktop. You can differentiate between guest and host system applications with the various Unity mode options available. Users who prefer to keep all their tabs in the host system can use this feature to not frequently switch between the host system and virtual machine.

The applications that are open in Unity mode will appear on the taskbar of the host system along with the host system applications.
Users can configure Unity mode for guest operating systems to meet their preferences by going to VM > Settings > Options tab > Unity.
VMware Fusion Player makes it easy to install and run your favorite applications from other operating systems by creating a virtual machine of the operating systems. With a personal use license, you can get a free license key that will allow you to install guest operating systems on your host computer. Whether you’re a developer or gamer looking for more convenience, you can now switch between different operating systems without rebooting your computer by using virtual machines.


Leave a Comment