Terminal is a powerful tool that is widely utilized by programmers. It is commonly used on Linux systems due to its capabilities in managing and installing applications, open-source software, and facilitating easy connectivity with GitHub. Apple has introduced Terminal to macOS, but in order to enable similar functionalities as those on Linux, users must install Homebrew, a package management software designed for Mac.
Installing Homebrew on a regular Mac is a straightforward process. However, when attempting to install Brew on macOS Sonoma, users may encounter an issue as they are unable to download or install the Command Line Tool for Xcode, which is a crucial component required for Brew to function within Terminal.
Consequently, this guide will provide instructions on how to manually download and install the Command Line Tool, followed by the installation and utilization of Homebrew.
1. Download Command Line Tools for Xcode Beta
Since macOS Sonoma is currently in final version, we need to download and install the Command Line Tools before install Brew. Use the following terminal command to download and install XCode Command Line Tools:
xcode-select --install

After the Command Line Tools are installed, the process of installing Brew is quite simple.
2. Install Brew on macOS Sonoma
To install Brew, we first need to open Terminal. You can open Terminal by searching for it in Spotlight Search or by navigating to the Applications>Utilities folder. Once Terminal is open, you can use the following command to install Brew:
/bin/bash -c "$(curl -fsSL https://raw.githubusercontent.com/Homebrew/install/HEAD/install.sh)"

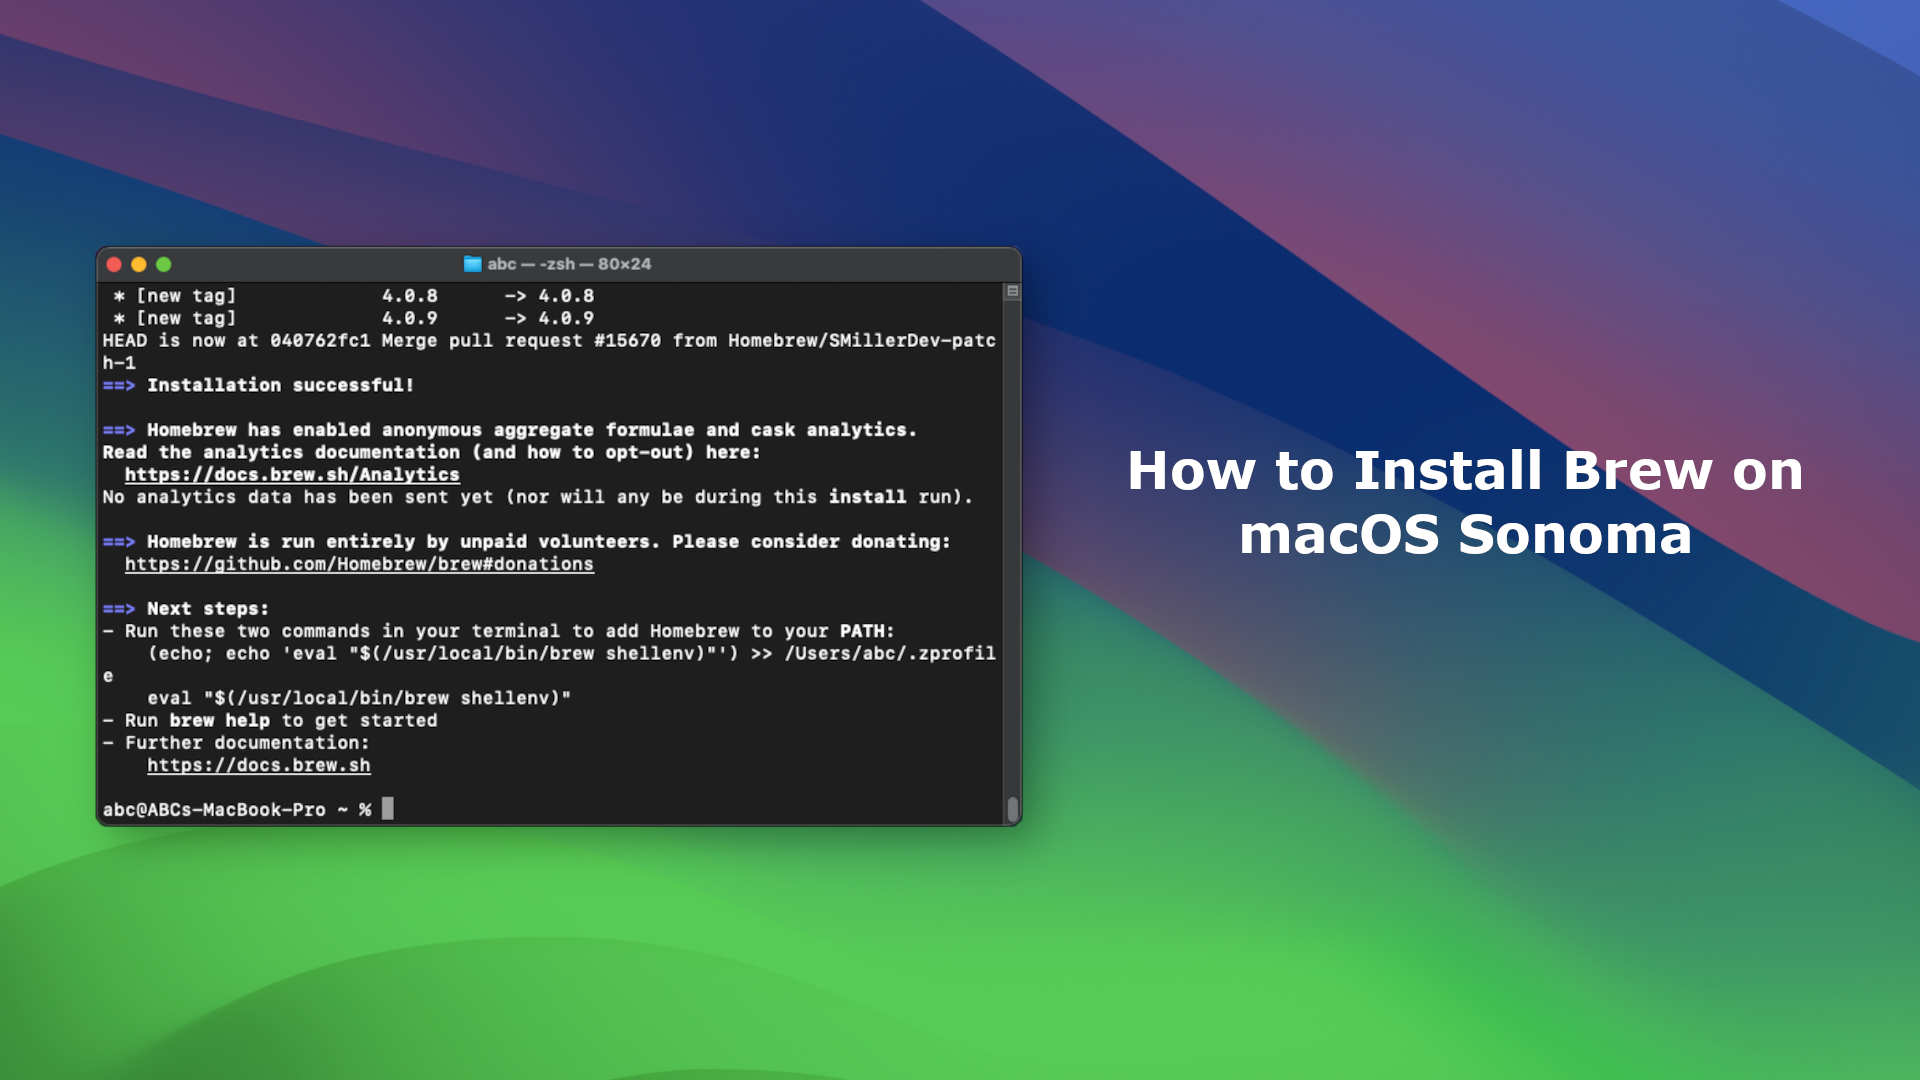
After the installation of Brew is complete, you will receive a "Installation Successful" message, indicating that the Brew installation process has finished. To check the version of Brew, you can try using the command "brew -v" in Terminal. If you encounter an error such as "zsh: command not found: brew," the next step will help you resolve this issue.

3. Modify the Brew PATH
In certain versions, Brew is installed in the directory '/usr/local/bin' for Intel-based Macs, while on M1/M2 Macs, Brew is installed in the directory '/opt/homebrew/bin'. This difference can lead to an error message stating "zsh: command not found: brew" when using the Brew command. To resolve this issue, we need to adjust the PATH of the Brew installation directory to the appropriate value. You can utilize the following commands in Terminal to modify the Brew PATH:
cd ~/
touch .zprofile
echo 'eval "$(/opt/homebrew/bin/brew shellenv)"' >> $HOME/.zprofile
eval "$(/opt/homebrew/bin/brew shellenv)"

By executing these commands, the PATH configuration will be updated, ensuring that Brew is accessible from the correct location.
After installing Brew, you can easily install any application or package using the following commands:
brew install package_name
brew uninstall package_name
brew list
If you encounter any problems with Brew on macOS Sonoma, you can use the following command to uninstall Brew:
/bin/bash -c "$(curl -fsSL https://raw.githubusercontent.com/Homebrew/install/HEAD/uninstall.sh)"
Currently, there is no official version of Brew that specifically supports macOS Sonoma. However, you can still install older versions of Brew on macOS Sonoma, and we have successfully tested the installation of various applications and packages using Brew on macOS Sonoma.


Leave a Comment