When Macs used to have hard drives, there always seemed to be more space for applications and documents. However, the move to SSD for better speed and power efficiency has compromised storage space. Also, the increase in the size of applications and media files including photos, music, and videos are taking up more space resulting in lesser overall disk space.
If you’re wondering how to free up space on M1 and M2 Mac, we’re here to let you know that it is possible to keep your Mac running efficiently without getting the ‘Your disk is almost full’ notifications on a regular basis.
How to Free Up Space on M1 and M2 Mac
1. Remove App Junk and Cache
You should clear app cache, system cache, and browser cache for your Mac M1 to perform better. You can save several gigabytes of storage and stop the slowing down of Mac.
You can clear app cache by following the steps below:
Step 1: Open Finder and Choose Go > Go to Folder
Step 2: Type ~/Library/Caches and click on Go
Step 3: You can backup the folders in case you’re worried you might delete something useful accidentally
Step 4: Go into the folders and delete the files inside to clear the cache
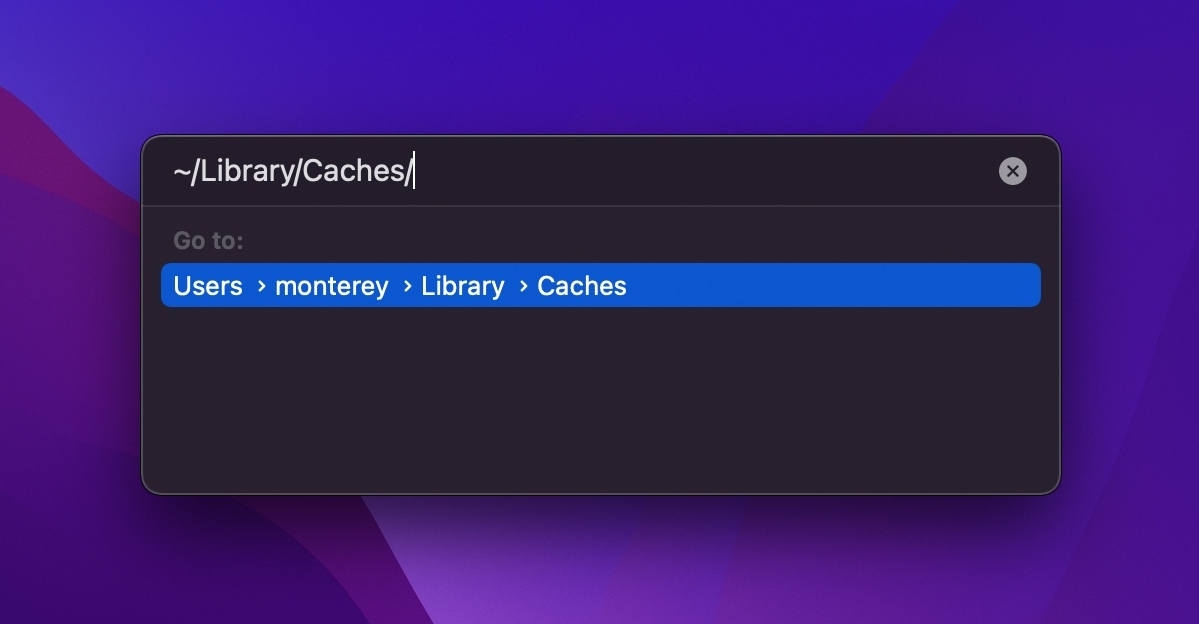
If you want to locate a particular program for specific apps, you can use the following commands:
- Library apps - /Library/
- File Support Cache - /Library/Caches/
- Launch Agents - /Library/Launch Agents/
- Application Support Files - /Library/ Application/
- Binary and Dock Items - /Application/
- Start-Up Items - /Library/Startup Items/
- Saved App States - ~/Library/Saved Application State/
System cache usually does not take a lot of space. You can delete them by opening Finder and selecting Go > Go to Folder. Type in /Library/Caches (without the ~). Don’t delete the folders and only delete the content inside them. Empty the trash after you’ve deleted the contents and you’re done.
You can clear the browser cache by clearing the cache of your main browsers: Safari, Chrome, and Firefox. You have to manually delete the browser caches on the different browsers.
2. Completely Uninstall Applications
You may have installed a lot of applications that you don’t actually use. If you want to not run into ‘Your disk is almost full’ notifications, you can uninstall applications by simply dragging and dropping the app icon from the Applications folder into the trash. However, by doing this you’d only have removed the application while there may be application preference files left behind that can be removed too.
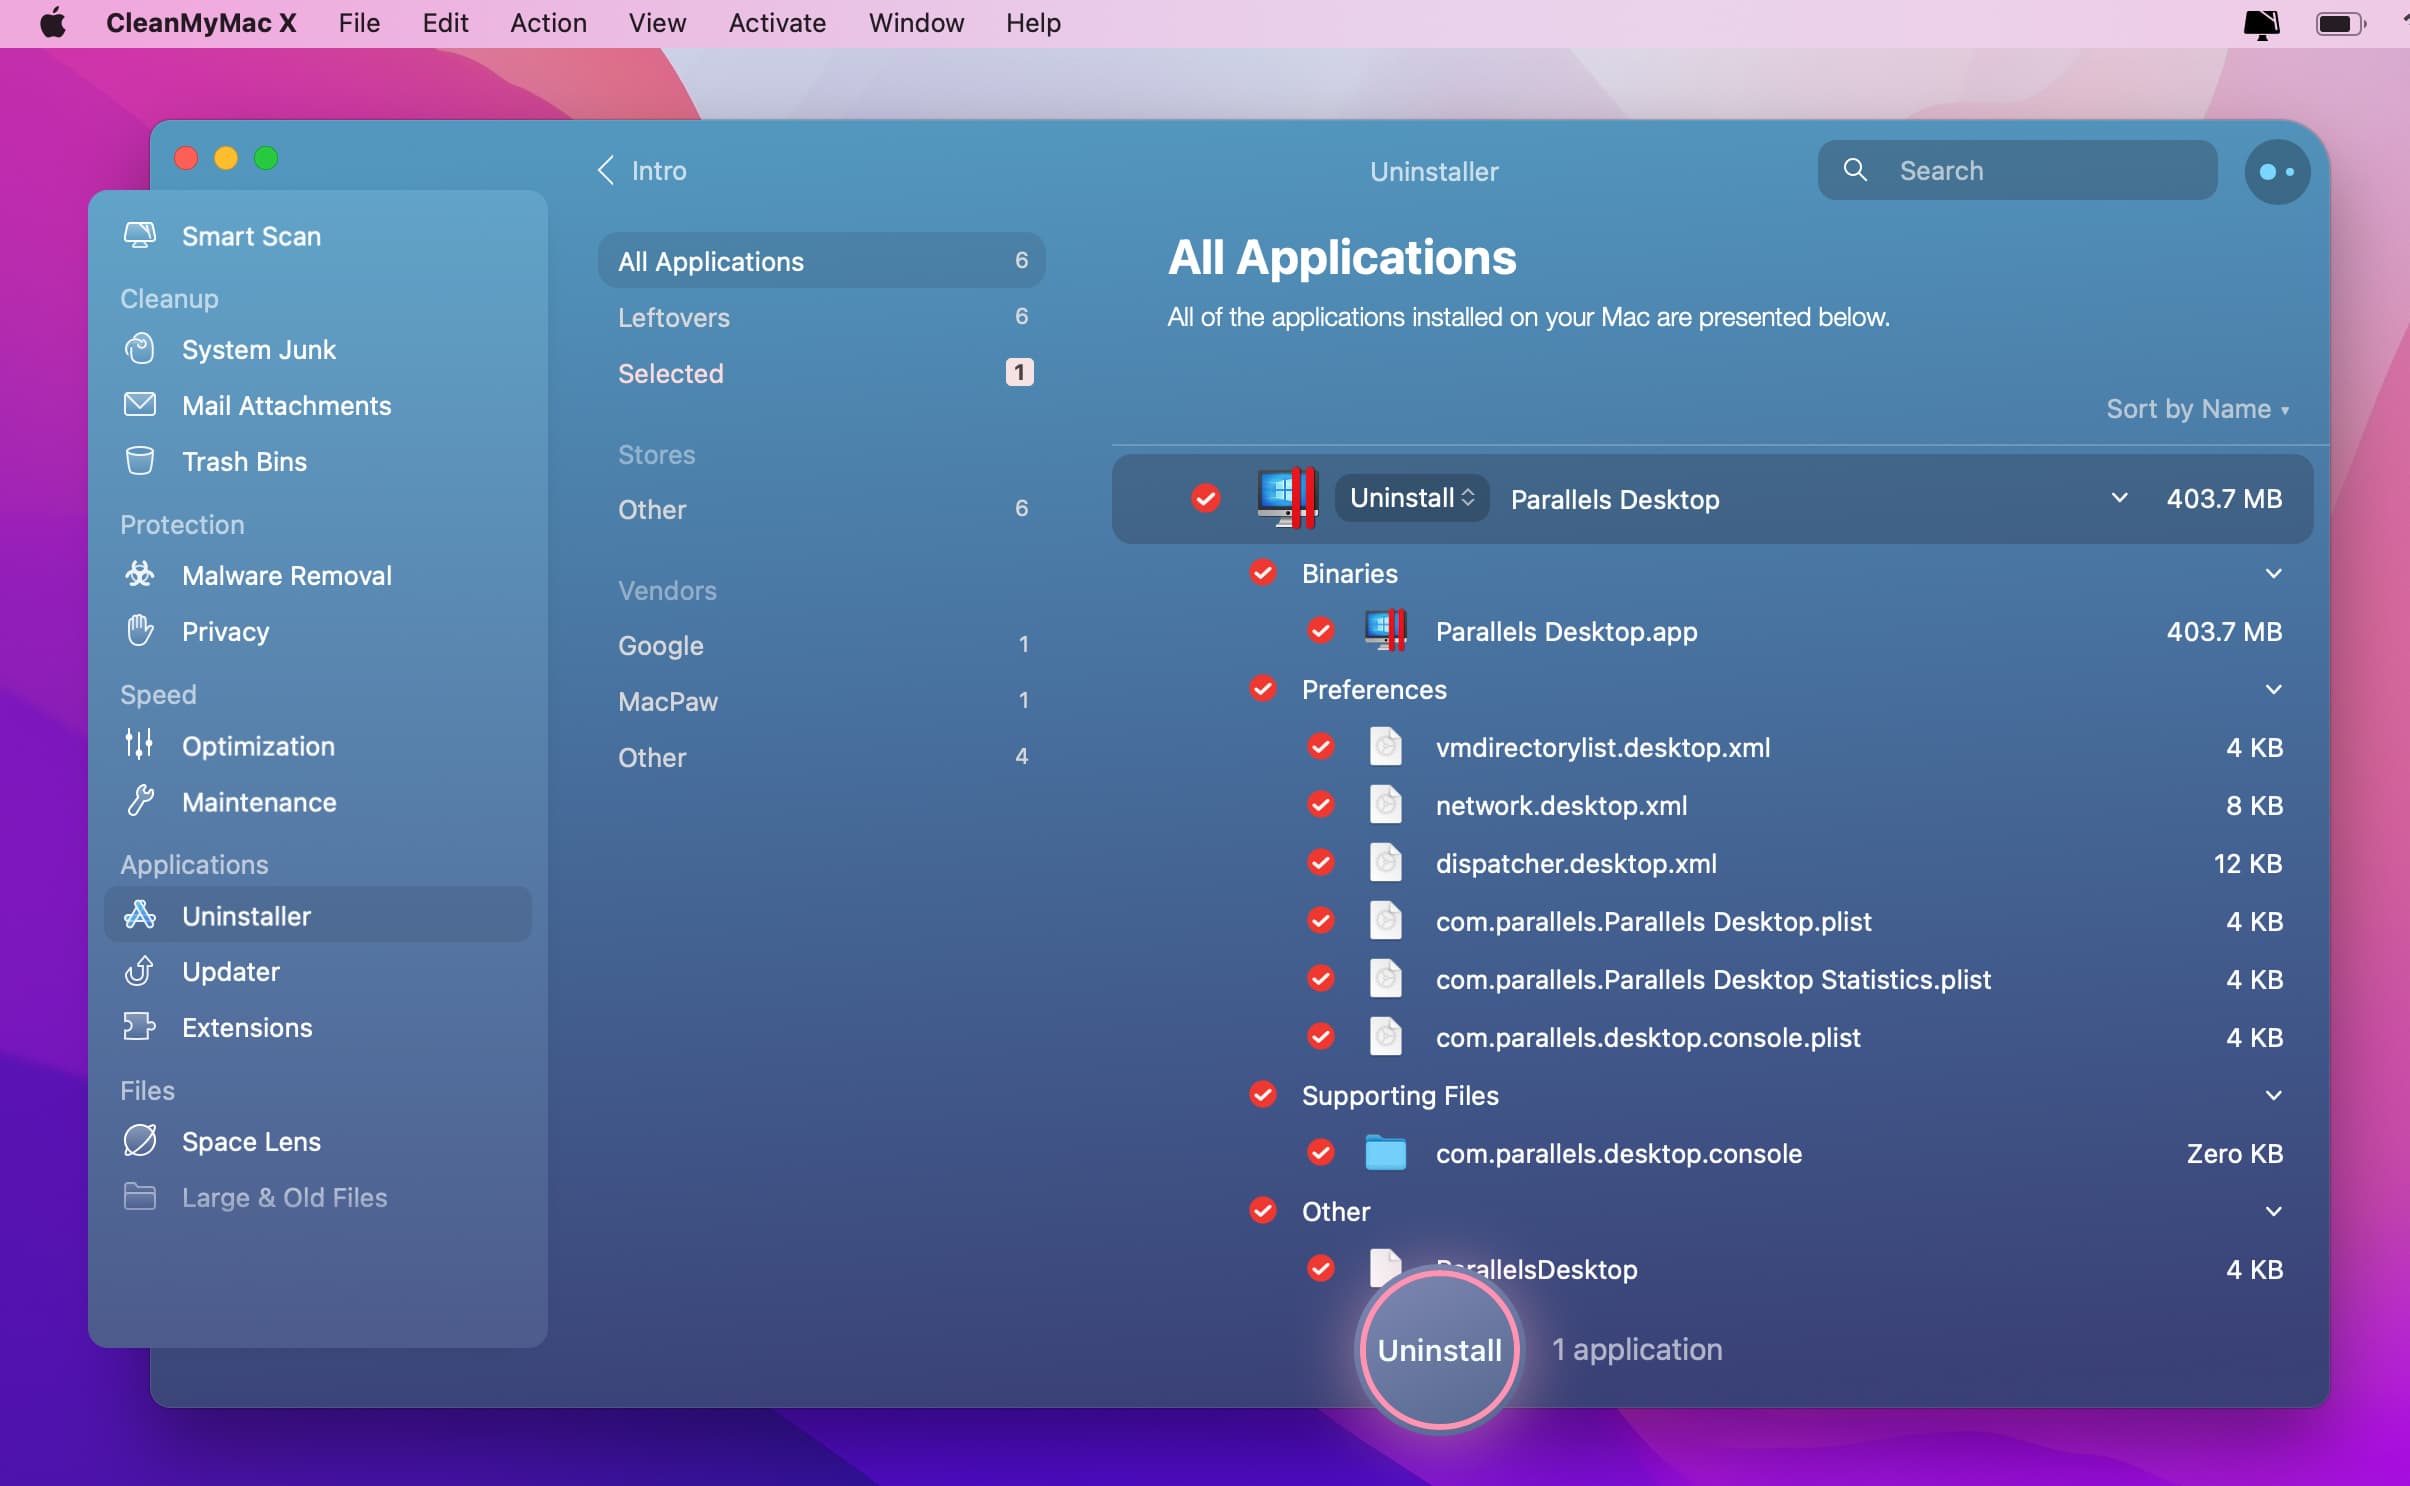
If you definitely want to remove the preference files, you can use a convenient app called Clean My Mac to completely uninstall an app along with the extra files.
3. Storage Optimization Tool on M1 Mac
While you can make use of the new storage optimization tool on macOS Monterey, originally the optimization tool came with macOS Catalina to avoid space wastage. The “Storage Tool” has features that offer to save additional disk space so that you never have to get a ‘Your disk is almost full’ notification while using your Mac.
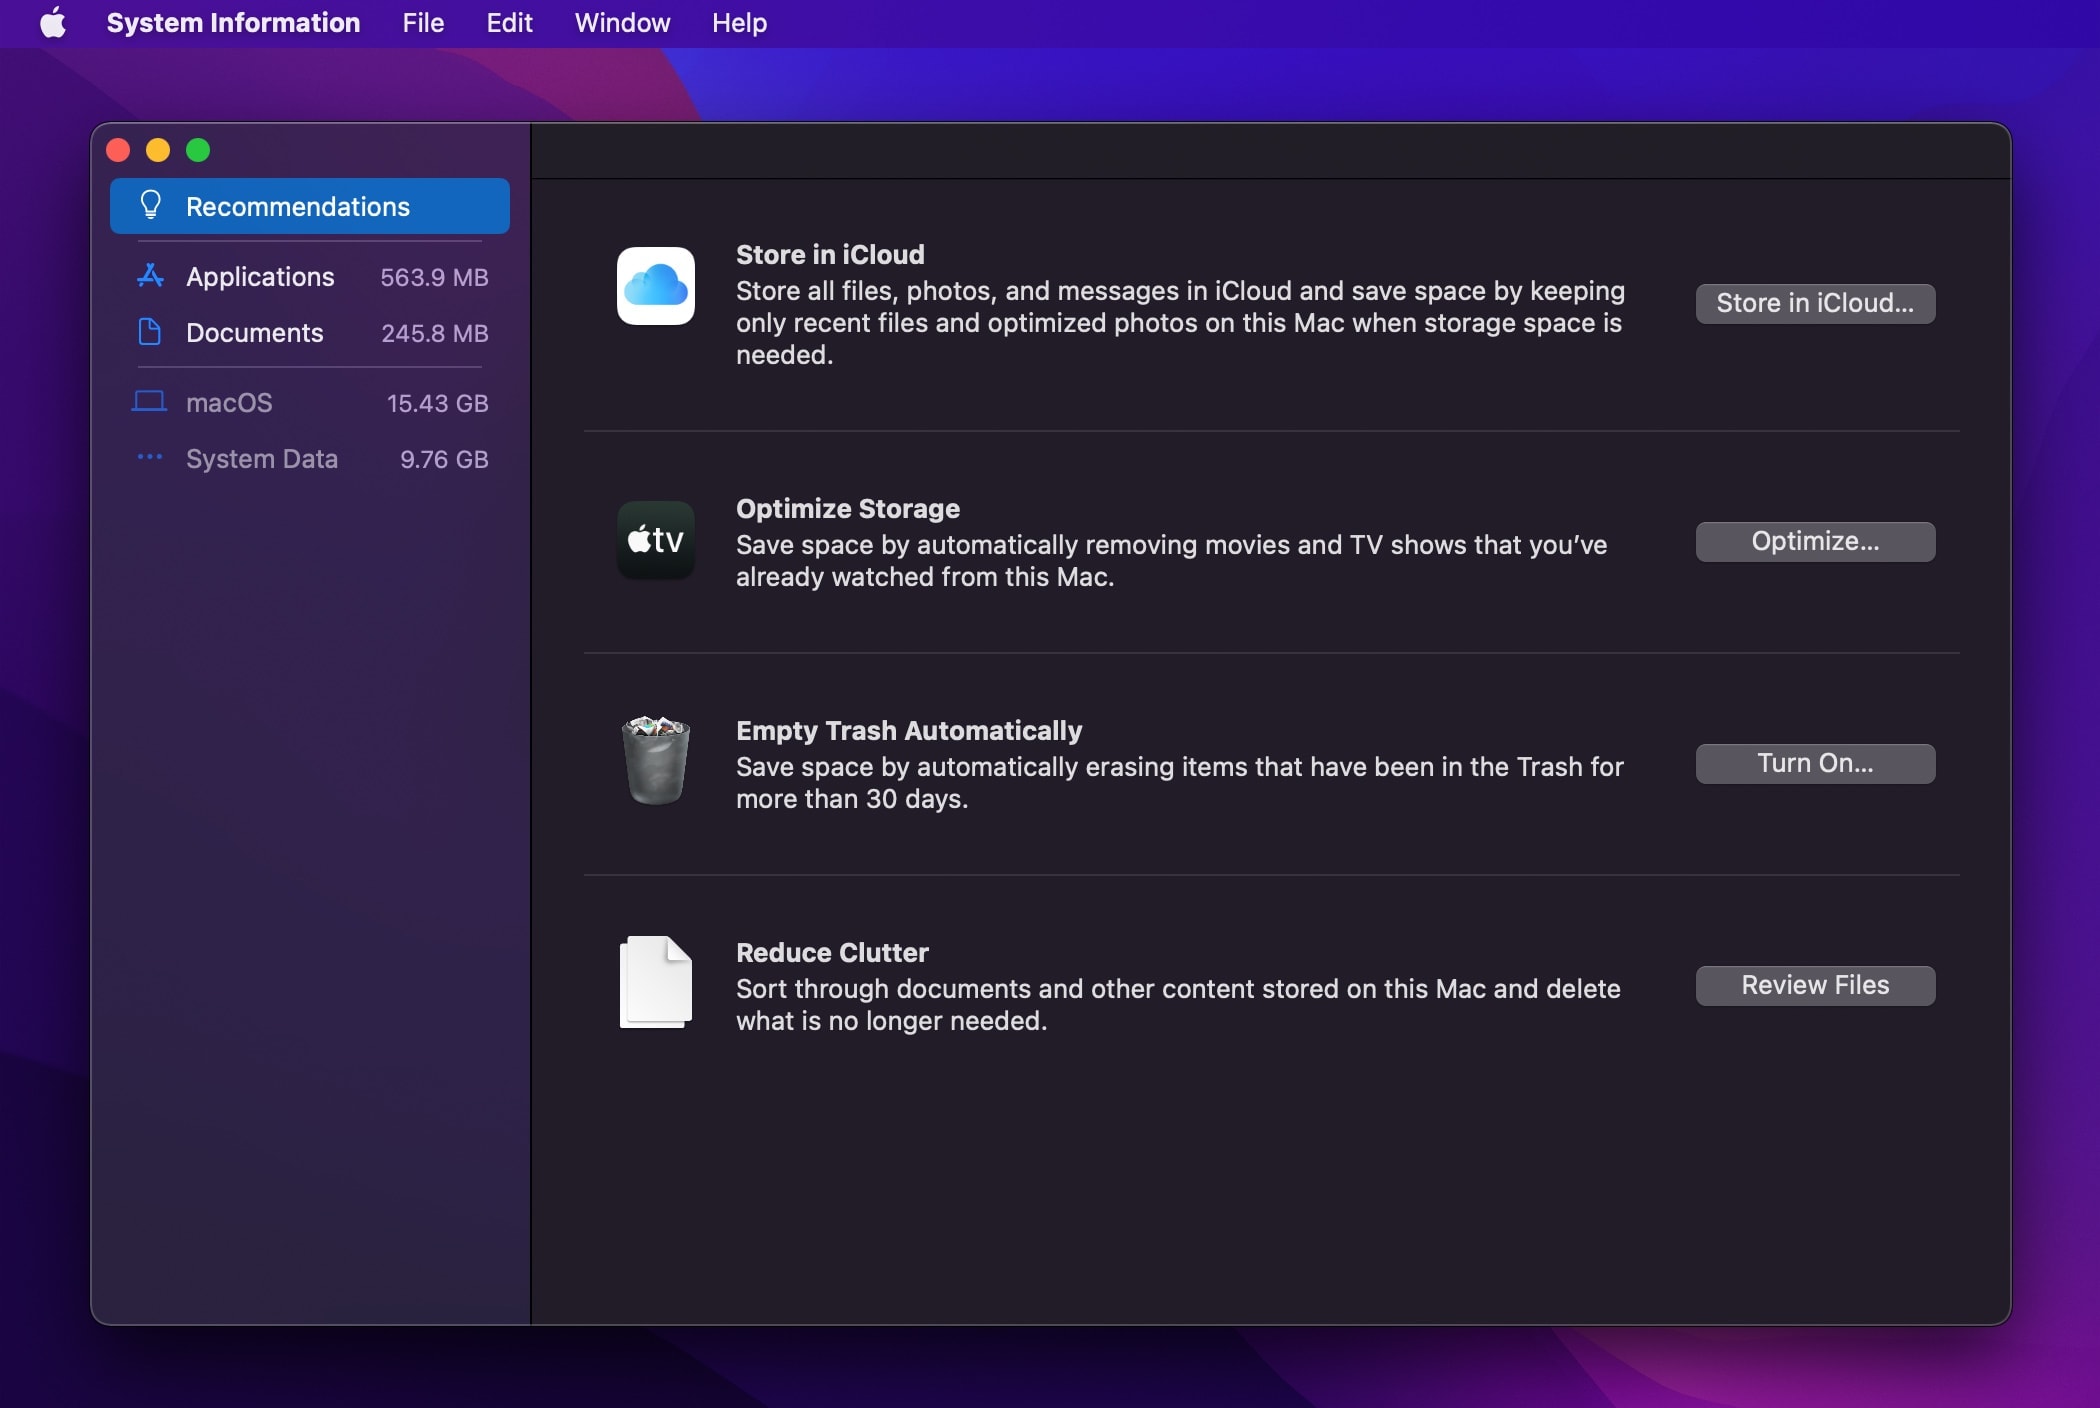
Follow the following steps to activate the storage optimization tool on Mac M1:
Step 1: Click on the Apple menu on the top-left of your screen
Step 2: Go to About This Mac > Storage > Manage
Step 3: You’ll see the different categories separated by the amount of space used by them. Check the recommendations and see how you can optimize storage on your Mac.
4. Remove Large Files
Removing large files will ensure you have gigabytes of free space on your Mac. Most of your large files are present in a couple of folders. They are either in the Downloads folder or the backup folder where iTunes saves backups of your iPhone and iPad.
You can find large files manually, but there are drawbacks to this method. You will only be shown individual files over a certain size limit by Finder and you will not see folders full of small files. Also, you may not get the complete context on the importance of the large files and where they are stored. This can be troublesome if you’re not sure what you’re deleting.
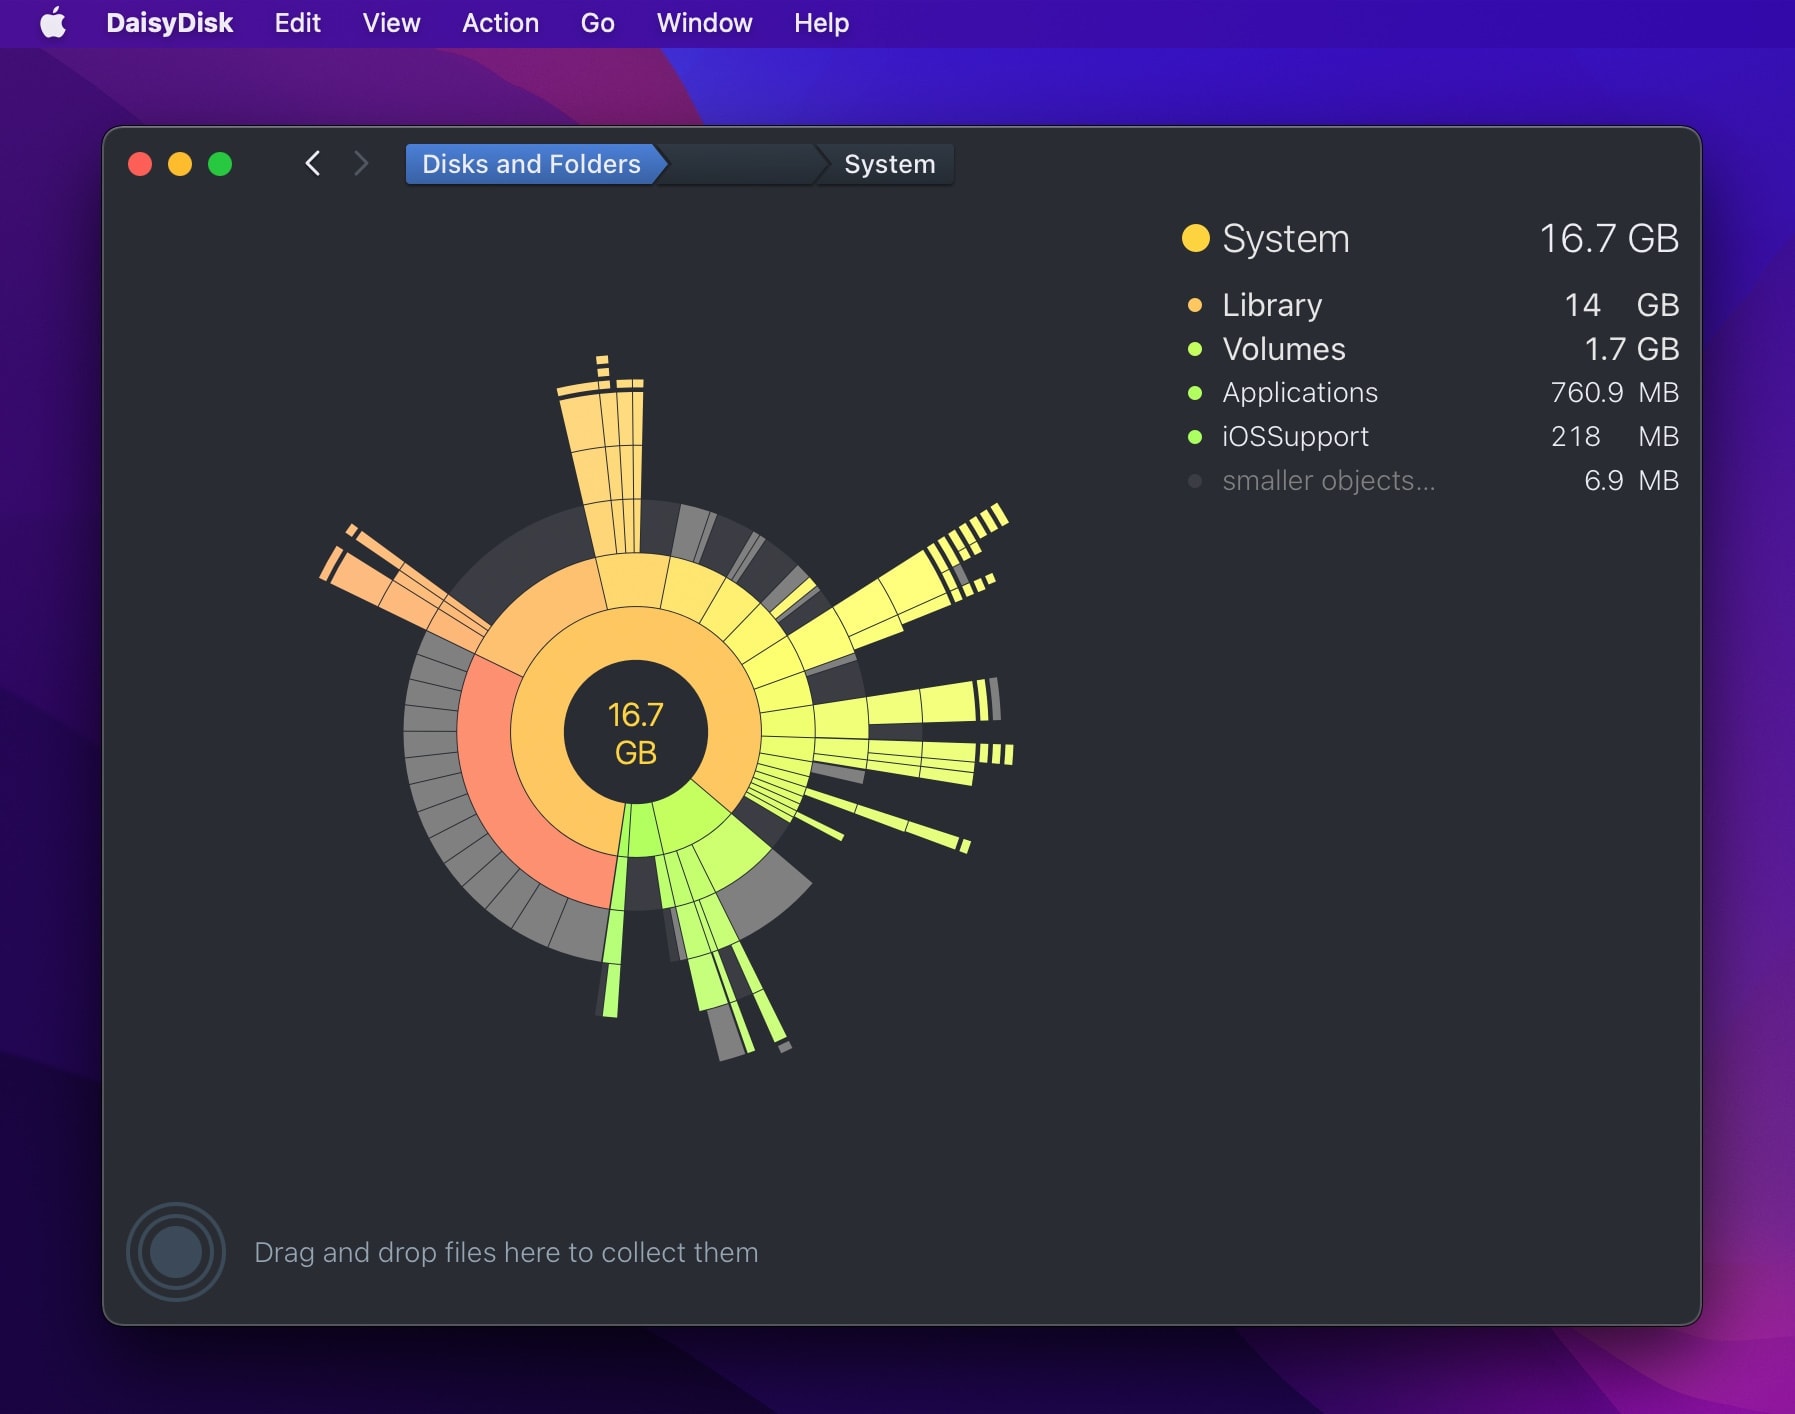
To solve this, you can use a third-party tool like Daisy Disk. This gives you a visual representation of the files on your Mac M1 and shows you how much you’ll be saving by deleting the unwanted large files.
5. Remove Duplicate Files
You can save a lot of space by finding and removing duplicate files on your Mac M1. By using an intelligent tool like Gemini, you can locate and remove duplicate files that waste space. The tool lets you delete unwanted copies of photos, music tracks, and other files. The Duplicates Monitor on Gemini lets your Mac stay duplicate-free at all times. You will get notifications when duplicates are spotted instantly so that you can remove the duplicate files.
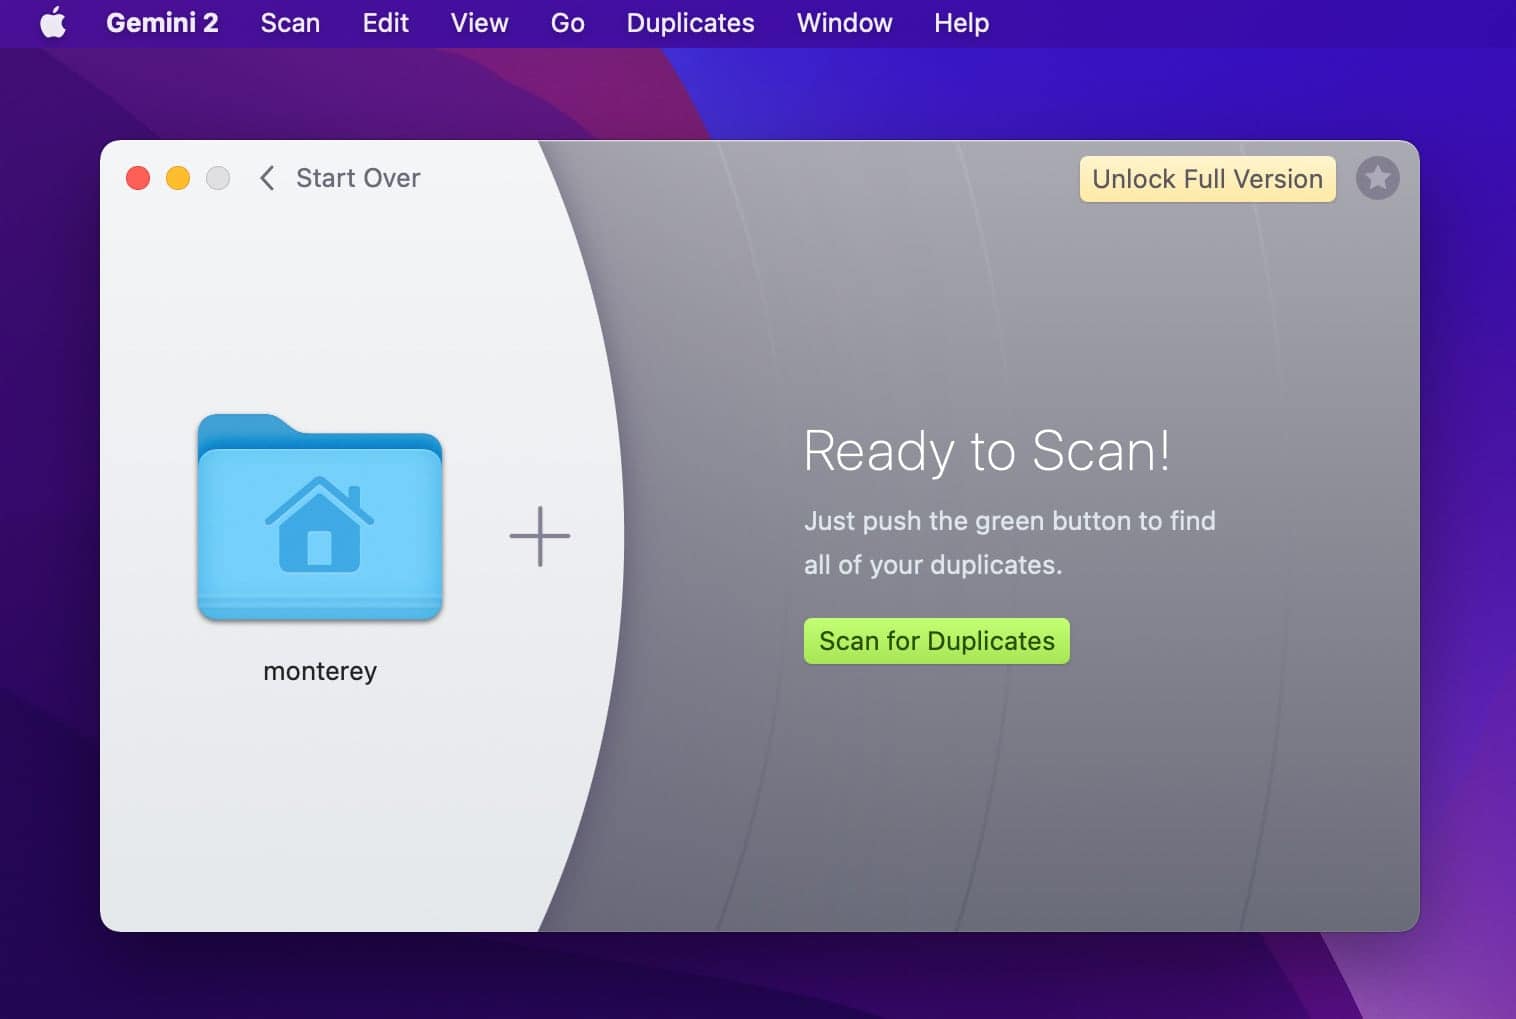
All it takes is just a few clicks to remove duplicate files from your Mac and keep everything running smoothly. You never have to worry about the ‘startup disk full’ error as you will keep away unwanted files and prevent them from accumulating in your Mac.
6. Free Up RAM
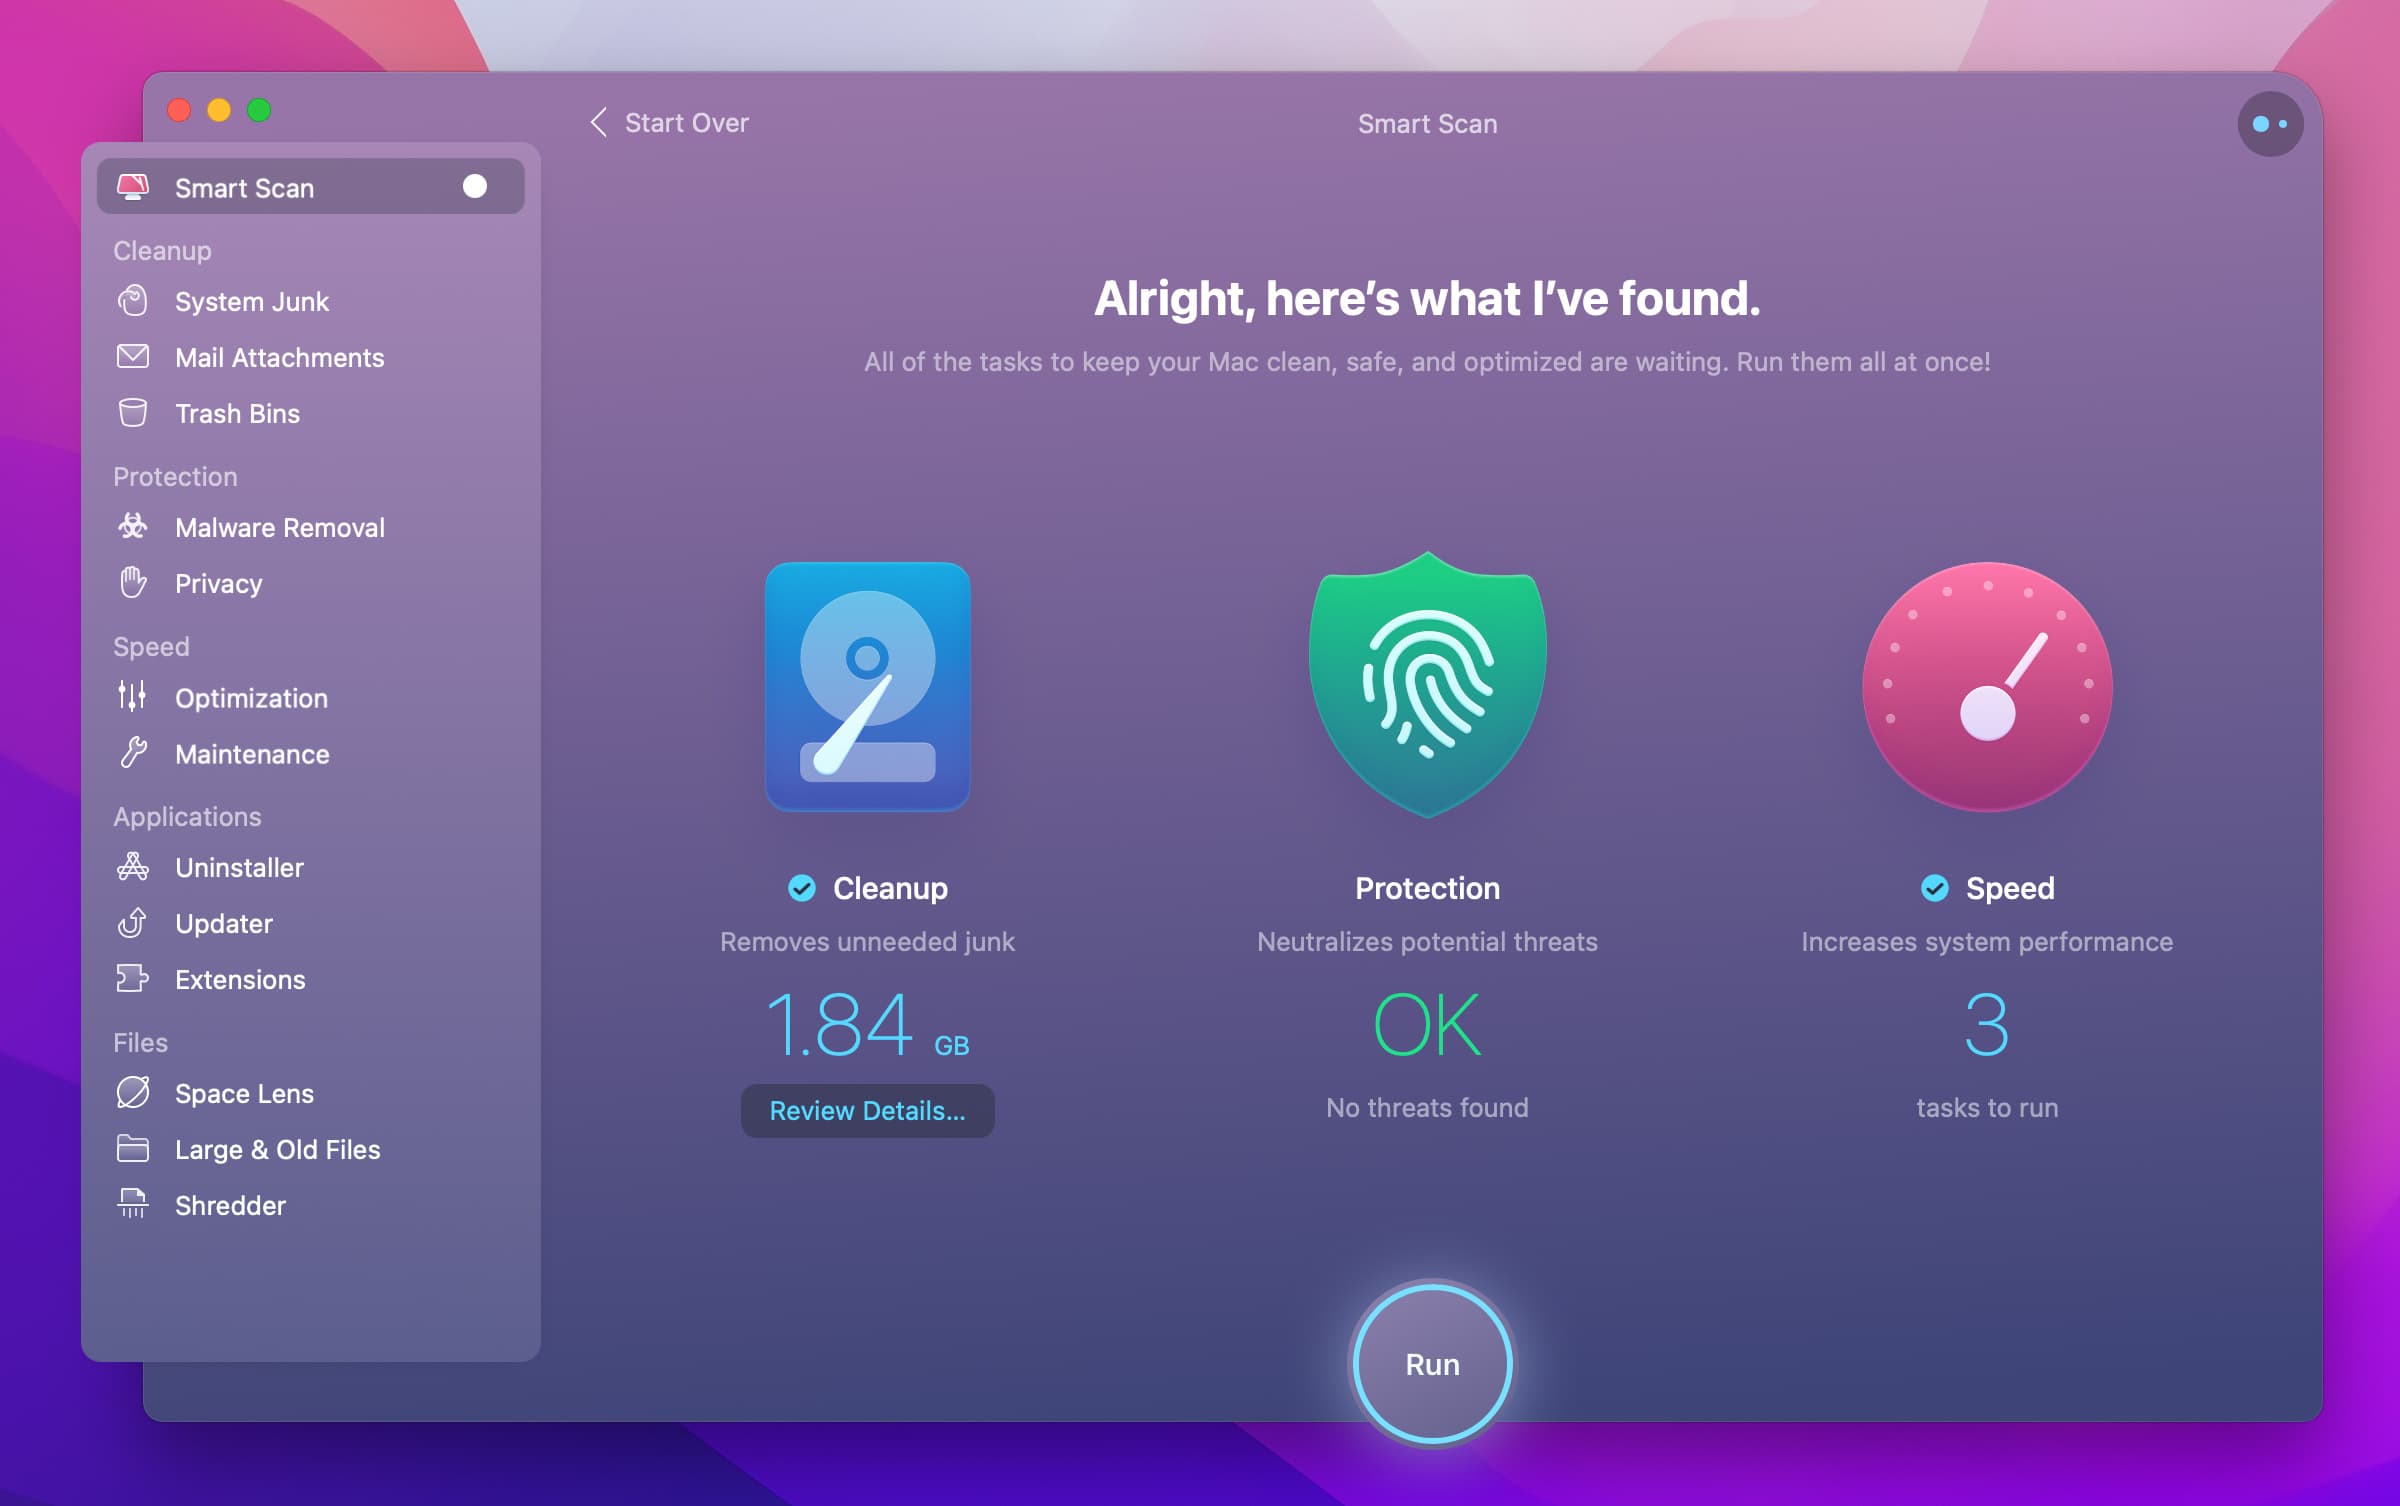
Clean My Mac X is the best cleanup app for Mac. It cleans unwanted files including caches, broken downloads, and tons of other clutter in iTunes, Photos, and Mail. The app can locate gigabytes of hidden files that add no value to you that can be removed instantly.
You can keep your Mac M1 running clean and lean at all times with Clean My Mac. This is a lifesaver app that can free up more space and RAM so that your Mac is performing at its peak at all times.
There are a lot of optimization tools that come with the app. This includes a performance monitor, malware remover, and a macOS cleaner. Fixing storage issues do not take a lot of time as you have simple one-click options to clean your Mac easily. The smart assistant in the app will guide you in your disk cleanups to ensure that you don’t delete important files. You will drastically reduce your system load and enjoy the maximum performance by optimizing your Mac M1 with Clean My Mac.
7. Use Cloud Drives (Google Drive, Dropbox, iCloud)
There are a lot of good cloud storage options providing free cloud storage space for users. Google Drive, iCloud, and Dropbox are good options for users who do not want to delete their extra files and are looking to save them for later use.
You can expand your cloud storage by upgrading to paid plans that give you more space to save your files and folders. Choose the cloud drive of your choice and opt for a paid plan to expand your storage.
8. Remove Old iOS Backups
You can save a lot of space by removing any old iOS backups on your Mac M1. A lot of users are usually shocked to discover that the largest chunk of space is occupied by iOS files. You have to search and destroy iOS backups to save more space on your Mac.
Here’s how you can do it.
Step 1: Click on the Apple menu on the top-left of your screen
Step 2: Go to About This Mac > Storage > Manage
Step 3: Click on iOS Files in the left panel to view iOS backup files available locally. If you do not need the files, select them and click on the ‘Delete’ button. If you want to move them to an external drive, click on the ‘Show in Finder’ button and drag them to an external drive.
9. Archive / Compress Files
If you’re working with a lot of documents on a regular basis and need access to them locally, your best option to save space will be to compress the files. You can easily zip and unzip files and folders on your Mac M1.
To compress a file or folder, control-click it or tap on it using two fingers to open the shortcut menu. Choose ‘Compress’ from the shortcut menu. If you compress a single file, you will get a .zip extension next to the original name of the file indicating a compressed file. If you compress multiple items at once, you will get an Archive.zip file. You can expand .zip files by double-clicking on them.
You don’t have to worry about how to free up space on M1 and M2 Mac when you know where to look for unwanted items and the tools you need to save more space. A smaller SSD storage should never be the reason to be overwhelmed with a lot of applications and files that slow down your Mac. Free up storage space and RAM by using intelligent optimization processes that simplify your life and enable you to be more productive.


Leave a Comment