For quite some time now, many Apple users have noted that they have been unable to download macOS Mojave or Catalina, for whatever reasons successfully. When trying to download the application, they find themselves with a 22 MB file instead of the full 6 GB Mojave App. Well, the 22 MB mini-installer work pretty well for a number of tasks. One thing, however, you can't use it to create a macOS Catalina or Mojave flash drive installer. For this task, you require the full size 6 GB App. If you have found yourself with this problem, you are in the right place. The problem doesn’t lie with you. And we will show you in simple steps and guides on how to go about it.

If you’ve tried multiple times to download the full-size App but ended up with the mini-installer, 22MB, we will show you two methods out. These two tricks have been tested and proved and will give you the desired results. One thing to note is that not all Mac users need to follow the instructions strictly. All you need to do is to download the macOS Mojave App directly from the Mac App Store, and you will receive the 6.1 GB installer App.
With that said, this guide is for those who have found the 22 MB app in the Applications folder and are in quest of finding the full-size installer application. As earlier mentioned, two methods come in play. The first one is where you manually build your own macOS Mojave installer app while the second method is using a third-party. Whatever method you decide to go with, the results are similar. Read on!
1. Manually Build a Full macOS Catalina or Mojave Installer with Terminal
The first approach is where you take things to your own hands, figuratively, and manually build a full macOS Catalina Installer or Mojave with Terminal. This method doesn't require any tool. This method subsequently ends with you owning the full size 6 GB macOS Installer, which can be used to boot installations as well as disks.
1. Open Disk Utility in Application folder and Utility. Select your Hard Disk, then click on “Partition” button. Create a new Disk with name “Temporary Disk” and format it with Mac OS Extended, set 25 – 30 GB for your Temporary Disk.

2. Open the Mini macOS installer app in your application folder. Then, install your macOS on Temporary Disk.

3. Follow the steps and prompts provided until you arrive at the point where the timer begins to count down, waiting to reboot your device. Do not let the reboot occur, and we cannot emphasize this more. Quickly cancel the reboot.

4. When you've successfully canceled the reboot, you will have the 6GB installer. A folder will be created on the hard drive named 'macOS Install Data'.

5. Open Terminal in Application and Utility, add this commands to Terminal to restore full size of macOS Installer.

# Enter Superuser mode with your passwords.
sudo -s
# Create "SharedSupport" folder in macOS Installer.
# With macOS Catalina:
sudo mkdir /Applications/Install\ macOS\ Catalina.app/Contents/SharedSupport
# With macOS Mojave:
sudo mkdir /Applications/Install\ macOS\ Mojave.app/Contents/SharedSupport
# With macOS High Sierra:
sudo mkdir /Applications/Install\ macOS\ High\ Sierra.app/Contents/SharedSupport
# Go to “Temporary Disk”.
cd /Volumes/Temporary\ Disk/macOS\ Install\ Data
# Find and Mount image file to SharedSupport folder.
# With macOS Catalina
find . -mount | cpio -pvdm /Applications/Install\ macOS\ Catalina.app/Contents/SharedSupport
# With macOS Mojave
find . -mount | cpio -pvdm /Applications/Install\ macOS\ Mojave.app/Contents/SharedSupport
# With macOS High Sierra
find . -mount | cpio -pvdm /Applications/Install\ macOS\ High\ Sierra.app/Contents/SharedSupport
6. Remove Temporary Disk. Open Disk Utility. Select your “Temporary Disk”, Click on the “-” to remove your disk.

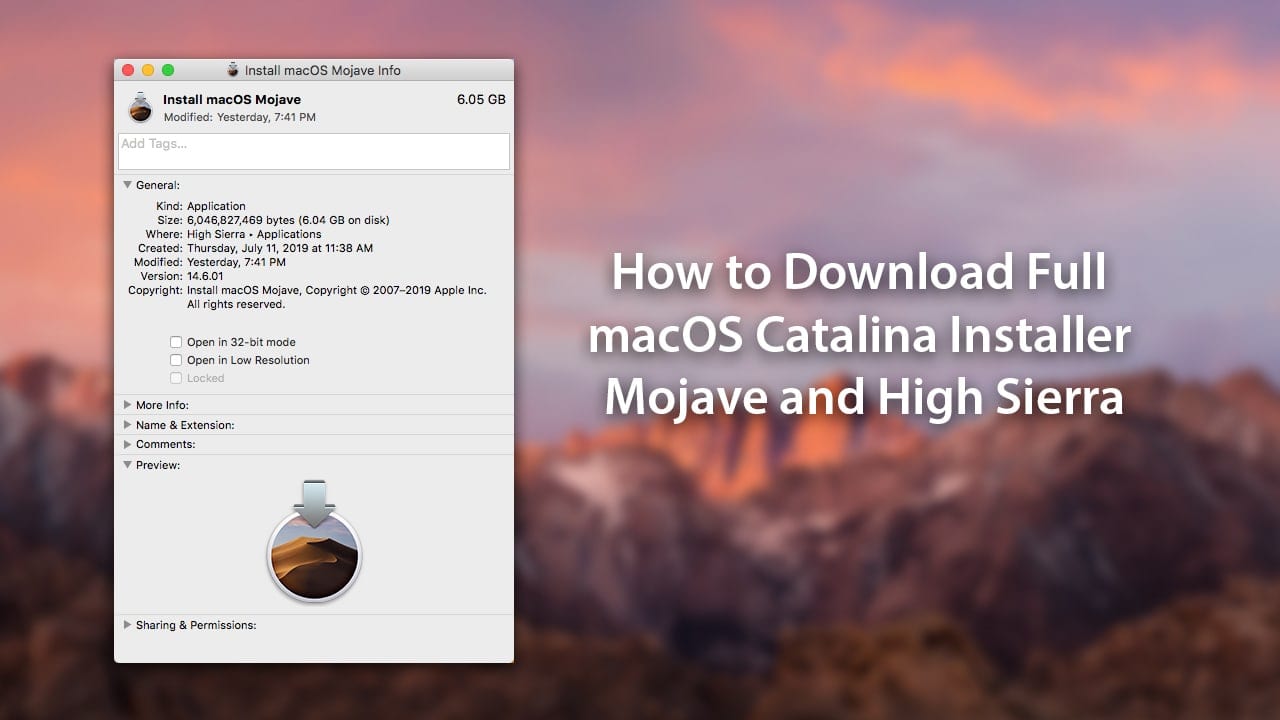
When you finish and go back to the installer, you will notice that it has been upgraded to 6 GB instead of the earlier 22 MBs. You can cross-check this by right-clicking on the original App.

2. Using a Third-Party App
The second method is by using a third-party app. This method is quite different from the other, but the end results are the same; a full-size 6 GB macOS Mojave Installer App. Follow these simple steps for the desired results:

- First, go to the The Dosdude Page and download its patch tool.
- There is a 'Tools' tab in the menu. Pull it down and select the option 'Download macOS Mojave'.
- You will be asked to confirm whether you want to download the full 6 GB macOS Mojave App. Accept and choose a destination where the folder will be saved. You can opt for the Application Folder. However, as the download is very big, ensure that the destination has enough space to accommodate the entire downloaded file.
- The download will take some time. So, wait for it to complete. The download will occur in different parts. Th then converges them into a single installed app.
- After it has completed, confirm from the location you selected whether it exists and its full size.
This third-party App enables you to download the macOS Mojave unofficially. Other than that, This Tool enables you to download the full-size macOS Mojave App very easily and directly. There is no beating around the bush.
Whatever device you are using, this process works the same and has the same results. One thing that we're yet to find out is why the 22 MB mini-installer occurs on some Macs and not others. On our speculation, the issue might lie with the hard disk space or alternatively, it might be a problem with the version of the Mac. Please, note that these are mere speculations, and Mac and Apple Company might have an exact answer.
Bottom Line
It is funny how something that can disturb you for a very long time can have a very simple solution. Our problem here doesn’t have one, but two methods on how to deal with it. Those who have been for a long time wondering how they can acquire the full-size installer App can now rest easy. We are certain that we have stayed true to our course and answered all your daunting questions.
One great thing is that the processes are quite simple; Do It Yourself tasks. You don't require any assistance. Moreover, aside from the download part, they are quick. That's not all; they work similarly in all devices used and have similar results. Downloading the macOS Catalina or Mojave Installer has never been easier. Try it today and let us know what you think of it!


I am currently running High Sierra, when following the directions to build a full installer for Catalina when I attempt to remove the Temporary Disk it tells me it is still mounted and cannot be removed. I closed the terminal window but appears to stopped any processes. The SharedSupport folder is still empty. I am concerned that if I remove the Temporary Disk partition now, I will have to redownload the Catalina files again.
HELP PLEASE
Hi Chris. Open Terminal, type this: diskutil list. And find your Temporary Disk number (disk#). Then type this command to unmount temporary disk: sudo diskutil unmountDisk /dev/disk#
Worked for me, so far. Made the 6.05 GB installer but I haven’t used it yet. Mac Pro 5,1 here. (flashed 4,1)
This required you must have macOS already installed on vmware. Is there a way for a new user (without macOS installed) to download the iso file?
Dear John!Thanks,I get full Mojave installer using your guide .
But shortly after that,I get full Mojave installer by another way.
1.On Sierra in vm I downloaded Mojave installer. 2.I have got Mojave installer.app(22.8MB). 3.I tried to upgrade from Sierra to Mojave by using Mojave mini installer(22.8MB).app. 4.Afer one hour, I upgraded from Sierra toMojave10.14.6.
5.On Mojave in vm I download Mojave installer.app. 6.At last,I have got full size(6.04GB) Mojave installer.app
My PC (hand made):MB Asrock B85M,CPU:Pentium G3258,mem:8GB.
Thank you!
please how can i download and install mac Os on my windows server and install it using hyperV