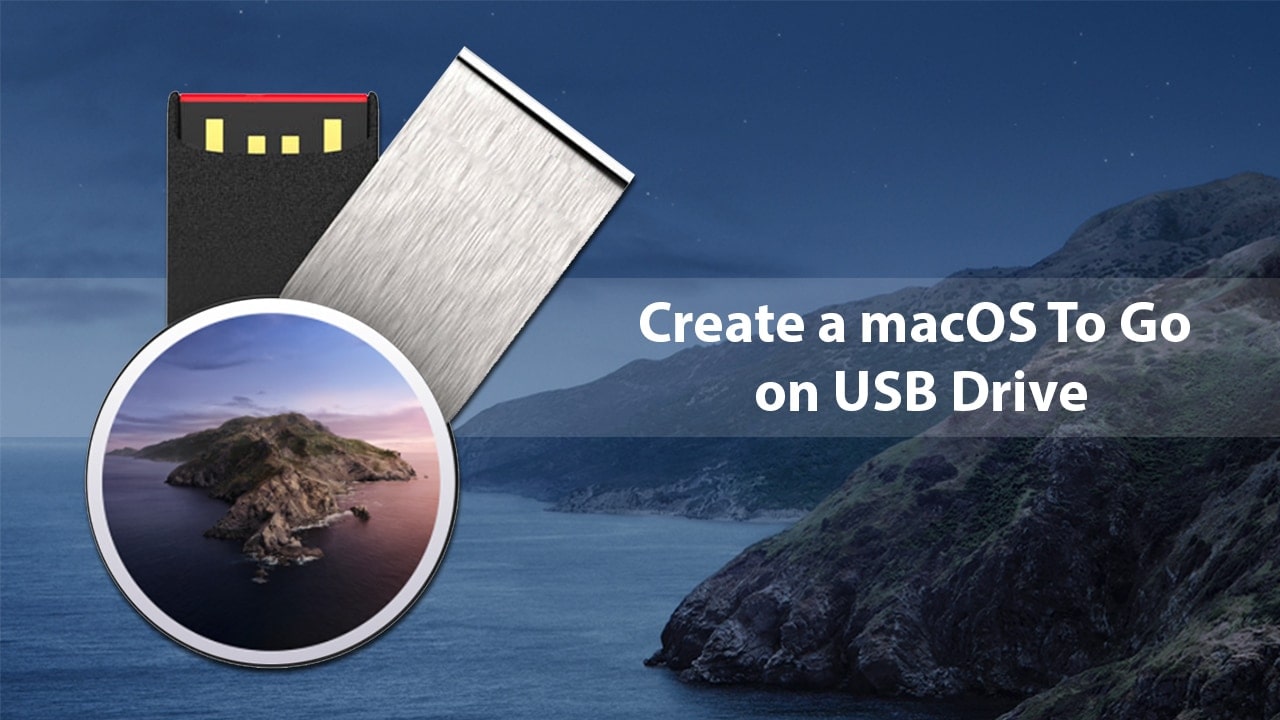
Ever wished that you had the magical powers to transform your Mac into a USB flash drive and carry it with you wherever you want? Well, you are not alone! I mean, we are living in a world where OS portability is increasingly becoming one of the most important aspects for people working in the IT sector. Fortunately, this is currently possible. I mean, you can literarily install macOS on any external drive.
And this allows you to have multiple operating systems in an external disk, which facilitates portability and deployment whenever and wherever you want. If that's what you are looking for, you've come to the right place. After learning and executing the entire process on your Mac, you will give you the freedom to run macOS Catalina from a USB or Flash drive, with no limitations. Even better, you will be able to enjoy all the features of the latest macOS.
NB: This process is different from creating a bootable USB that allows you to install macOS from the removable media. With this solution, you will have the possibility to boot macOS Catalina directly from the removable media as if we were in front of your Mac and can be used in any Mac as long as it is compatible with macOS Catalina.
What You'll Need
To carry out this task successfully, you will need two things:
1. A USB stick with a minimum capacity of 32 GB or an external hard drive.
2. macOS Catalina installer which can be downloaded from the Appstore
How to Create a macOS To Go on USB Drive
Step 1: Format Your USB Drive with GPT
The first step in executing this task is to format the USB external disk using the right format for installing macOS Catalina. Disk Utility lets you erase drives, add volumes, look for errors on discs, and more. Erasing a disk or volume permanently deletes all the files it contains. Before proceeding, make sure you have a backup of the files you want to keep.
Open Disk Utility from the macOS utility window. You can also access it from the Utility subfolder in your Applications folder.

- In the menu bar, select View and click Show All Devices.
- On the Disk Utility sidebar, click on the disk or volume you want to erase. In most cases, it is advisable to format the disc that will delete all partitions.
- Click the Clear button or tab and complete the following fields:
- Name: Enter the name to assign to the disc or volume (for example, "Macintosh").
- Format: Select Mac OS Extended (Journaled) or APFS for formatting. Disk Utility displays a compatible format by default.
- Scheme: (if this option appears): select GUID Partition Map.
- Click Clear to start the operation.
- Finally, quit GUID after the operation is complete.
Step 2: Downloading your macOS
The final version of macOS Catalina is finally out, and you can download it from Apple's website. But before doing that, do the following. Check compatibility: To make a successful download, your MacBook needs a minimum of 4GB ram and 12.5 GB of storage available. If you are using any of the following computers, you are ready for the download. If not, upgrade yours to ensure that the install completes successfully.

macOS Catalina can be downloaded via the App Store or On the Catalina website.
- Visit the Catalina link and click on download.
- If your device is compatible, a download link will appear.
- Click on it, and it will be downloaded into your computer.
You might have to sign in using an admin password and username, so ensure that you have those on hand before opening the site.
Step 3: Install macOS on USB Drive
Once you've successfully downloaded macOS Catalina, you can go ahead and begin the install. In this case, you will be using the USB flash drive that you have already formatted.

1. Go to Applications and double click on the macOS Catalina installer
2. Click on Continue and then accept the macOS Catalina license terms and select the disk where you need to install macOS Catalina.
3. In this case, select the USB disk, which is the external disk that you previously formatted.

4. Once the disk is selected, click on the Install option.
5. A notification will be displayed where you will need to enter your credentials:
6. After that, click on the Add associated tool button and start the installation process
This process takes between 15 to 25 minutes. Once the process is complete, you will have access to your macOS Catalina system.
Step 4: How to boot macOS To Go USB in any Mac
There are two ways you can boot macOS Catalina from your USB drive.

Way 1:
1. Head to System Preferences and click Startup Disk.
2. After that, select the external drive you want to boot Mac from.
3. And finally, click Restart.

Way 2:
1. Press and hold Option / Alt during startup.
2. Then select the external drive you want to boot Mac from.
When using method 2, do not remove the disk until the startup disk manager dismounts it. If you just remove it, the next time you will be booting from that computer, a question mark will be displayed on the screen since it can't identify the disk. If you find yourself in such a situation, press and hold the option key, then click on the normal Macintosh HD startup disk as described. Then head to system preferences and click on Startup Disk to reselect your external USB drive.
Note: Change startup disk on your Mac to old Hard Drive (your old OS).
After that is complete, proceed to configure the external disk where macOS Catalina is going to be booted from.
1. To do this, go to System Preferences and select Startup Disk.
2. After that, click on the lock icon to enable the changes and select the disk that you have already installed with old macOS Disk.
3. Click on the Restart button to start the system from that device.
As you might have already seen, there is nothing complicated with the whole process, more so if you follow the process step by step. At most, this should take an hour, and once you have installed macOS Catalina on your external USB drive, you can use it on any macOS Catalina compatible device or in case of an emergency. And this means that you have the freedom to carry your entire Mac wherever you go and access it whenever you want. That's what we call freedom. Right? Well, enjoy it as we wait for more cutting edge features.


Hi, can I also boot macOS from a Windows Laptop, for example Dell Latitude?