When you want to share links with others but do not want to disclose the original URL for privacy/security reasons, you can share it through a QR code or shorten the link. You can share page URLs with QR codes with the Shortcuts app. Similarly, you can also share page URLs as short links. You can quickly create short links with a couple of clicks by automating the link creation process with the help of Python 3, Bitly API code, and the Shortcuts app on new macOS Monterey and Ventura.
You will no longer have to visit a URL shortener website to copy and paste URLs to shorten links. With just two clicks, you can have your short link created. All you have to do is to copy the link you want to shorten and click on the Shortcuts app in the menu bar and select the ‘Create Short Link’ shortcut automation.
Let’s see how we can create the automation to shorten links. Follow the instructions below to get started.
What Do You Need to Create the Shortcut?
1. Bitly v4 API Code
As the most trusted link management platform in the world, you can use Bitly API to automate creating short links. The Bitly API documentation mentions that you need an access token to make API calls to get shortened links.
In the Bitly API documentation, you’ll see the below Python code that gets you a short link from Bitly:
headers = {
'Authorization': 'Bearer {TOKEN}',
'Content-Type': 'application/json',
}
data = '{ "long_url": "https://dev.bitly.com", "domain": "bit.ly", "group_guid": "Ba1bc23dE4F" }'
response = requests.post('https://api-ssl.bitly.com/v4/shorten', headers=headers, data=data)
You should begin by creating a new access token. To create a new Bitly API token, visit Bitly and sign up for a new account. After you’ve created an account, click on your Profile Settings > Open profile settings > Generic Access Token. You have to enter your password to get an access token.

2. Python 3
macOS comes pre-installed with Python 2.7. However, this version has been deprecated and you’ll need a Python 3.x version that the entire Python community recommends. The current version as of writing this article is Python 3.9. The next versions of Python will be completely backward compatible.
You can check the version of Python installed on your Mac by going to Terminal and typing Python -version command. You have to install Python 3 on macOS Monterey. Follow the steps below to install the latest Python version on your Mac.
Step 1: Visit Python Site
Step 2: Hover over the ‘Downloads’ menu and click on ‘macOS’
Step 3: Download the latest Python 3 release

Once the download is complete, run the installer. Python 3 will be installed as /usr/bin/python3. There will also be a new folder created (/Applications/Python 3.9) with files.
Python Libraries:
The Bitly API documentation will have a code that begins with “import requests”. Requests is a Python library that allows you to send HTTP requests. To install Requests, open Terminal in your Mac and run the command: pip3 install requests

3. Shortcuts App on macOS Monterey
The Shortcuts app was launched to allow Apple users to automate routine tasks by creating shortcuts. While iPhone and iPad users had access to the Shortcuts app, Mac users did not have the feature. With macOS Monterey, Apple is finally bringing the power of shortcuts to Mac. You can save a lot of time spent on routine tasks by automating them. Tasks that require switching between multiple apps can be completed in one or two clicks.
How to Create Short Links with Shortcuts App on Mac
You can quickly create short links with the Shortcuts app on Mac. This will allow you to create a short link of the URL you’ve copied to share with others. This is a useful feature when you want to share links but do not want to disclose the original URL.
Follow the below steps to create short links with the Shortcuts app on Mac:
Step 1: Open the Shortcuts app from the Dock or Spotlight on your Mac. Click on the ‘+’ button on the top-right corner to create a new shortcut.
Step 2: Type ‘Get Clipboard’ and drag the shortcut option to the left window to start creating your shortcut.
Step 3: Search ‘Expand URL’ and drag the shortcut option to the left window.
Step 4: Search ‘Text’ and drag the shortcut option to the left window. Right-click in the text field and choose Insert Variable > Clipboard.

Step 5: Now, search ‘Rename File’ and drag the shortcut option to the left window. Edit the ‘Name’ field and type ‘url.txt’.

Step 6: Search ‘Save File’ and drag the shortcut option to the left window. Uncheck ‘Ask Where To Save’ checkbox. Click on ‘Shortcuts’ field and choose ‘Desktop’. This will save the file to the desktop.

Step 7: Search ‘Run Shell Script’ and drag the shortcut option to the left window. Choose ‘bin/bash’ option for Shell. Click on ‘Saved File’ option for Input and clear it. Replace ‘to stdin’ with ‘as arguments’ option for Pass Input. Remove ‘echo “Hello World”’ in the Shell Script and paste the following script.

Replace "your Token API" in the script with the token API you got from Bitly.
import requests
# Replace your Token with double quotes "
token = "your Token API"
long_url=open("./desktop/url.txt").read()
headers = {"Authorization": f"Bearer {token}"}
# Get group_guid from Token
groups_res = requests.get("https://api-ssl.bitly.com/v4/groups", headers=headers)
groups_data = groups_res.json()['groups'][0]
guid = groups_data['guid']
# Get Shorten Link
response = requests.post("https://api-ssl.bitly.com/v4/shorten", json={"group_guid": guid, "long_url": long_url}, headers=headers)
link = response.json().get("link")
print(link)
import os
os.remove("url.txt")
EOF
Step 9: Search ‘Text’ and drag the shortcut option to the left window. Right-click in the text field and choose Insert Variable > Shell Script Result.

Step 10: Search ‘Choose from Menu’ and drag the shortcut option to the left window. Replace the text field in Item 1 from ‘One’ to ‘Copy File’ and the text field in Item 2 from ‘Two’ to ‘Share’. Click on the ‘Prompt’ field and choose ‘Select Magic Variable’. Now, the Shortcuts app will show the variables used in every step. Click on ‘Text’.
Step 11: Search ‘Copy to Clipboard’ and drag the shortcut option to the left window below the ‘Copy File’ menu. Click on the ‘Content’ field and choose ‘Select Magic Variable’. Now, the Shortcuts app will show the variables used in every step. Click on ‘Text’.
Step 12: Search ‘Share’ and drag the shortcut option to the left window below the ‘Share’ menu. Click on the ‘Input’ field and choose ‘Select Magic Variable’. Now, the Shortcuts app will show the variables used in every step. Click on ‘Text’.

Name your shortcut as ‘Create Short Link’ and add an icon and color to identify it. Click on the ‘Shortcut Details’ option in the right sidebar and enable ‘Keep in Menu Bar’. This will add the shortcut to the menu bar for easier access. Close the Shortcuts app. You can now access shortcuts conveniently from the menu bar.
Open the browser and visit the website you want to share with a short link. Right-click and copy the website URL. The URL will be moved to the Clipboard. Click on the Shortcuts app on the menu bar. In the drop-down list, select ‘Create Short Link’ shortcut.

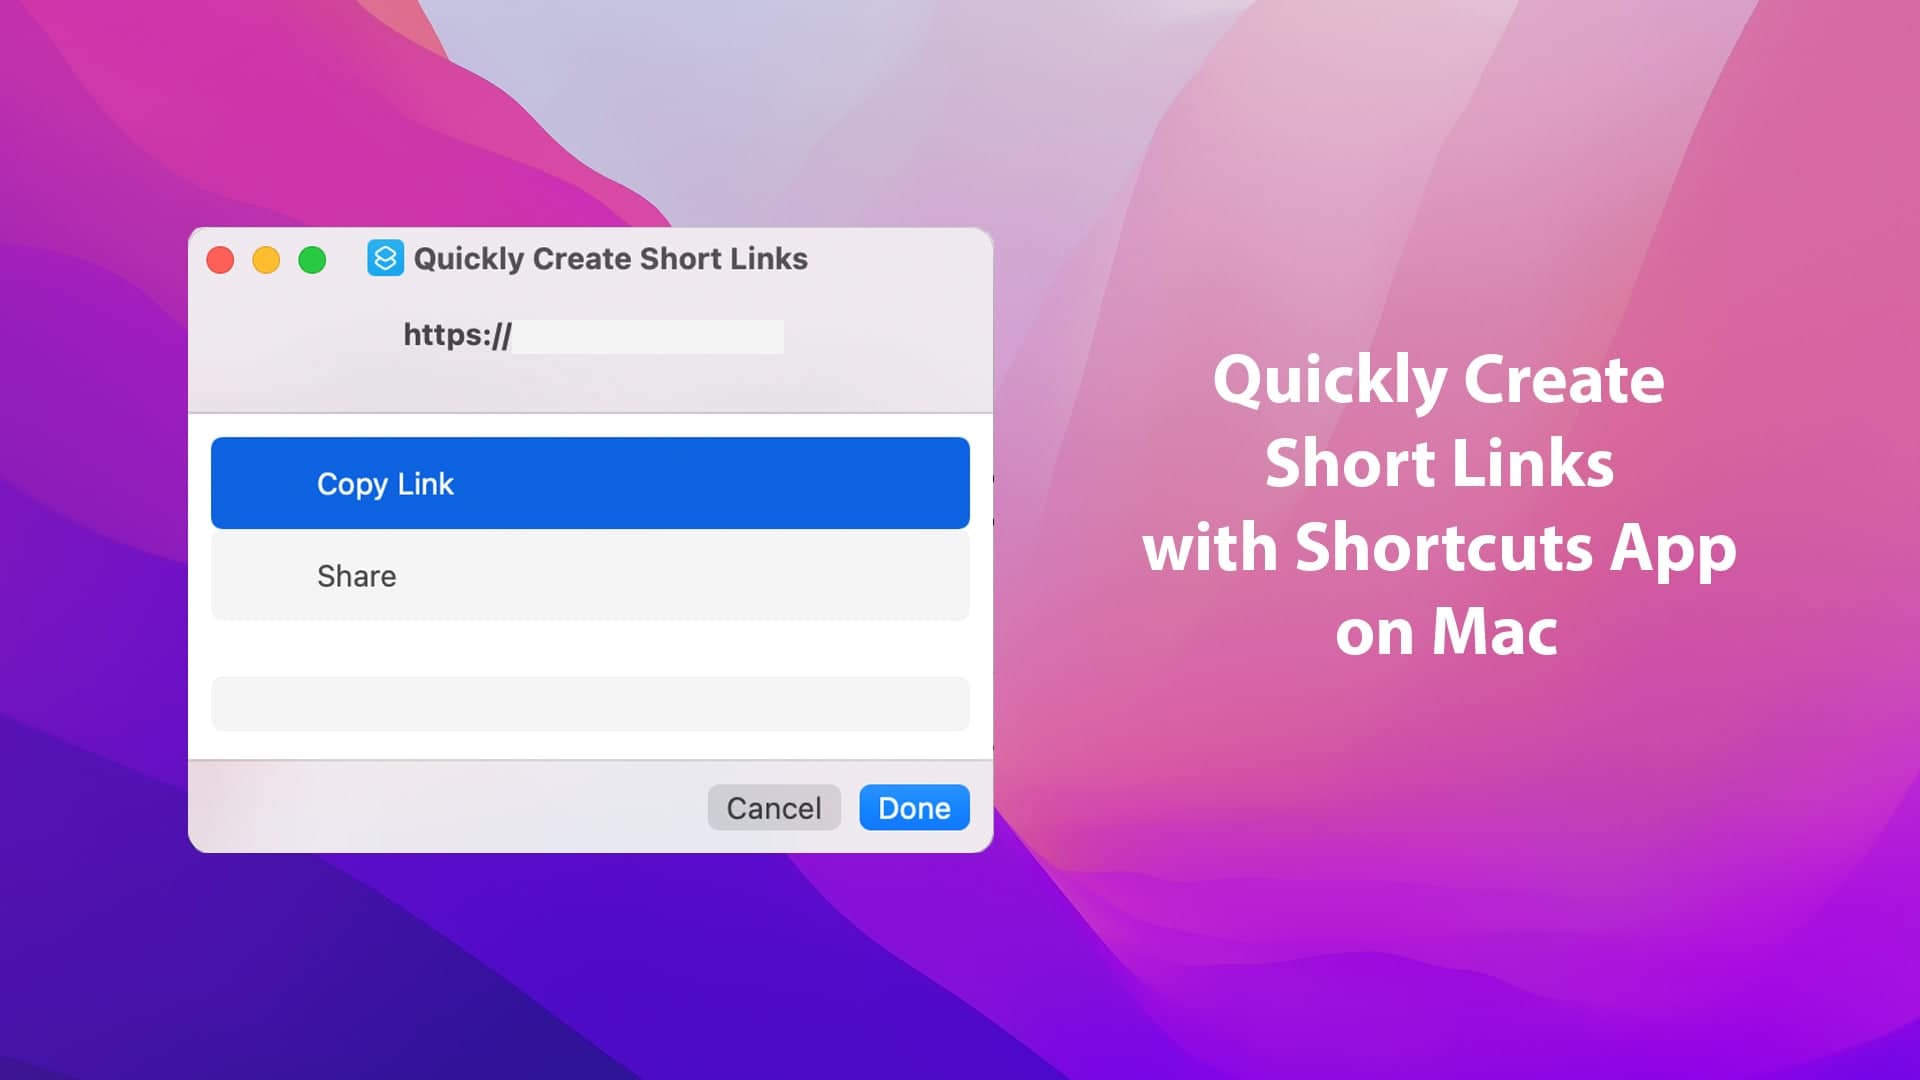
You will get two options ‘Share’ and ‘Copy File’. Choose a suitable option to share your shortened link. That’s it.
You’ve created short links with the Shortcuts app on macOS. When you share links on a daily basis and do not want to disclose the original URL, this is a highly recommended way to create short links and share them with others. You are leveraging the power of automation to make life and work easier. With the Shortcuts app on Mac, you can start creating simple automation for time-consuming tasks and maintain your focus on creative tasks.


Leave a Comment