With technology advancing ever more by the day more and more of us want to spring to life our creative side by developing websites and applications. However one of the huge challenges that you’ll come across if you want to develop your own application is potentially not having the hardware and machines that you need in order to fully develop or optimise your product. For example you may be running on a Windows 10 Operating System but the application you’re creating might need to be supported on other systems including mobile OS’s such as android and iOS.
Now it might seem like it’s all over before it’s began however this is far from the case. There are a range of ways that you can develop an app compatible with iOS on your Windows platform and today we are going to look the solutions that allow you to do just that. The solution is called an iOS Emulator for Windows, essentially this allows you to run an emulated version of an authentic iOS operating system directly from your Windows Host PC.
iOS Emulator for PC with Xcode
If you want to take your app development seriously when it comes to iOS one of the best suites you can download to help you along with this is XCode 10. This suite of software development tools can be used directly on a Mac OS system or through an iOS Emulator that can be downloaded for your PC. The way XCode is laid out is intended for it to make the end-user easily understand any changes that are made to the code alongside any conflicts or issues.

XCode is a form of IDE or Integrated Development Environment which contains in a neat little package everything you need to develop your app for iOS which includes:
- Code Editor
- Graphical User Interface (GUI)
- Debugger
- Object and data modelling (optional)
- iOS Emulator
As we have mentioned you can emulator a Mac-styled environment on your Windows PC in order to get developing with XCode. This can be through solutions such as Virtual Machines or Rent a Mac in Cloud, which will use your Windows PC as a host and run your Mac OS in a separate instance. Once you have the emulator running your Mac OS this is then when you can go on to install XCode that is absolutely free of charge. There is a wide range of user tutorials in order to get you to grips with how it works. So let us have a look at the different ways you can develop an app for iOS using a PC.
How to launch and iOS Emulator for Windows
Option 1: Rent a Mac in Cloud
With the introduction of cloud-based support for emerging technologies one of the solutions to being able to develop your application for iOS is to literally rent a Mac System to use online using the Cloud. Providers of this technology allow you to simulate various environments including the latest Mac OS and iOS variants. Many people use these services for many different purposes such as game development, software development as well as for coding using visual basic.

Two of the biggest providers of Mac Rental are called Mac-InCloud and MacStadium. The difference between these and the other solutions is that you are collecting to a real life Mac through Remote Software. Using the environment on the live machine you can build and test your app as well as sending the results and finished work back to your local machine. Both of these providers also allow you to have a trial to see if it’s right for you before purchasing either for a fixed period or a monthly subscription. In addition the services offered by these providers do indeed support the latest and legacy variants of XCode with the suite already being pre-installed on the machine you’re remotely connecting to. Lastly you can also perform tests on the effectiveness and convenience of your user interface as well as get some results on the performance of your app.
Option 2: Run macOS on a Virtual Machine on Windows PC
Step 1: How to run macOS in VirtualBox
The second option open to you for being able to Run Mac OS on your Windows operating system is through a virtual machine. Virtual machines essentially using the working RAM left vacant on your machine to run a virtual emulation of your chosen operating system in a new window. OS’s that are supported include Windows, Linux and the latest Mac OS variants. With VirtualBox there is a free version. Now we’re going to look at how both of these would work in the scenario of if you wanted to use them to develop your app for iOS.
Running macOS on Virtual Box
VirtualBox is a free-to-use and open source hypervisor which allows for users to run operating systems on Virtual Machines using allocated resources from their host PC. It can be installed on a range of systems including Linux, Windows, Solaris and Mac OS. To get started you’ll want to do the following:
- Go to VirtualBox Site and download the latest version of VirtualBox.
- Next you’ll want to find a Virtual Disk Image File (.vdi or .vmdk) of the macOS you want to be emulating; the latest is currently called macOS Mojave 10.14.3.
- Once you have fully downloaded the VirtualBox .exe file double click the finished install. Once installed and you have your empty virtual machine ready you are ready to open up Mac OS in this Virtual Environment.
- Create a new virtual machine with your Virtual Disk Image file then turn on your Virtual Machine.
Step 2: Install XCode on Appstore
Once you have managed to get Mac OS running whether it be through VirtualBox or VMWare Workstation Player or even if you’ve hired a Mac machine which you’re remotely connected to, now we have that sorted we can install XCode. If you have successfully installed Mac OS you should be able to browse this machine and find yourself the ‘App Store’. Typically this will be found on the dock to the bottom of the screen or on your launch pad.
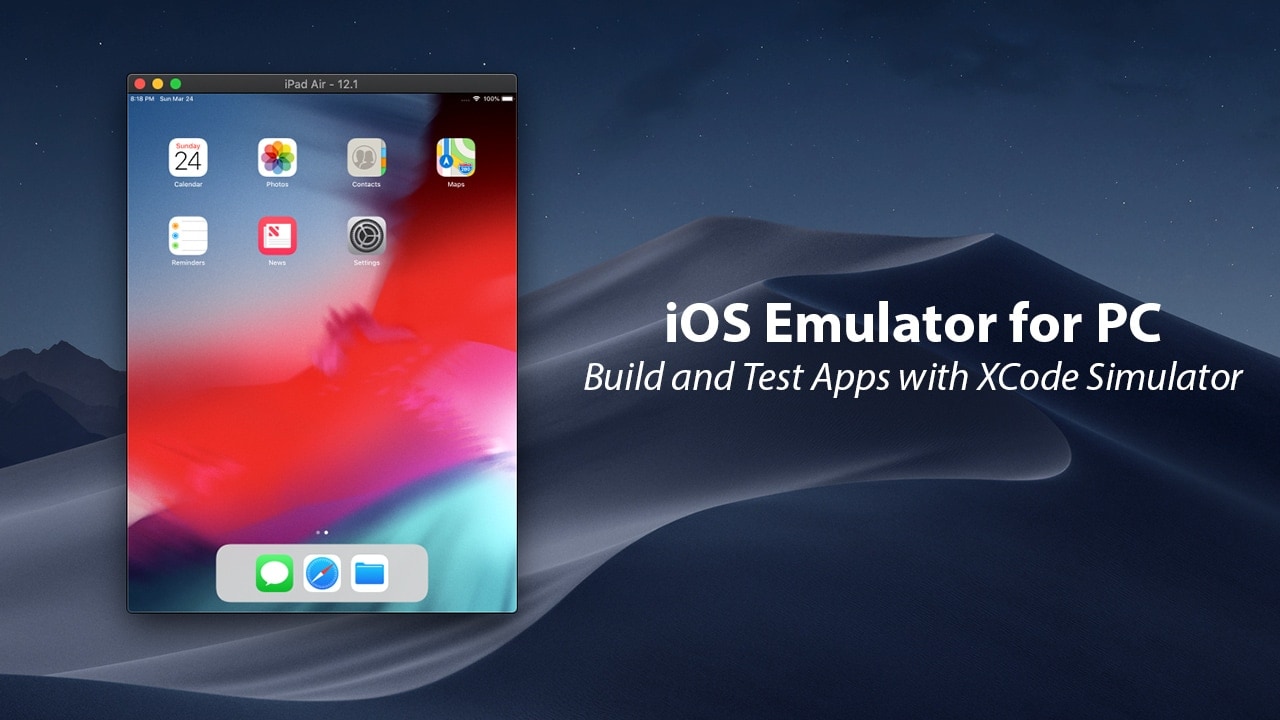
Step 3: Run iOS simulator
Now we have gone through all the steps, we have our Mac OS environment live and XCode installed now is the time where you can actually begin to code. Within XCode if you want to be testing our updates to your application in real time you’ll want to be using what is called the ‘Simulator Function’. This will feed back to you just how your application would act in a real scenario across various devices, which can be useful if you’re developing an application that can be used both on a Mac, on an iPhone and even on an Apple Watch. Search "Simulator" in macOS Mojave.

Not only can you test your application on different devices but also different variants of them devices. For example with iPhones you can start with testing it on the iPhone X and work your way backwards to test for backward computability so you know which devices will be able to run the app and which won’t be able to.

Hopefully today we’re covered in detail all the steps you need to take in order to start developing your own applications for iOS. Not only this but you can rest assured that even if you are simply running a Windows Desktop this won’t be an obstacle in your development career.


Leave a Comment