Rufus is free and open-source software that lets you create USB flash drives installer. It enables you to easily create bootable, non-bootable, and FreeDOS drives. Users use Rufus to create a new bootable disk to install another OS or reinstall the same OS. Most people use Rufus to install Windows on their Mac. Rufus is one of the best ways to achieve this quickly and easily.
One of the best features of Rufus is it is available for free. As Rufus is open-source software, anyone can use it for different purposes for free. The major drawback of Rufus is that it is only available for Windows operating systems. Users try different methods to install Rufus on their Mac, but nothing works for them. We have used two different methods to install Rufus on Mac. In addition, we have also added images with each step to understand the installation process better.
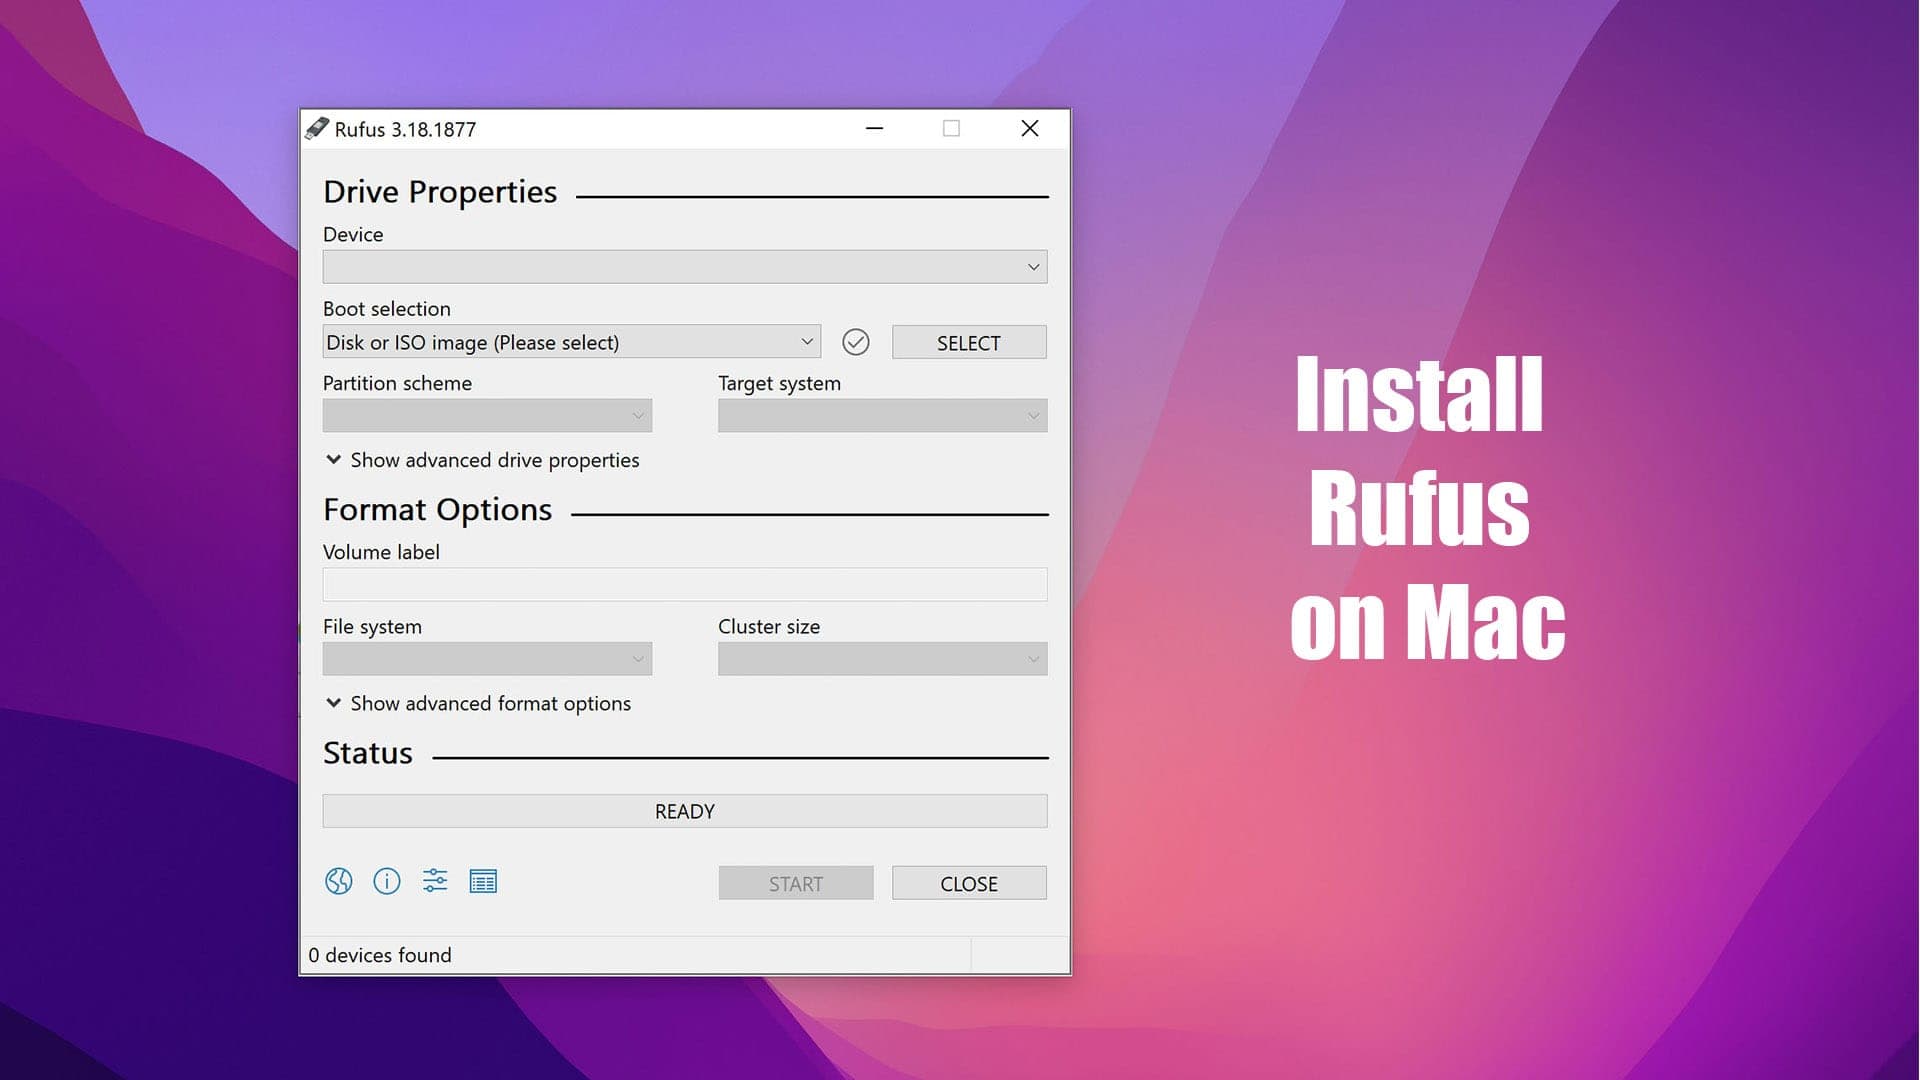
Rufus for Mac
With the help of Rufus, you can easily format USB installers like MBR and GPT, download Windows Update and bypass Windows 11 TPM. Talking about the new Mac, we use exFAT partition. We all know that creating a NTFS partition on Mac is difficult. In this situation, Rufus helps us do that with ease.
There are different methods to use Rufus on the macOS. To install Rufus on macOS, we can use the virtual machine. We can create a virtual machine to run Windows on Mac. And then, we can easily install and use Rufus like any other Windows software. We can use free VMware Fusion Player for Intel Mac and Download Fusion for Apple Silicon.

On the other hand, if you own an M1 Mac, then you can use Parallels Desktop or QEMU (free) to install Windows ARM and Rufus on your macOS.
In this tutorial, we will demonstrate to you how to install Rufus on both Intel Mac and M1 Mac. Read the next section to check how to run Rufus on both Intel Mac and M1 Mac.
Install Rufus on Intel Mac with free VMware Fusion Player
Follow the steps to run Rufus on Intel Mac with VMware Fusion Player.
Step 1. Download and Install VMware Fusion Player
To download the free version of VMware Fusion Player, you need first to create a free VMware account and activate free license key. To create a VMware account, head over to their official website.

Click on the ‘Manually Download’ button to download the VMware Fusion Player. After downloading the .dmg file of VMware Fusion Player, Open .dmg file to install VMware Fusion Player with license key.

Step 2: Create Virtual Machine to install Windows
1. To install Windows, you need to get the ISO image file of Windows 10 or Windows 11. You can easily download the ISO image file from Microsoft’s official website. After downloading the Windows ISO image file, launch the VMware Fusion Player software, and drag the ISO image file of Windows in it.

2. Click "continue" to create a virtual machine. After that, click on the ‘Customize Settings’ to configure VMware settings. The next step is to customize the processor and memory by clicking on the ‘Processors & Memory’ option.
3. Now, you can install Windows on VMware Fusion Player. If you don’t have the product key, you can continue installing it by clicking on the ‘I don’t have a product key' button, and then clicking on the ‘Continue’ button. It will now continue installing Windows on VMware.

Step 3. Download and Install Rufus
We have now installed Windows on our Mac system. You should install VMware Tool to enable Unity mode, click on "Virtual Machine" and "Install VMware Tool". We can now easily install and run Rufus after downloading it.
This is how to install and run Rufus on an Intel Mac with VMware Fusion Player. Read the next section to learn how to install and run Rufus on M1 Mac with Parallels Desktop.
How to Install and Run Rufus on M1 Mac
Step 1. Download and Install Parallels Desktop
The first step is to download the Parallels Desktop on your M1 Mac. They have a premium version as well as a free trial version. You can choose according to your needs. As of now, we are going with the free version. You can download the Official Site Here.
Step 2: Download Windows ARM Image
The next step is to register your device for the Windows Insider Program. Then, you can easily download Windows ARM.

Step 3. Create Windows ARM Virtual Machine Using Parallels Installation Assistant
Open Parallels Desktop and click on the ‘Install Windows or another OS from a DVD or image file’ button. After clicking on it, drag Windows ARM Image to Install Assistant.

Then, click on the ‘Continue’ button to create your Virtual Machine and install Windows ARM on M1 Mac.
Step 4: Install the Rufus
We have installed Windows ARM on our M1 Mac with the help of Parallels Desktop software. We can now easily install and run Rufus x64bit with Windows ARM Emulation.

That’s all about this guide on how to install Rufus on macOS. In this tutorial, we successfully learned to install and run Rufus on Intel Mac and M1 Mac. We hope you followed each step carefully and achieved the desired results. If you face any issues during the installation process, do let us know in the comment sections. We will assist you.


Leave a Comment