There are a lot of script editors present out there. But, one of the best text editors available out there is Notepad++. Notepad++ is one of the best text and script editors especially designed for the Windows operating system.
Notepad++ has many advanced features compared to the typical Windows text editor application, Notepad. Notepad++ supports multiple coding languages, such as C, C++, Java, JavaScript, Python, etc. One of the biggest disadvantages of Notepad++ is it doesn’t support Mac. It only supports Windows OS.
Do you also want to use it on Mac? You don’t need to worry. We have got you covered. We have created a step-by-step guide on how to install Notepad++ on Mac.
Notepad++ on an Intel Mac and M1 Mac
Notepad++ has many advanced features such as a document map, function list, and many other powerful features. One of the best features of Notepad++ is the Keymap. Keymap helps you edit and manage code quickly while working on different things simultaneously.
Everything is great about this code editor, except one thing: lack of compatibility. This code editor isn’t available for the Macintosh operating system. You can only use it in Windows OS only as of now.
You can install Notepad++ on macOS with the help of:
1. Virtual Machine;
2. BootCamp;
3. Remote Desktop;

On the other hand, if you have an M1 Mac, you can use the Parallels Desktop or QEMU (free) software to install Windows ARM on M1 Mac. After installing Windows ARM, you can easily install Notepad++. We will also use the same software to install Notepad++ on Intel Mac and M1 Mac.
Note: Notepad++ is the best code editor for beginners and minor projects. But, if you have a large team and usually work on complex projects, you should consider using other code editors, such as Visual Studio Code or Sublime Text. Both software is available for both Mac and Windows. You don’t need to follow additional steps.
How to install Notepad++ using Parallel Desktop on M1 Mac
Step 1. Download Parallels Desktop 17 and Install it On Mac
The first step is to download the Parallels Desktop 17 on your macOS. They have a paid version as well as a free trial version. You can choose which variant you want to install. As of now, we are going with the free trial version of Parallels Desktop 17.
Step 2: Download Windows ARM Image
Windows has specially created an Insider Program for ARM-based machines, like Mac. The next step is to register your device for the Windows Insider Program. After getting the approval, you will be able to install Windows 10 or Windows 11.

Step 3: Create a New Windows ARM Virtual Machine
After downloading Windows ARM Virtual Image, you will now need to configure Windows ARM using Parallels Desktop, which we downloaded in Step 1. So, follow the given steps.

Step 4: Install Windows ARM On Your Mac
On the next screen, click on the ‘Install Windows or another OS from a DVD or image file’ button. After clicking on it, the system will automatically select the Windows ARM virtual image. Then, click on the ‘Continue’ button. To proceed further, click on the ‘Continue’ button to install Windows ARM on M1 Mac.

Step 5: Install Notepad++ for Mac M1
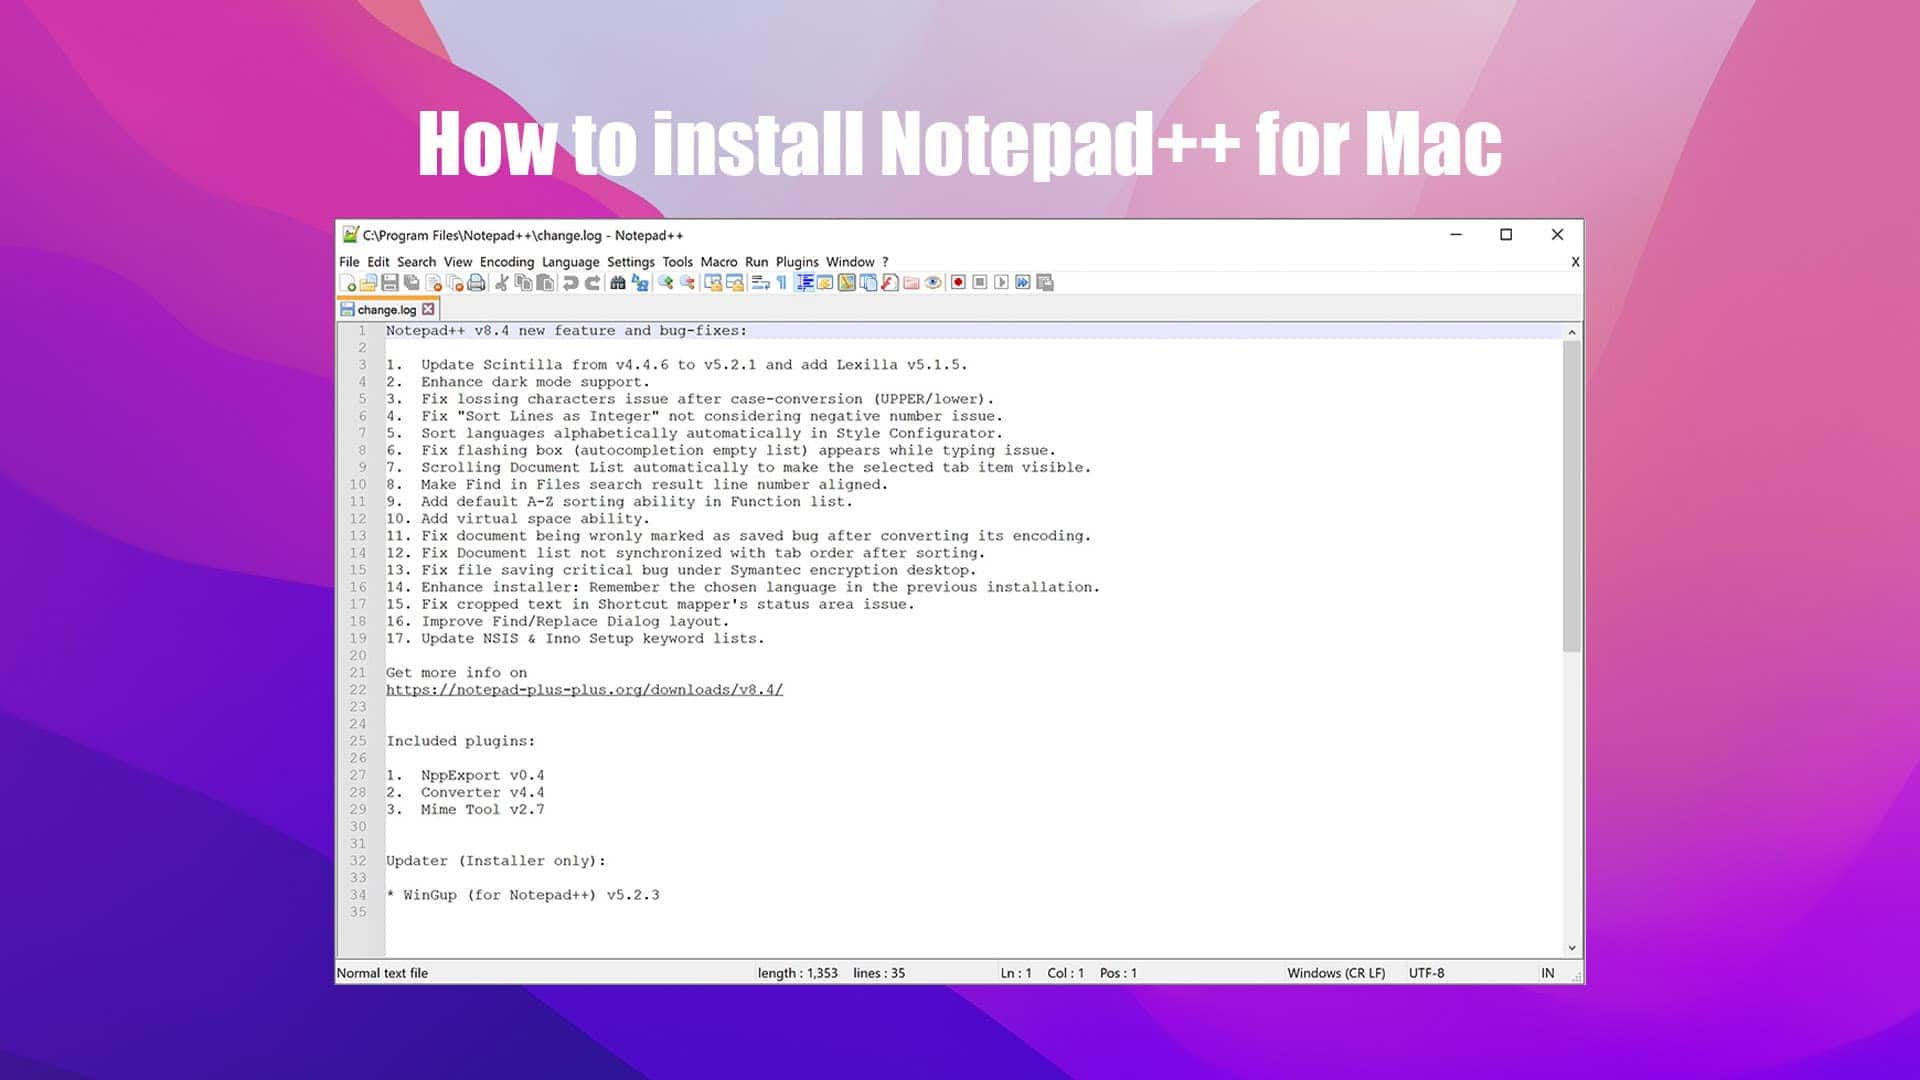
You can download the Notepad++ x64bit Version of ARM Version. We recommend downloading version Notepad++ 8.4.3.

How to install Notepad++ for Mac Intel
Step 1. Download and Install VMware Fusion Player
The first step is to create a free account on VMware Site. In your ‘Account’ area, head over to the ‘License Information’ section. In the 'License Information' section, look for the free license key. You have now successfully created a VMware free account. You will find the license key like this.

The second step is downloading and installing VMware Fusion Player on your macOS. The next step is to click on the ‘Manually Download’ button to download the latest VMware Fusion Player.
Step 2. Install Windows on VMware Fusion Player
After downloading and installing VMware Fusion Player’s latest version on your system, the next step is to install Windows on VMware Fusion Player. Follow the given steps carefully to install Windows.
1. In order to install Windows, first, you need to download the ISO image file of Windows.
2. After downloading the ISO image file, open the VMware Fusion Player and drag and drop the ISO image file of Windows.

3. After that, click on the ‘Continue’ to configure VMware settings. The next step is to customize the processor and memory by clicking on the ‘Processors & Memory’ option.
4. Now, the last step is to install Windows on your virtual machine. You can start installing Windows. If you don’t have the product key, you can still install it by clicking on the ‘I don’t have a product key’ option and clicking on the ‘Continue’ button. It will now continue installing Windows 10 on the virtual machine.

After install Windows on Mac, you should install VMware tools to enable 3D graphics and Unity mode. Click on "Virtual Machine" and "Install VMware Tool".
Step 4. Download and Install Notepad++
Notepad++ comes in different versions with varied use cases. You can decide which version you want to download on your macOS. We recommend downloading Notepad++ 8.4.3.
We checked how to download and install Notepad++ on both Intel-based Mac systems and M1 Mac. We explained each step in detail with the help of screenshots. We hope you understood each step perfectly and implemented the same.


Leave a Comment