Autodesk Revit is a popular Building Information Modeling software that allows engineers, architects and developers to create and design quality infrastructure. Users around the globe use it for different use-cases. Revit is currently available for Windows only. Autodesk Revit isn’t launched for macOS yet. Now, if you want to install this Autodesk Revit Mac device, we have covered you. We will show you how to install Autodesk Revit on Mac with Intel and M1 chipsets.
What is Autodesk Revit Software?
Autodesk Revit is a powerful Building Information Modeling software that enables engineers, architects and developers to design quality infrastructure. Revit allows users to design and visualize various aspects of buildings. It offers advanced tools that enhance the generative design and sharing work efficiently. Many universities also use Autodesk Revit as the leading platform for studies and internships.
Three Ways to Install Autodesk Revit On Mac
There are three ways to install Revit on a Mac:
- Virtual Machine
- Bootcamp
- Remote Desktop
Now, let’s discuss each of these options to help you choose what suits you best:
Virtual Machine: With the Virtual Machine option, users can Create Windows virtual OS on their Mac systems. This program runs on your Mac like a Windows application. After installing a virtual Windows operating system on your Mac, you can then install Revit in a few steps. The best part about using virtual machines is that you can run projects on Intel Mac with the help of free VMware Fusion Player. While in the case of the M1 Mac, you can use a Parallel Desktop to run Autodesk Revit.
Bootcamp: Bootcamp only supports Intel Mac and doesn’t support M1 Mac. It is a good option for users looking to install Autodesk Revit on their Intel Mac. This method will also let you install Windows on your Mac. This Windows should dual boot with macOS, similar to regular Windows. It has the same power as a Mac, including CPU, RAM, and Graphics. Bootcamp enables you to install and use Revit on MacOS and has incredible hardware power.
Remote Desktop: Remote Desktop is the most recommended option for M1 Mac users. It’s a good idea to try it if you have a Windows OS on another PC or laptop at your office or home. You can use a tool, Microsoft Remote Desktop, after which you can connect Windows OS on the Internet. You can then proceed to install Autodesk Revit on your system.
How to Install Autodesk Revit On Virtual Machine on Mac
There are three ways to install Autodesk Revit on Mac with the help of Virtual Machine:
1. VirtualBox (free, intel Mac)
2. VMware Fusion Player (free, Intel Mac) and VMware Fusion 22H2 (M1 Mac)
3. Parallel Desktop (Paid for both Intel and M1 Mac)

We have free VMware Fusion Player for Intel Mac and Parallel Desktop for M1 Mac. You may face some problems after using a virtual machine for a substantial amount of time. The virtual disk will use more space over time as there’s zero data space on it. But VMware will help you free up some disk space on the virtual disk.
If you use virtual machine methods, you will definitely face high RAM usage issues. We advise you to have a Mac with 16GB RAM to install Revit via Virtual Machine to eliminate this problem. This will make the process smoother.
How to Install Autodesk Revit On An Intel Mac
We will use the free version of VMware Fusion Player to install Windows on Mac. Follow the given steps to install Autodesk Revit on Intel Mac.
Step 1. Create a VMware Account and Get A Free License Key
Head over to their official website by clicking here. After that, search for the ‘Customer Connect’ option under the Log-in menu, and click on it. Click on the ‘Sign up Now’ button to create a new VMware free account. Then, fill in the required fields, and click on the Register button.

Log in to your account, and head over to the 'License Information' section. In the 'License Information' section, your free license key will be found. You have now successfully created a VMware free account.
Step 2. Download and Install VMware Fusion Player
Follow the steps to download and install VMware Fusion Player on your system. Click on the 'Manually Download' button to download the VMWare Fusion Player on the' License Information'. After downloading the .dmg file, it will ask you to enter the license key. So, enter the license key you got in the previous step.

Step 3. Install Windows 10 on VMware Fusion Player
Follow the steps to install Windows 10 on VMware Fusion Player.
1. Download the ISO Image file of Windows 10 by clicking here.
2. Now, launch the VMware Fusion Player, and drag and drop the ISO Image file of Windows 10.

3. You will see a Create a New Virtual Machine option with the Windows 10 ISO file. Click on the ‘Continue’ to create a new account, then ‘Finish’ button. Click on the ‘Customize Settings’ to configure VM settings.
4. You will need to customize the processor and memory by clicking on the ‘Processors & Memory’ option. Because Revit needs 8GB RAM and 30GB hard disk, we need to create a Virtual Machine with 100GB hard disk and 8GB of RAM.


5. Now, install Windows 10 on Virtual Machine. If you don’t have the product key, click on the ‘I don’t have a product key' option and click on the ‘Continue’ button.

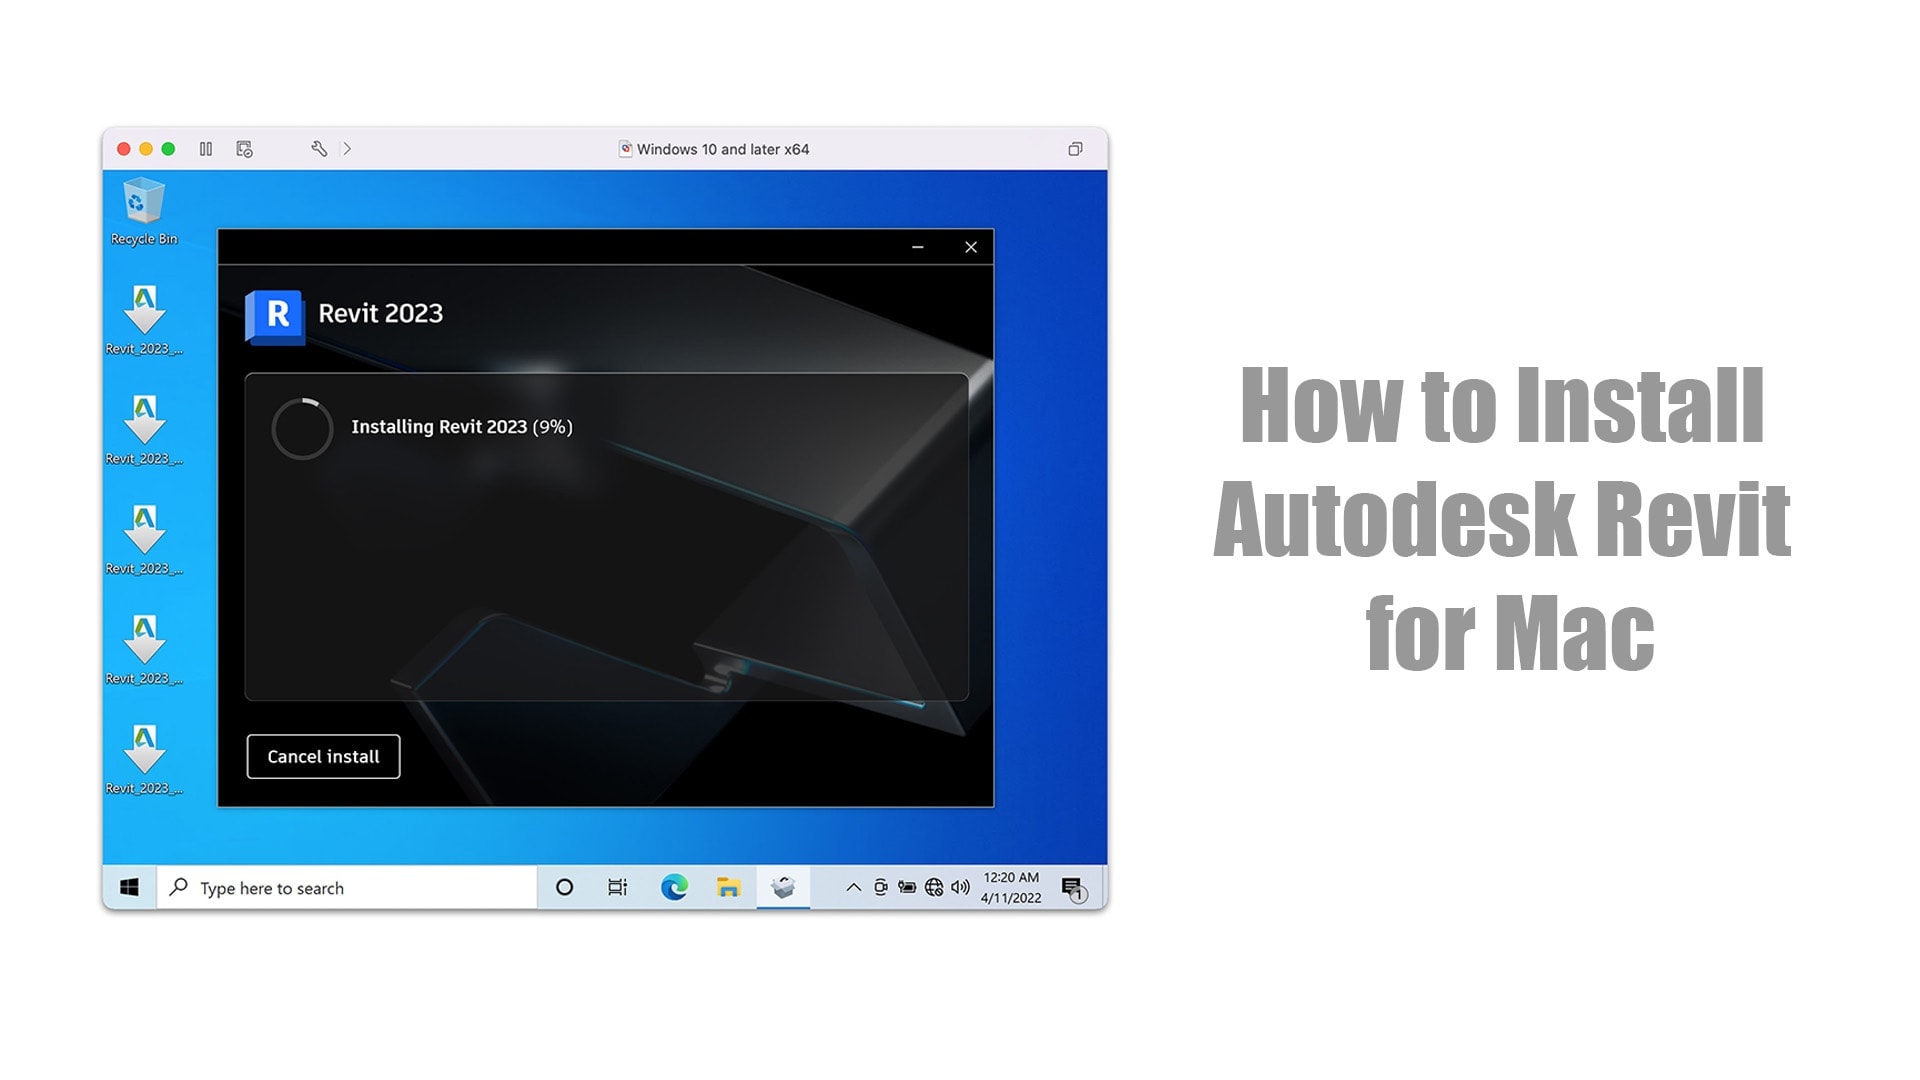
Step 4. Download and Install Autodesk Revit
Before install Revit on Mac, you need install VMware Tool. VMware Tool help you enable 3D graphics card and Unity mode. To install VMware Tool, click on "Virtual Machine" and "Install VMware Tool"
You can easily download and install the Autodesk Revit on your system now. You can download the Autodesk Revit by clicking here. Enable Unity mode on VMware Fusion Player to help you display Revit on macOS Desktop.

How to Install Autodesk Revit on M1 Mac
Step 1. Download Parallels Desktop 17 and install it On Mac
The first step is to download the Parallels Desktop 17 on your Mac. You can download the official version by clicking here.
Step 2. Sign Up For the Windows Insider Program
Then, register yourself for the Windows Insider Program and download Windows 10 ARM image for Virtual Machine. This way, you will be able to install Windows 10 on ARM-based machines like Mac.

Step 3. Configure Windows 10 Using Parallel Installation Assistant
Once you have downloaded the Windows 10 on ARM Insider Preview, it’s now time to configure the Windows 10 Using Parallels. So, follow the given steps.

On the next window, click on the ‘Install Windows or another OS from a DVD or image file’ button. Now, the system will automatically select the file you downloaded . After that, click on the ‘Continue’ button.

You will see a ‘Virtual Machine Configuration’ page. Now, click on the ‘Continue’ button to install Windows 10. Set up 8GB RAM and enable 3D Graphics.

The last step is to update your Windows to get new updates Build 21277 and enable x64 emulation. With x64 emulation to help you run Revit 64bit Software in ARM processor. You can easily update your Windows by going to the Update & Security setting and clicking on the Update button.
We have now installed the Windows on our Mac. Now, you can easily download and install the Autodesk Revit on your Mac. This is how you can install Autodesk Revit on M1 Mac with the help of Parallels.


Leave a Comment