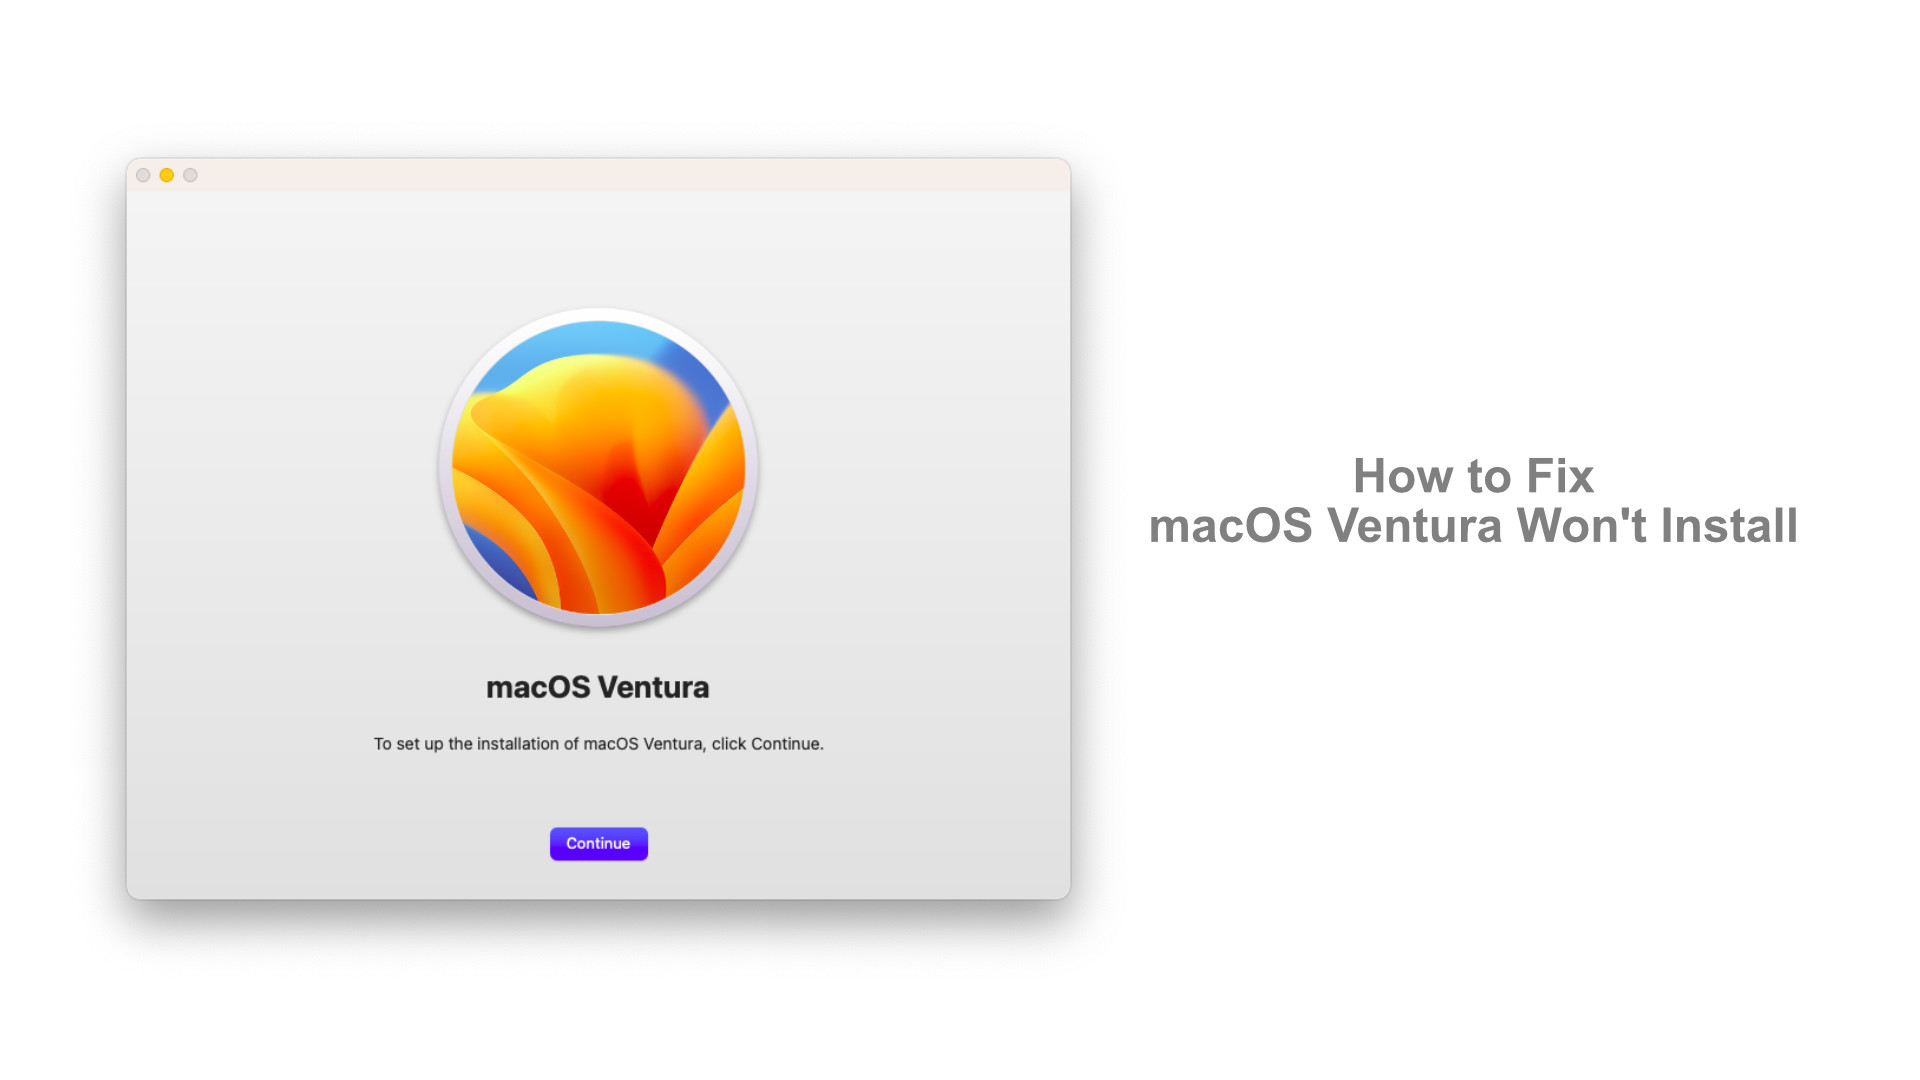
macOS Ventura is one of Apple's latest operating systems. During the installation and upgrade process from older versions like Monterey or Big Sur, we may encounter issues such as macOS Ventura Won't Install. These issues can prevent users from upgrading and utilizing macOS Ventura. In this guide, we'll explore the reasons behind these issues and provide you with effective solutions to make the installation process of macOS Ventura on Intel Mac or M1/M2 Mac an easy and hassle-free experience.
There are many possible reasons why macOS Ventura Won't Install. It could be due to issues with the installation package during the download process, or simply a problem with the verification process that checks the installation package with the internet. Some issues may even be related to the setup of your Mac device when upgrading to a newer version. In this guide, we'll explore all the relevant factors to help you get to the root of the problem and successfully install macOS Ventura.
How to fix macOS Ventura won’t install
1. macOS Ventura installer won't start
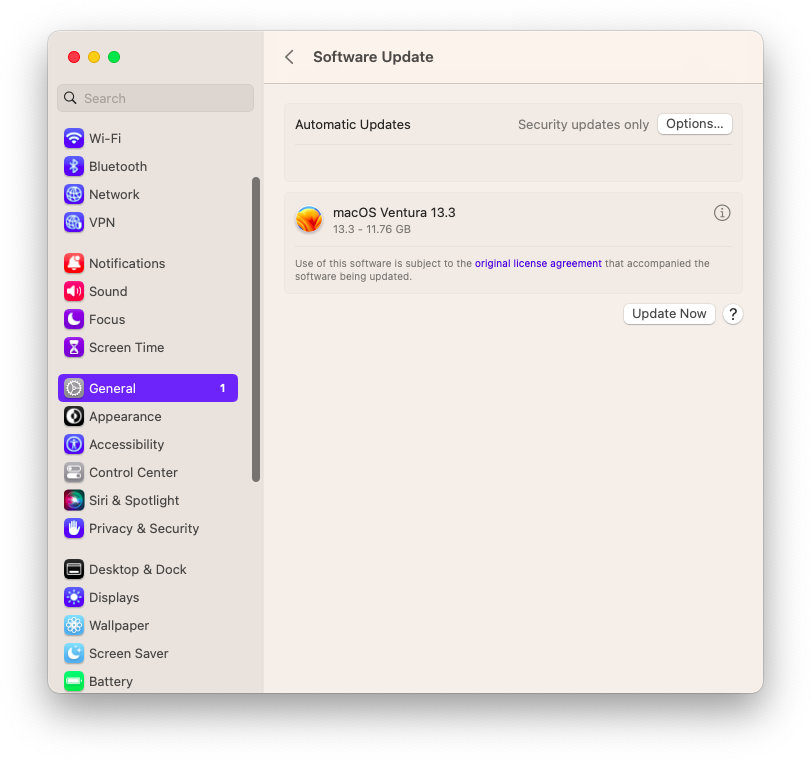
When installing the latest macOS Ventura, you may encounter an error where the installer won't start. This can be a common issue, especially with the large 11.76 GB installation file size of macOS 13.3 Ventura. The installation file will be checked during the process, which requires an internet connection. So, the first thing to check is your internet connection.
If the problem continues, there are several options to try to resolve the issue. One is to download the macOS Ventura installation file again, which can be done through the App Store or via direct download using Terminal. Another option is to use the InstallAssistant file to install macOS Ventura. Additionally, you can check for newer versions of macOS Ventura by accessing the Software Update feature or pressing the Commands+R button. These simple steps can help you get your system up and running with the latest version of macOS Ventura.
Another way to install macOS Ventura is by using Terminal. To get started, you'll need to access the Install Assistant file located in the Install macOS Ventura.app and resolve any issues that are preventing the installer from starting up. You can launch Terminal by navigating to the Applications>Utilities folder or using Spotlight Search.
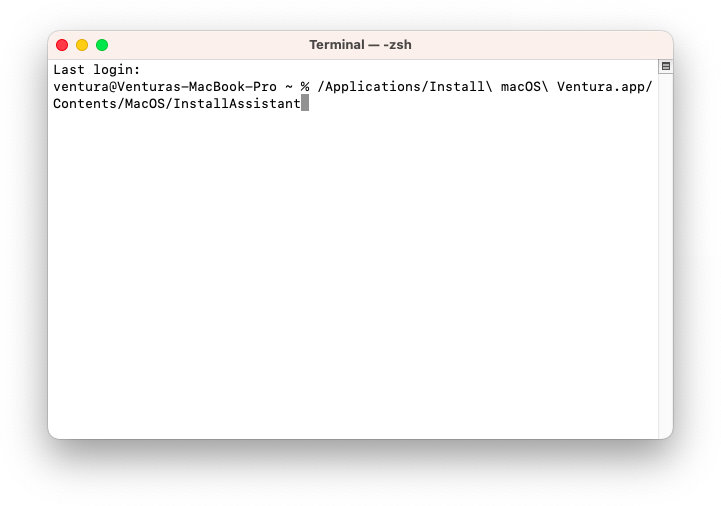
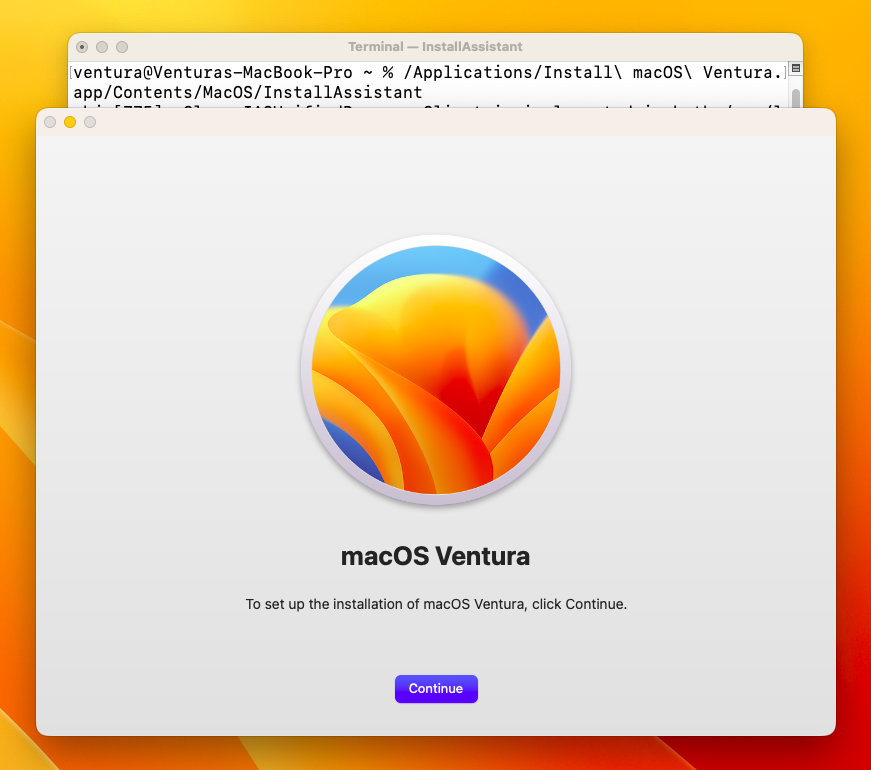
Then, simply input the command below to open the Install Assistant file and begin the installation process.
/Applications/Install\ macOS\ Ventura.app/Contents/MacOS/InstallAssistant
2. macOS update won't install
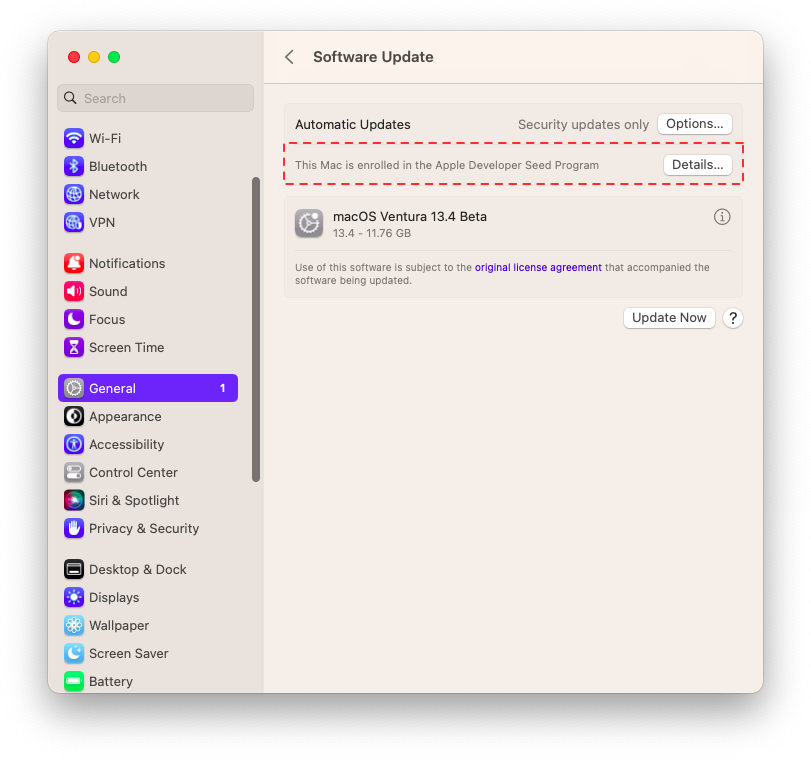
When using macOS Ventura, you may encounter errors when installing it, especially if you are using the beta version or developer version. If you're unable to install newer updates, it's possible that your current version is not compatible. So, it's important to check which version of macOS Ventura you're using. If you're part of the Beta program, you can go to the Software Update section and click on the "Details" button, then select "Unenroll from Beta Program." After that, try reinstalling macOS Ventura again.
3. macOS Ventura installation Stuck
When installing macOS Ventura, sometimes you may encounter installation stuck errors that interrupt the installation process or cause issues with your Mac hardware, leading to errors during the installation of macOS Ventura. Therefore, we have some ways to ensure a smooth and fast installation process as follows:
For Intel Macs, you can try resetting the SMC and PRAM, while for M1/M2 Macs, you should reset your Mac. Then, check your internet connection because some updates require an internet connection for the macOS installer to download additional related components.
One of the other ways to reinstall macOS Ventura is to use Recovery Mode. For Intel Macs, press the Option key to enter Recovery mode, while for M1/M2 Macs, press the Power button to enter Startup Utilities, and then select Reinstall macOS Ventura to install your macOS. Please note that you need an internet connection for the reinstallation process using the recovery mode.
Another way is to download macOS Ventura and use the following commands in Terminal to create a macOS Ventura installation USB, and then easily install macOS Ventura using the USB Installer. To enter the Ventura USB Installer on an Intel Mac, hold down the Option key, while on M1/M2 Mac, press and hold the Power button. Once you enter the Ventura USB Installer, you can easily perform a clean installation of Ventura.
4. macOS Ventura system requirements
Checking the system requirements for macOS Ventura is also extremely important. Like other newer versions of macOS, macOS Ventura always requires more hardware power, and it also supports specific hardware like M1 Macs or M2 Macs. Therefore, it is important to check the hardware before installation, and we have a list of compatible devices with macOS Ventura available here.
- iMac – late 2017 and later
- iMac Pro – all models
- Mac Pro – 2019 and later
- MacBook – 2017 and later
- MacBook Air – 2018 and later
- MacBook Pro – 2017 and later
- Mac Mini – 2018 and later
- Mac Studio - all models
In case your devices do not support macOS Ventura, there's no need to worry as we have a guide available here to assist you in installing macOS Ventura on older devices.
5. Clean Up your Hard Disk
When opening the macOS Ventura installer, it's essentially a process of extracting the files related to the installation. Therefore, it requires a Hard Disk with a lot of free space and the Hard Disk must be functioning well. If your Hard Disk is fragmented, it can also cause errors during the installation process. If the hard disk of your Mac is full, you can choose to reinstall macOS Ventura using USB Installer. This will help you clean or erase the entire Hard Disk and fix errors related to the Hard Disk that affect the installation process of macOS Ventura.
Here are some basic methods that we often use if we cannot install macOS Ventura or encounter problems during the macOS installation process. Other methods such as changing DNS or using VPN to speed up the download process or authenticate the installer can also be tried. If you have any other good methods, please share them in the comments section below.



Leave a Comment