The presence of a T2 security chip in Intel Macs gets in the way of trying to use external drives to boot from. In the case of the Apple ARM Macs, the T2 security chip is no longer present. Since the need for a separate chip is no longer required, Apple has moved the secure enclave inside the M1 and M2 Chip. However, the process to use an external disk to boot from in case of emergencies still requires a few careful steps to be followed.
The reason that one may want to use an external disk like a USB or hard disk to boot from is due to unforeseen catastrophic internal disk failures. When your internal disk has problems and you are not able to securely boot your macOS from it, you may need to rely on an external backup to continue your work without disruptions.
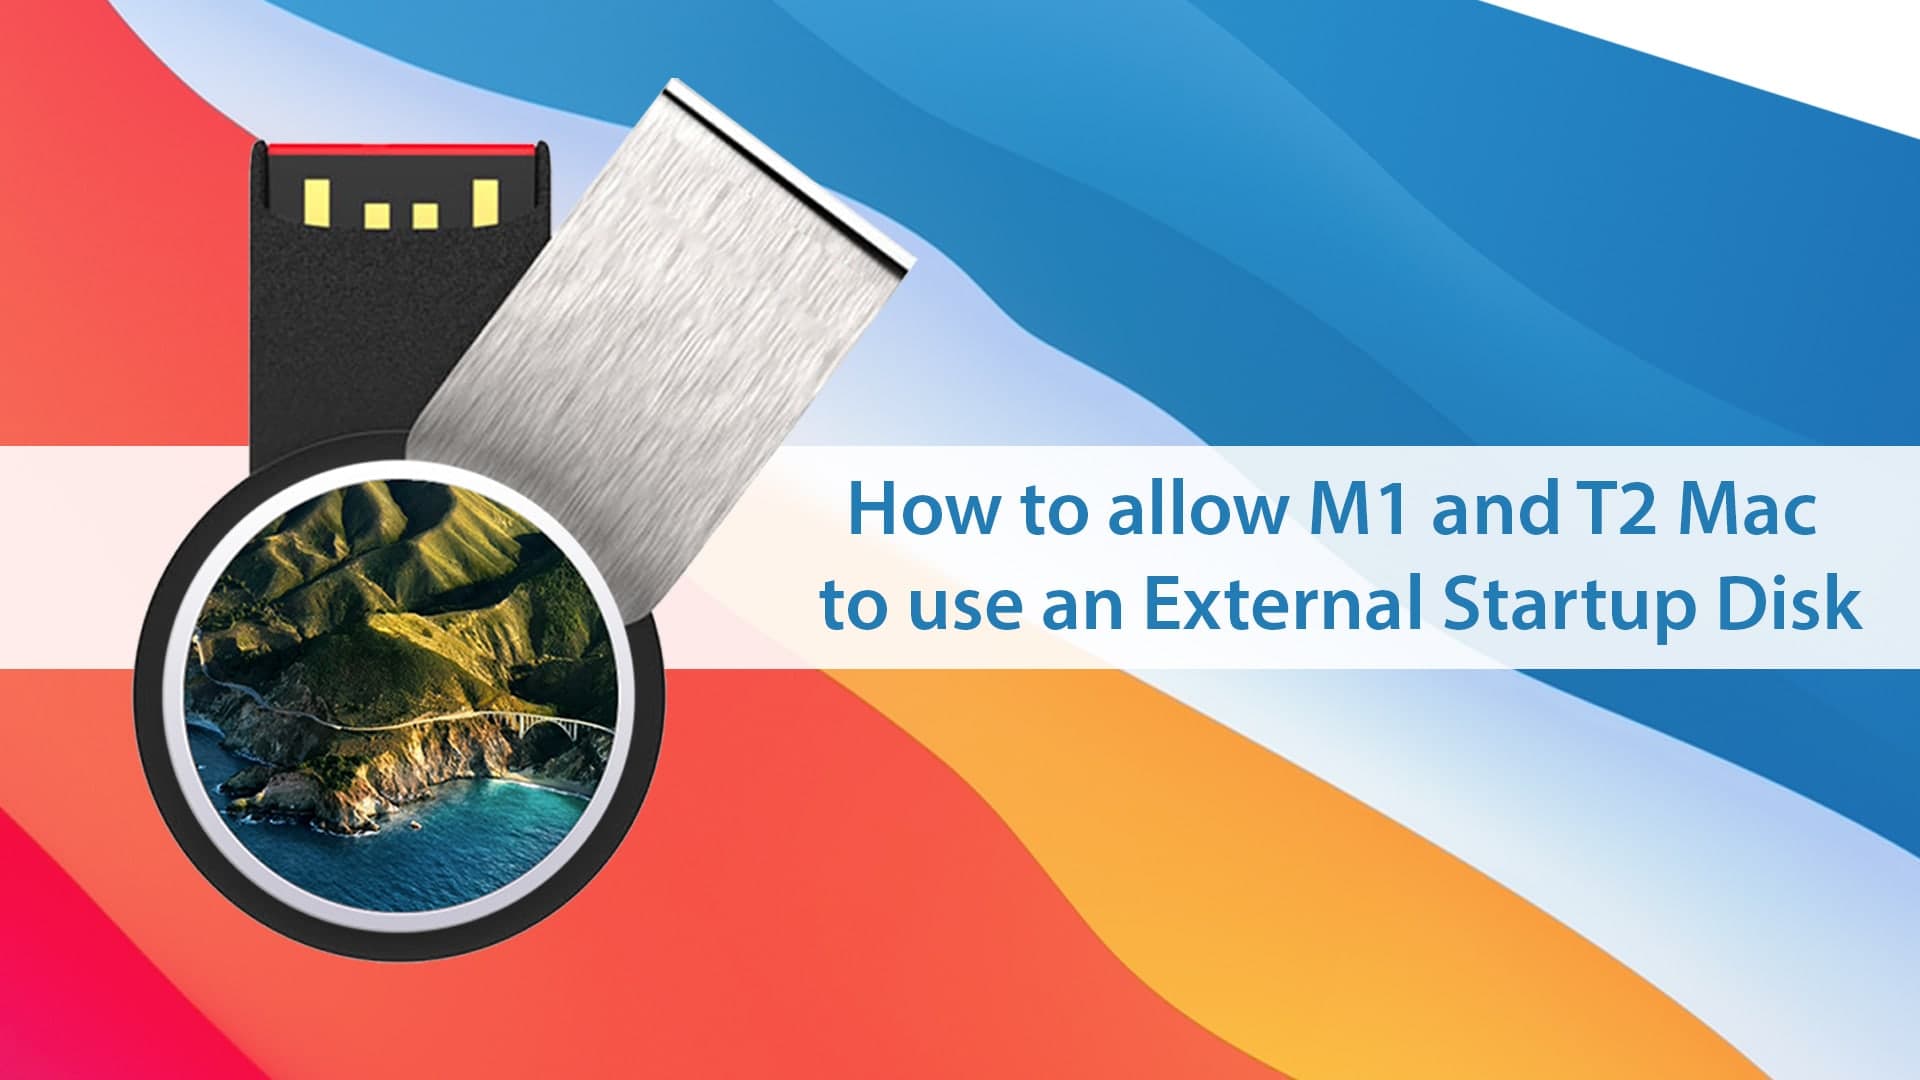
While there have been a lot of tutorials and videos on how to use an external disk to boot for T2 Macs, there are not many guides to do the same for M1 Macs. The process is different from that of Intel Macs and requires users to follow a few steps to use external startup disks.
Allow Mac to use an External Startup Disk
By default, Mac doesn’t allow you to boot from an external drive, due to security considerations. To convince the system to allow using an external disk, you will need to enter the macOS Utilities and make the changes. Ensure that you have with you an external disk that connects preferably over Thunderbolt / USB C before following the steps required.
1. Shut down your Mac by clicking on the Apple logo on the top-left corner and selecting “Shut Down” from the drop-down menu that appears.
2. Press and hold the Power button to boot the recovery mode for M1 Mac (Holding Command + R for T2 Mac). Continue holding the power button until you see “Loading startup options” appear on the screen .

3. Choose “Options” and click on continue. Choose the admin user and enter the admin password. You will now have the macOS Utilities screen before you. From the options available on the top menu, click on “Utilities”. In the dropdown that appears, choose “Startup Security Utility”.

In the Startup Security Utility screen, you will see the option for external boot disabled. Click on the button next to “Allow booting from external media” to enable booting from an external disk. Exit from the Startup Security Utility screen and restart the Mac device
If you only want to boot from an external drive for a clean macOS Big Sur installation or for a system software update, you should disable the external boot option after completing your task.
Remember, the external boot is disabled for security purposes. If you do not plan on changing your default boot option to external booting for every single startup, you should disable it.
The security feature for disallowing boot from external media prevents access to your data by unwanted users. To add more security to your T2 Mac, you should consider encrypting your hard disk. Use FileVault disk encryption program to encrypt your hard disk and amplify your security.
Also, you can prevent unwanted access to your system startup options by adding a firmware password. The Startup Security Utility allows you to set a firmware password which reduces the chances of an attacker accessing your Mac to change the boot option for booting from an external media.
It is a good practice to disallow booting from external media and only allow it when you really need it. This way you can make sure your Mac device is secure and safe from attacks by unwanted users.


Hello, I have a Mac Studio Ultra and have a need to boot to an external Thunderbolt drive. I got macOS 13.1 installed and am able to startup up on it and everything seemed great. But the problem is when I install Apps that require entering Privacy & Security, and clicking on the Allow button… well that seems to be broken. The Allow button nor any mention of the App awaiting approval appears. The Apps being installed tell about the need to do this, and that you only have 30 minutes to do so, but those options never appear.
I have tried switching back to Full Security and then back to reduced security, running Disk Utility First Aid, and several other things. The only thing I might have done wrong was named the external drive “Macintosh HD” also, but then in re-named it to “Macintosh HD – Data”. I then renamed it to “Macintosh HD Ext” and I even un-mounted the internal “Macintosh HD”, but nothing I have tried resolves this issue, so I can’t finish installing Apps to use.
Any help appreciated. Thanks.
this isnt for the newest M1 macbook pro 14″.. doesnt work for me as only full security and reduced security appear.. i cant select from booting from another media.. you know what i could do?
Hi Andre P. Do you want to boot to Mac USB Installer?