One of the features that make macOS Sierra so cool is the fact that you can record what you are doing on the screen. Better yet, you will not be required to buy any third-party software. If you are using macOS 10.12 Sierra and later you will be able to Screen Recorder on your Mac using the QuickTime Player.
The QuickTime player is the app that is tasked to (by default) play videos in these Mac devices. This app comes free with every Mac produced in the aforementioned versions. It is bundled with the screen recording feature that can be easily enabled.
To record screen activity with the QuickTime app follow the following steps:
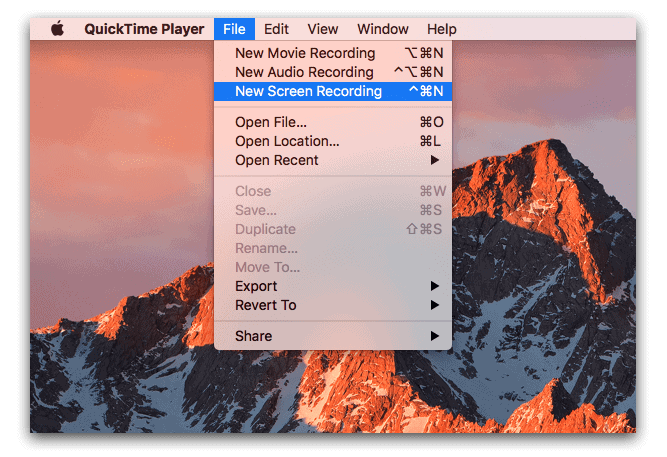
1. Go to applications and launch QuickTime player.

2. Pull the File menu down and select “New Screen Recording”.
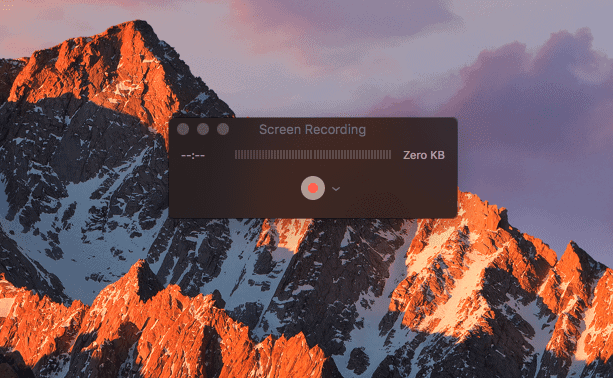
3. Press the red button to start recording.
When done with the recording you have two options on how to terminate the process; press the stop button or press Command, Control an Escape keys on the keyboard simultaneously.The recording will then be opened automatically in QuickTime player. The default file name is ScreenRecording.mov which you can change as you wish and save.
Worried that the recorder will interfere with what you are recording? This is not the case. The player gets out of the screen when you start screen recording. Newer versions will not capture it in the recording even if it is active.
What are your options?
Other than choosing your preferred method of stopping the screen recorder macOS you have several other options. You may choose to have the mouse clicks shown or not. This feature is particularly helpful to people who will be recording screen activities for demonstration purposes. With this feature circles are placed around clicks to make them more obvious.
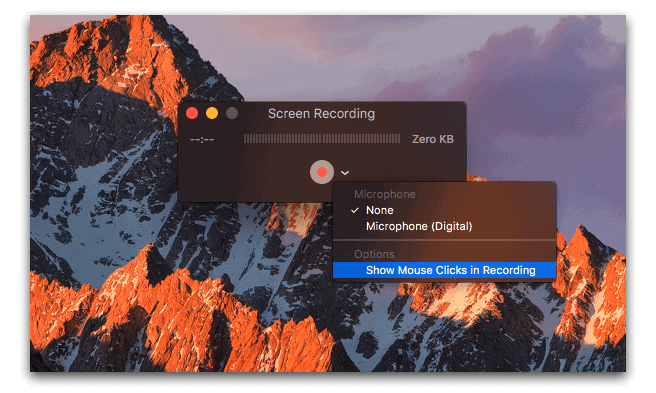
You can record audio to accompany the images on your Mac screen. For this you could plug in a microphone or use Mac’s audio. To do the latter and access other additional features, click on the downward pointing arrow. With this you will get the options to not only change the microphone but the quality of the recording as well. Where the recordings are to be saved can also be changed.
To specify the option you want to take effect, click on it to put a check mark beside it. These changes need to be made before the recording for them to apply in the video saved thereafter. The video format can be changed using the Save As option or when exported. This way you will be able to play your recording even on devices that do not accept .mov format.


Leave a Comment